Modeling & Materials

Weekly Design Challenge

Name: Sandy Weng


Module 1


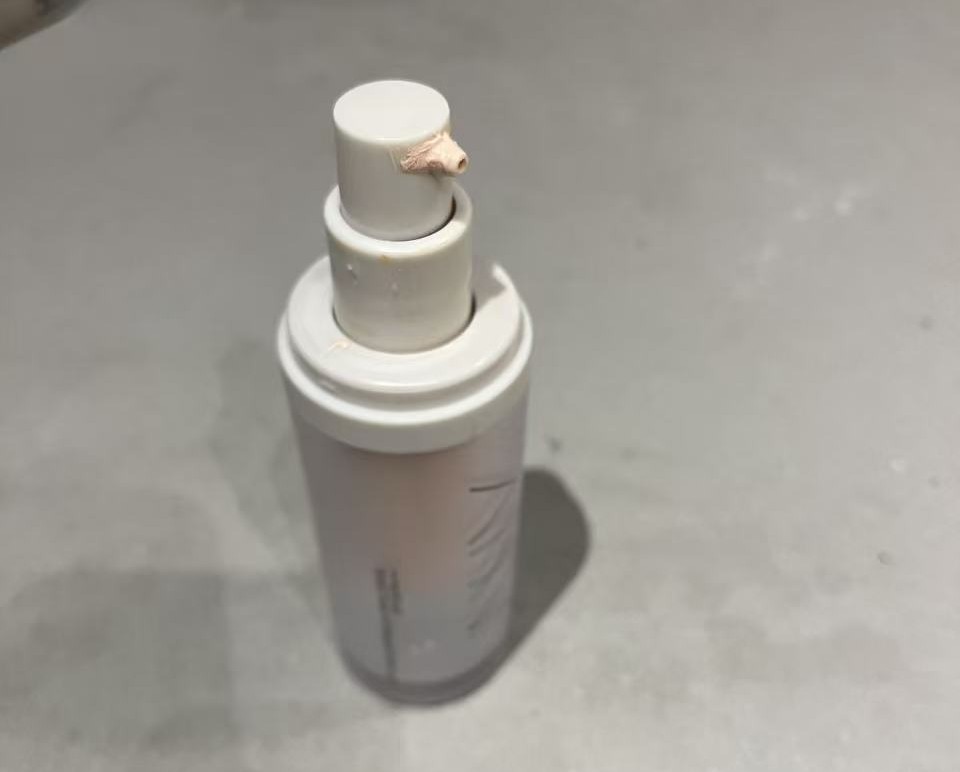
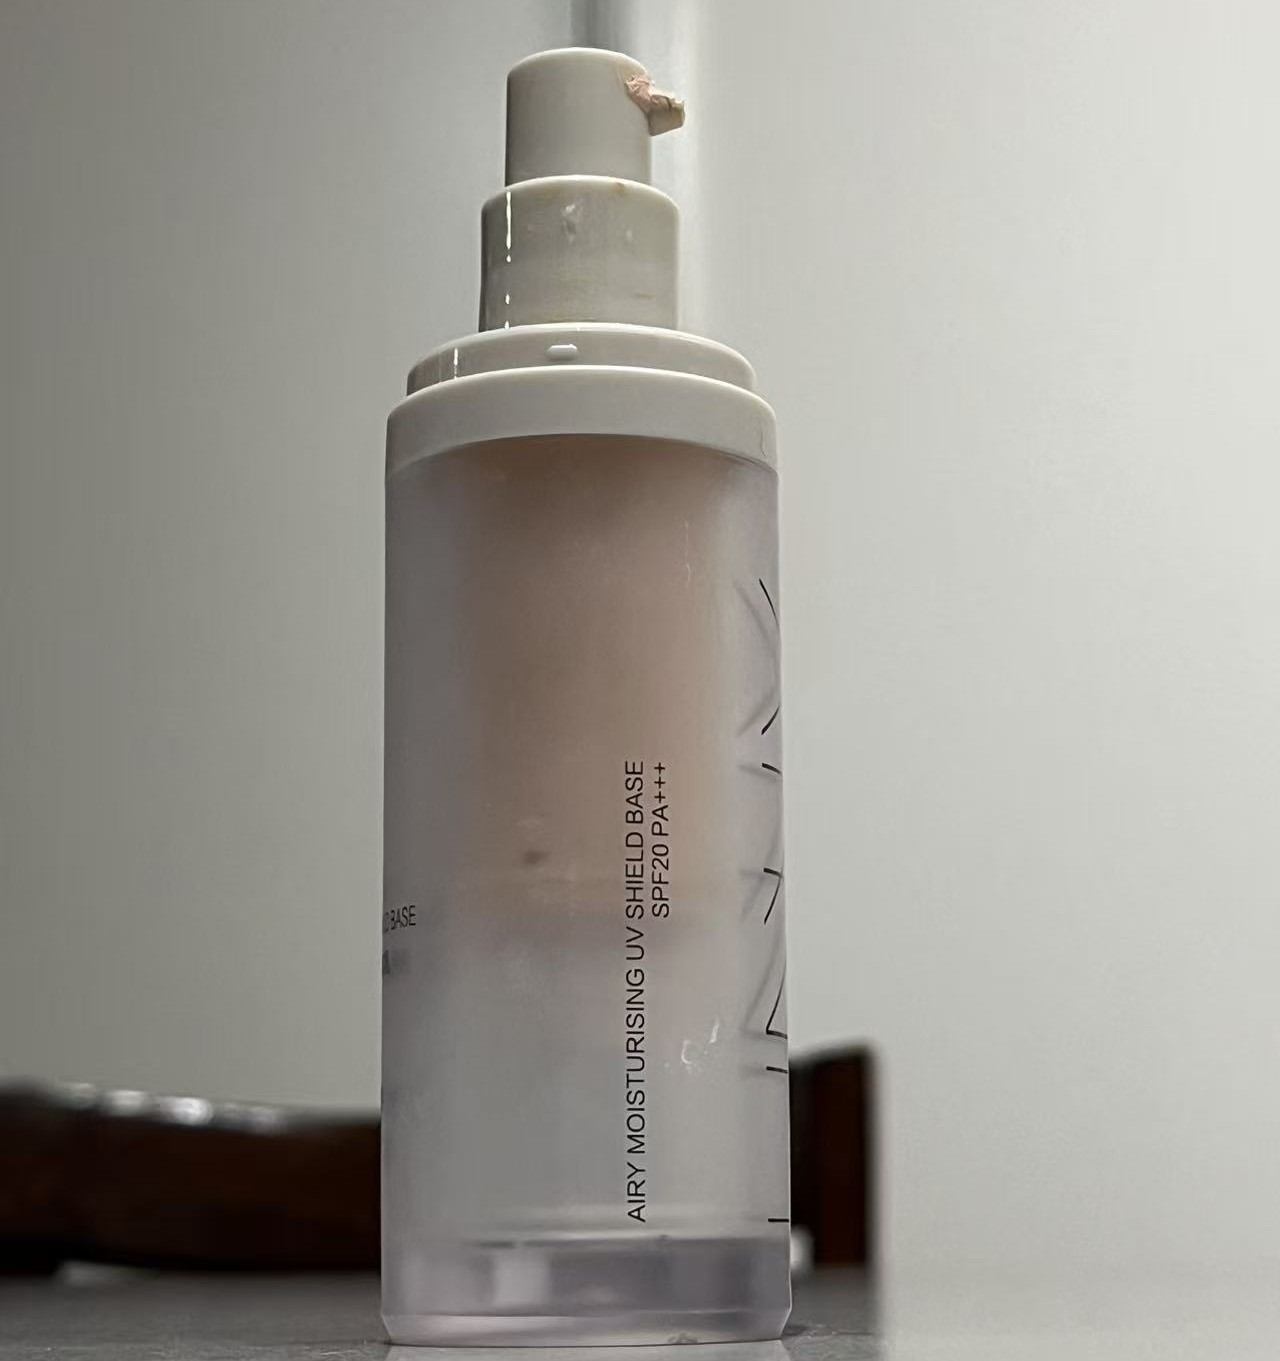
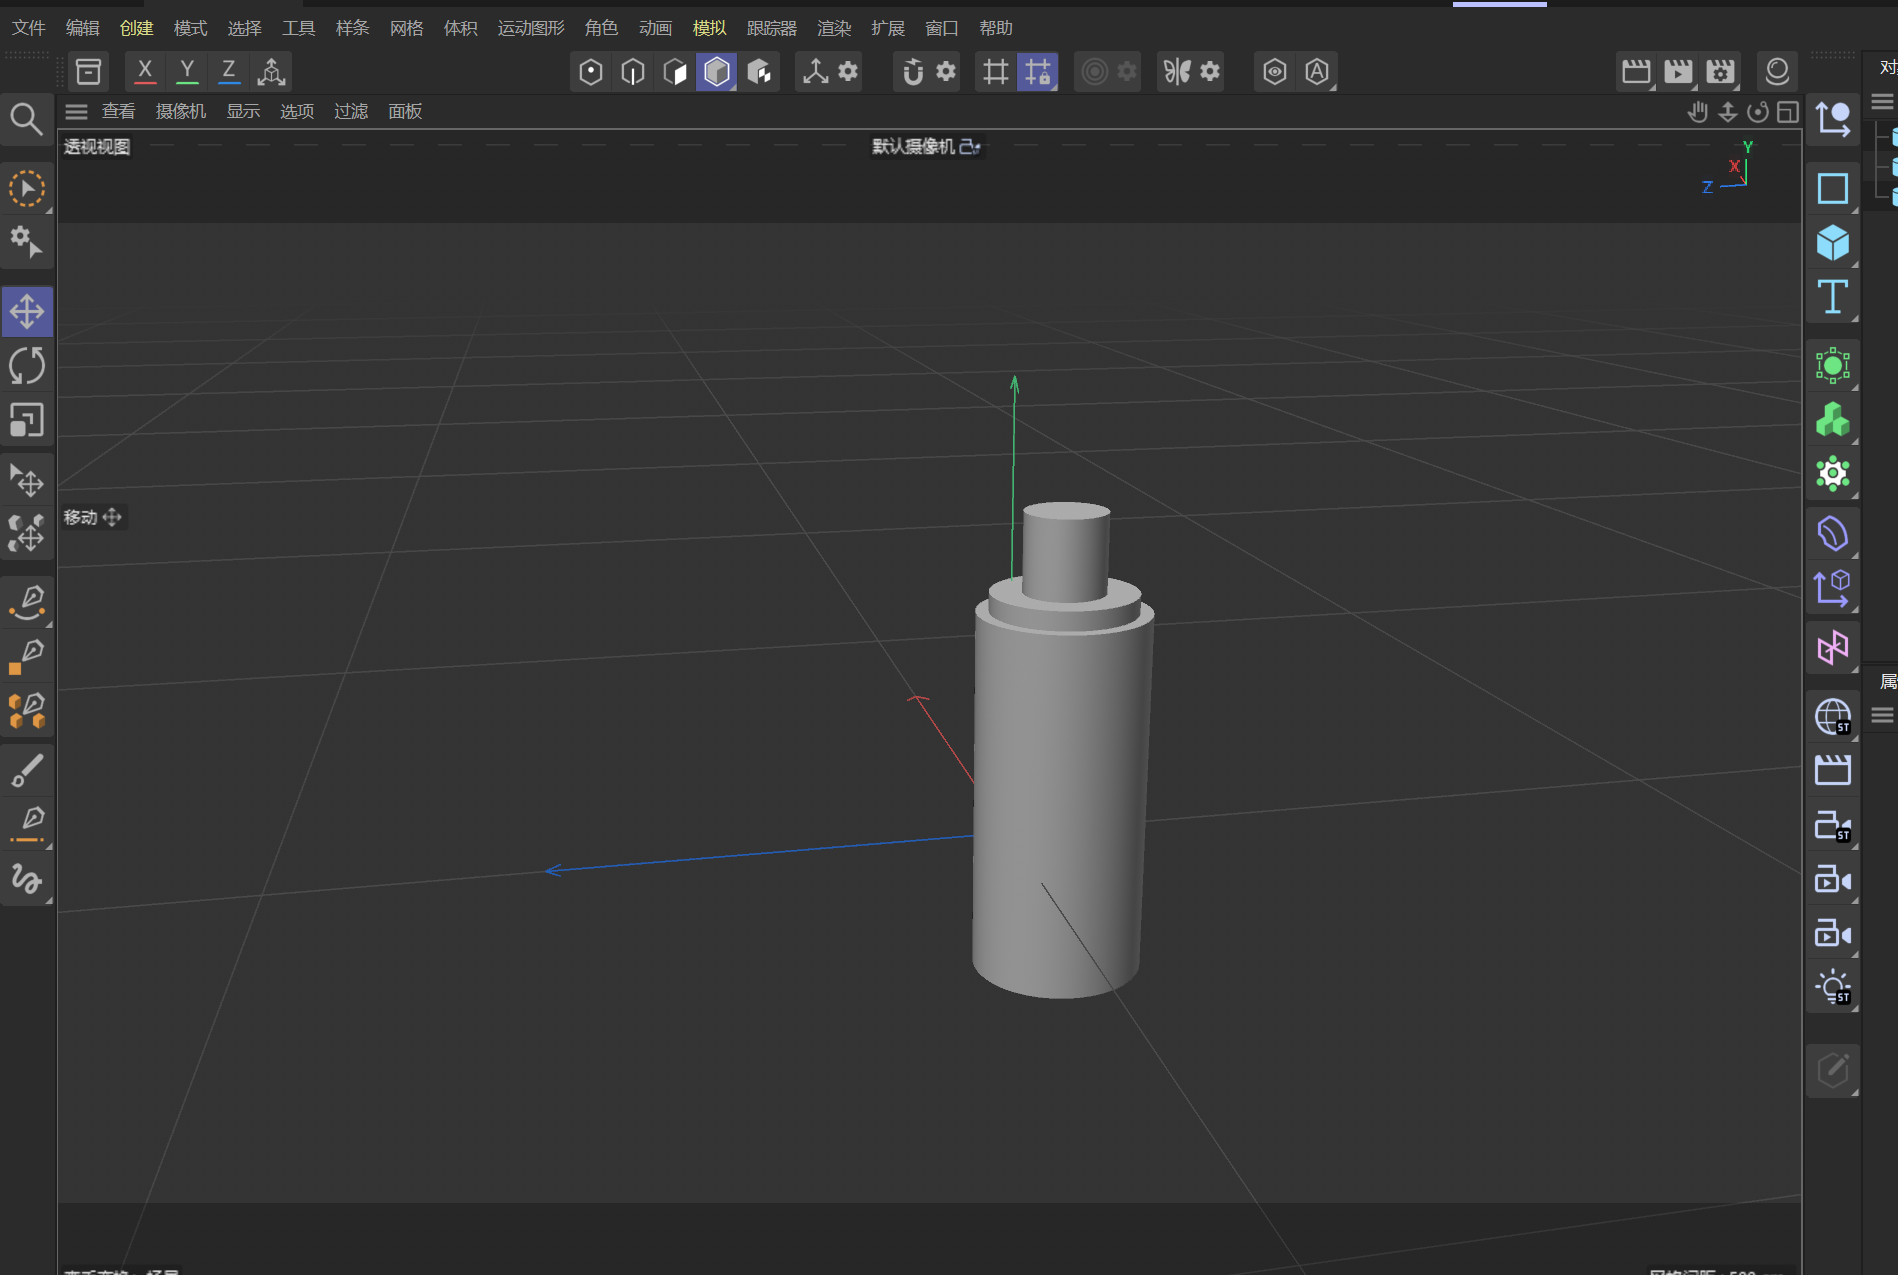
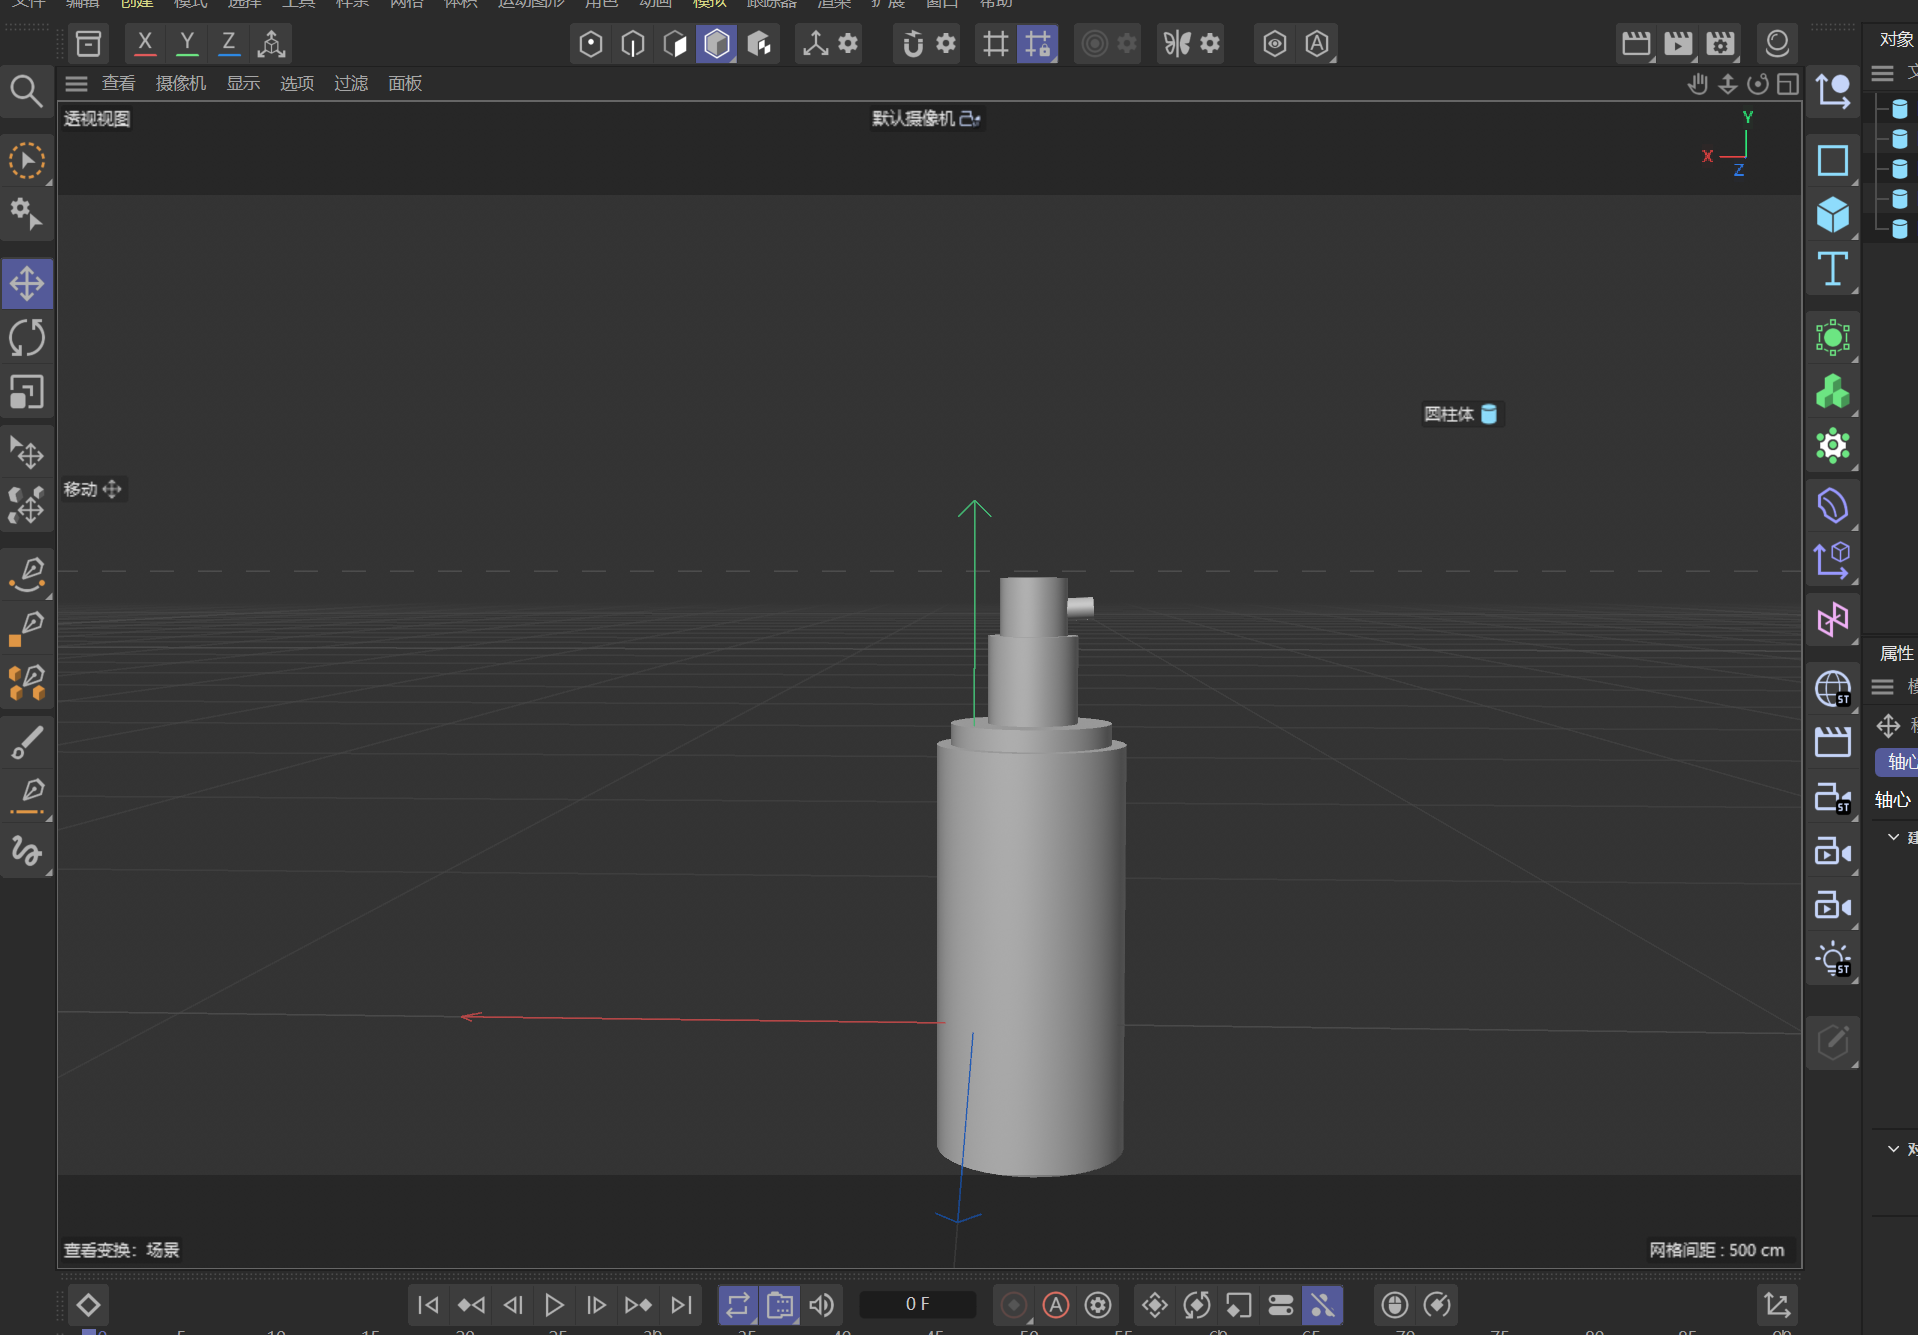
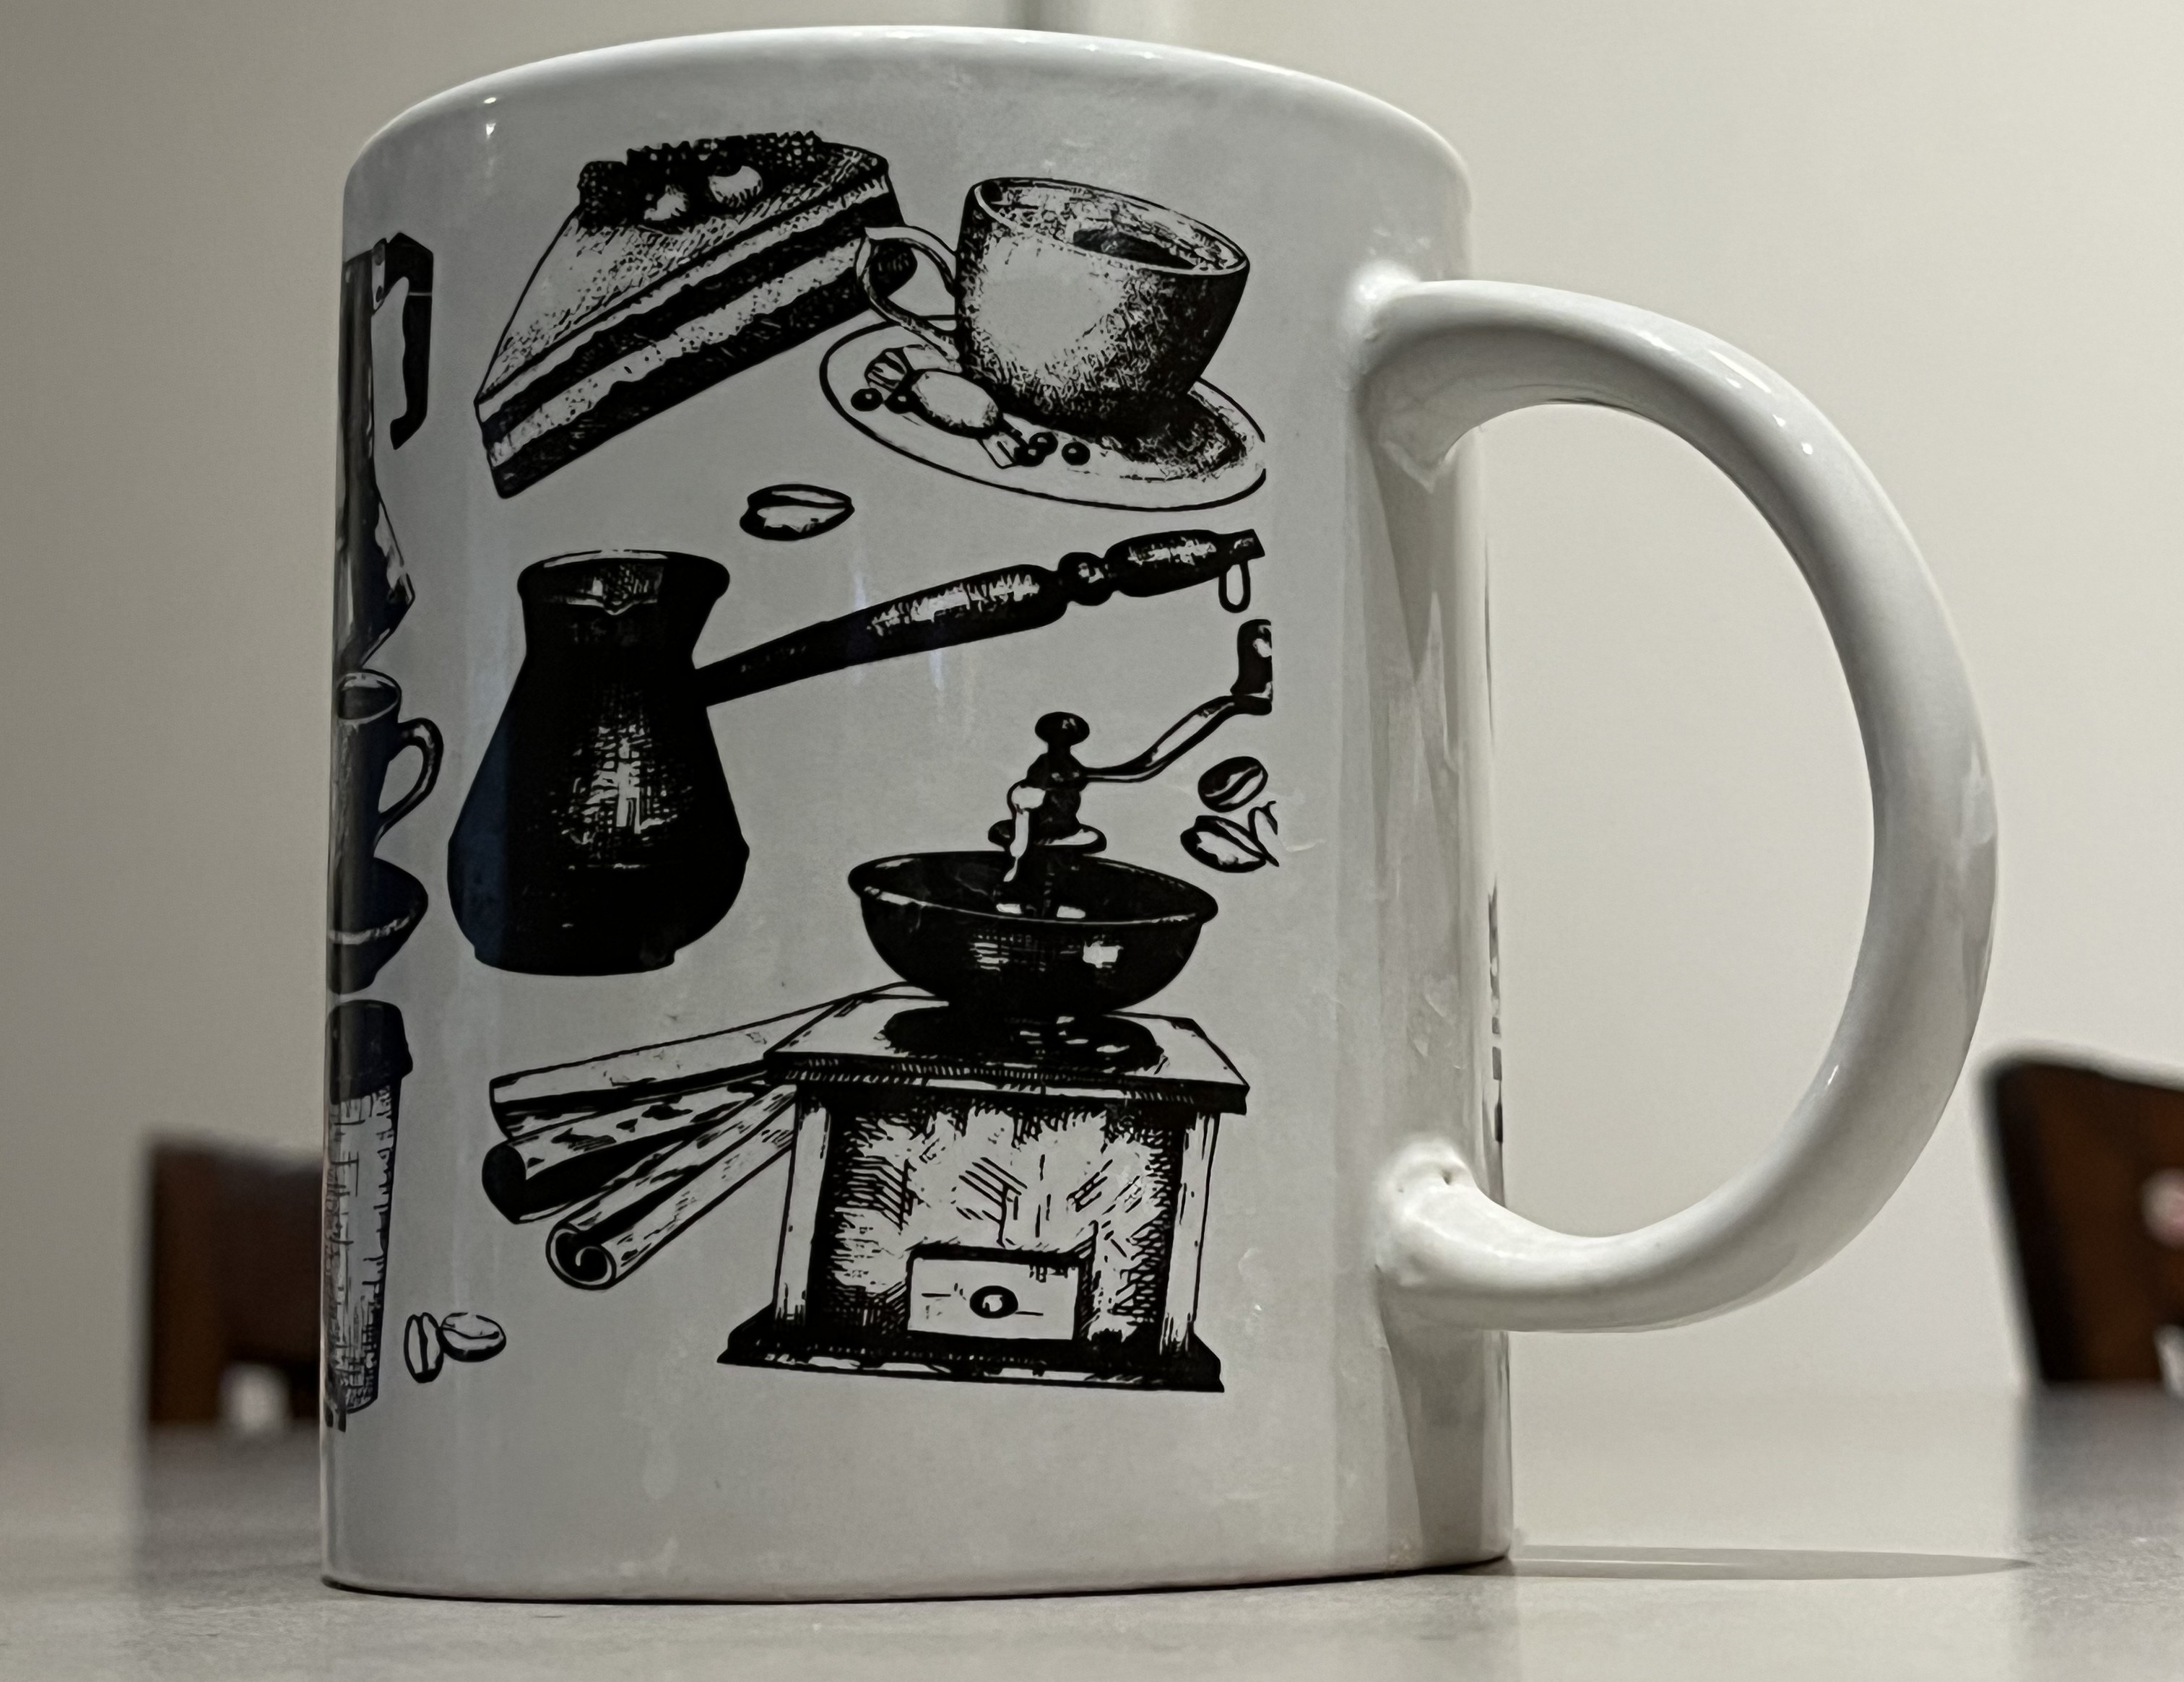
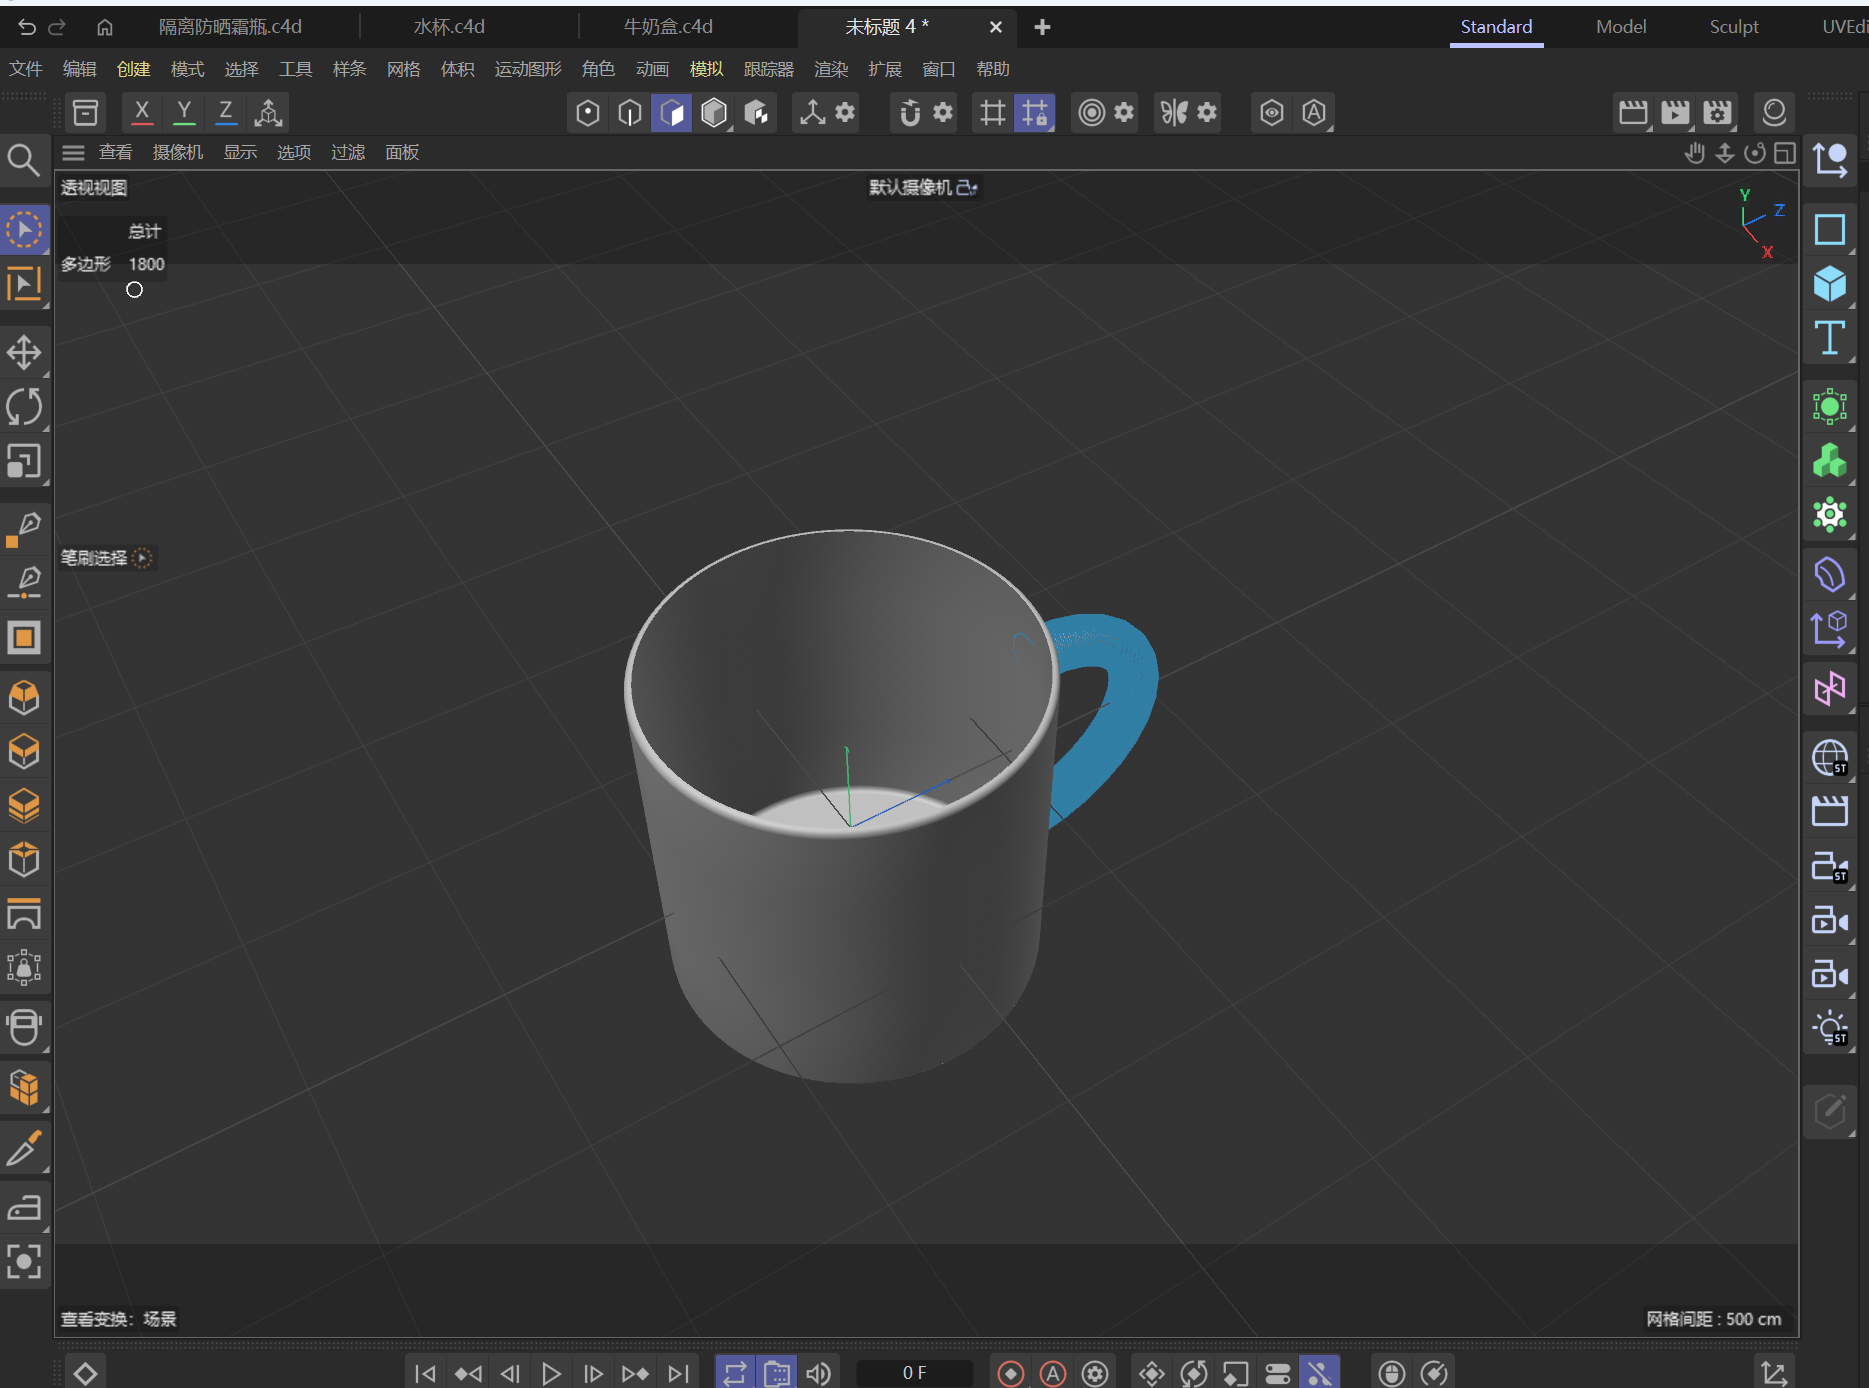
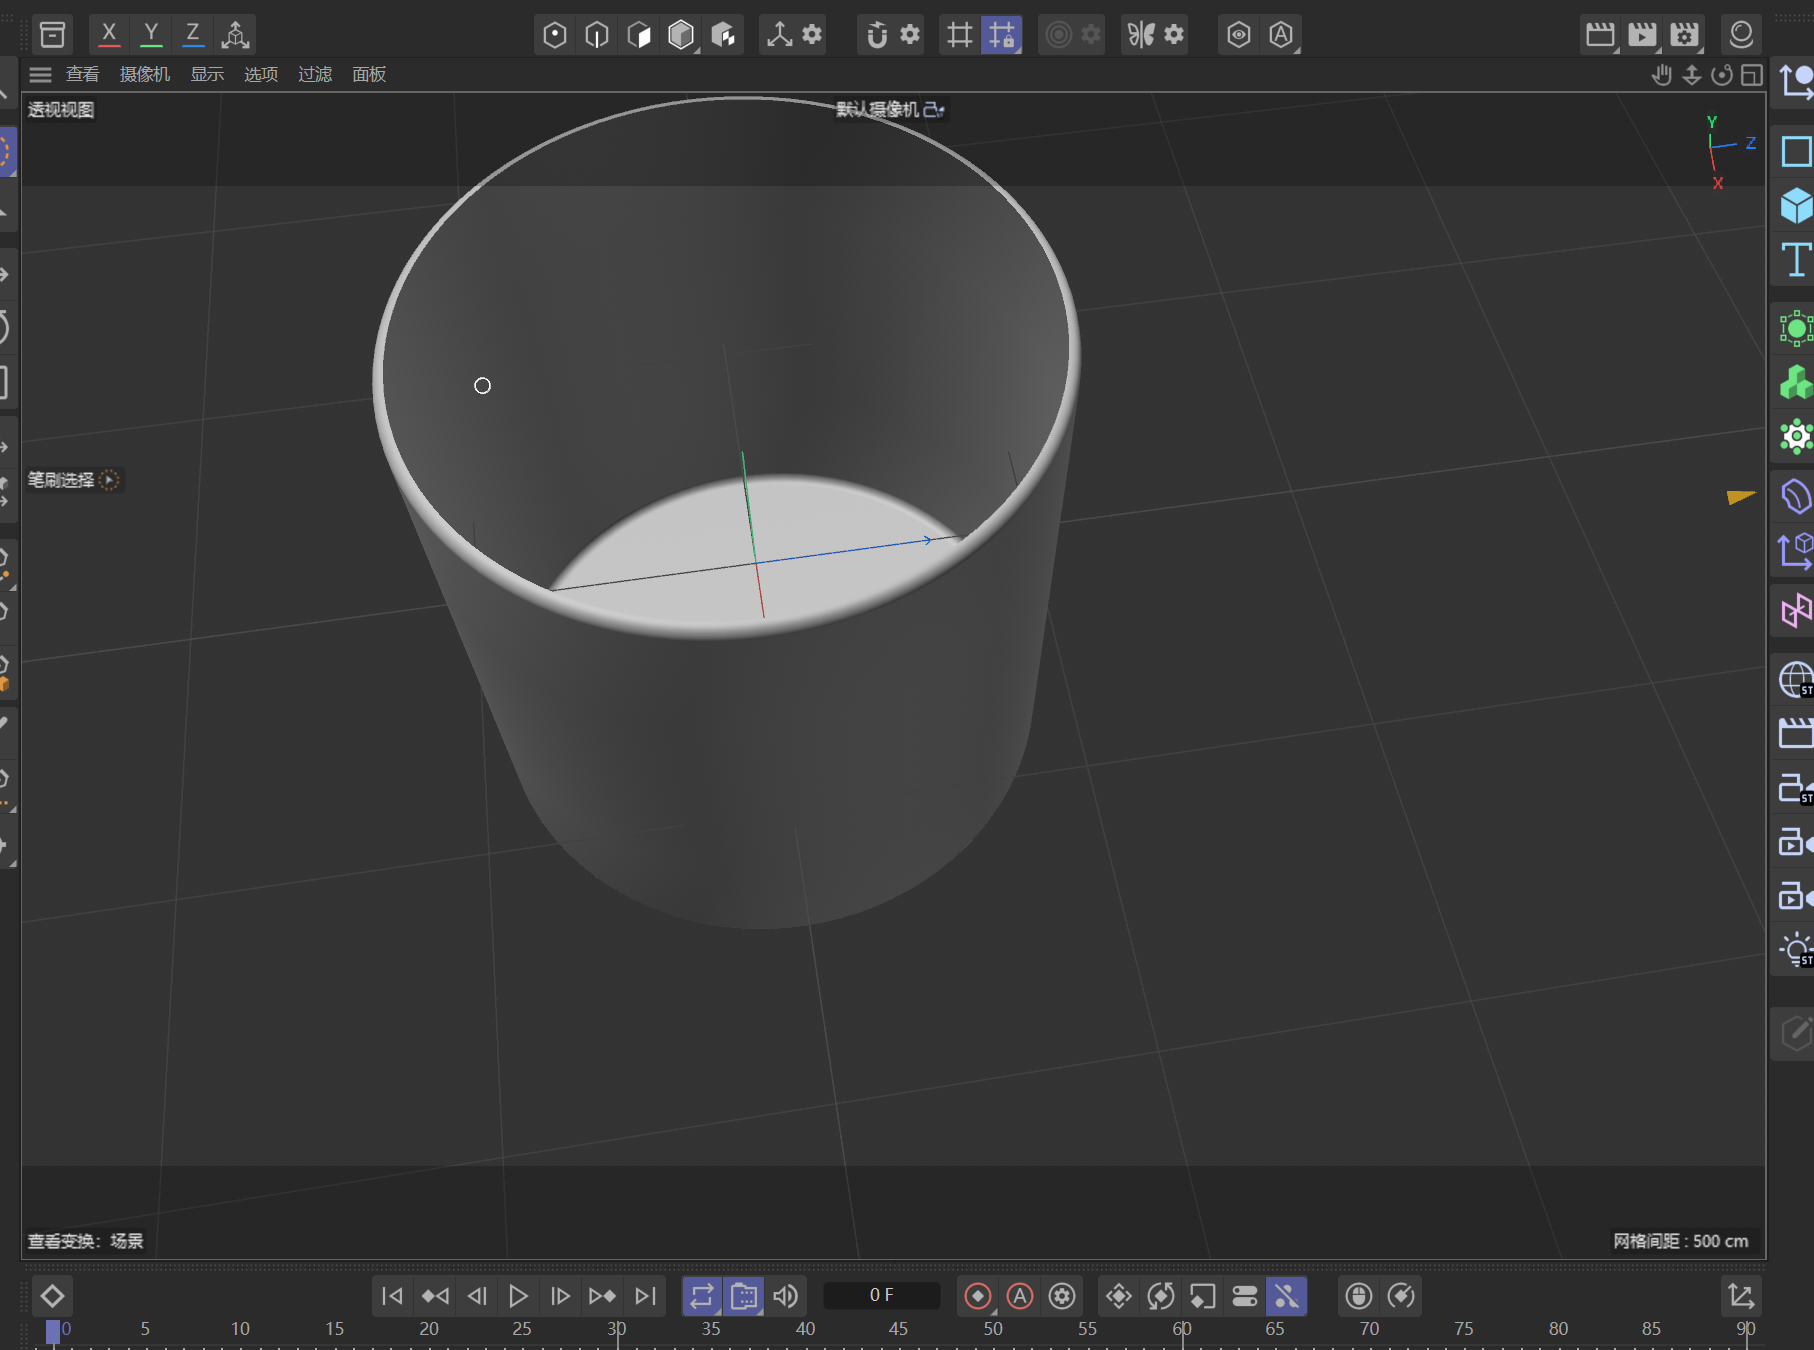
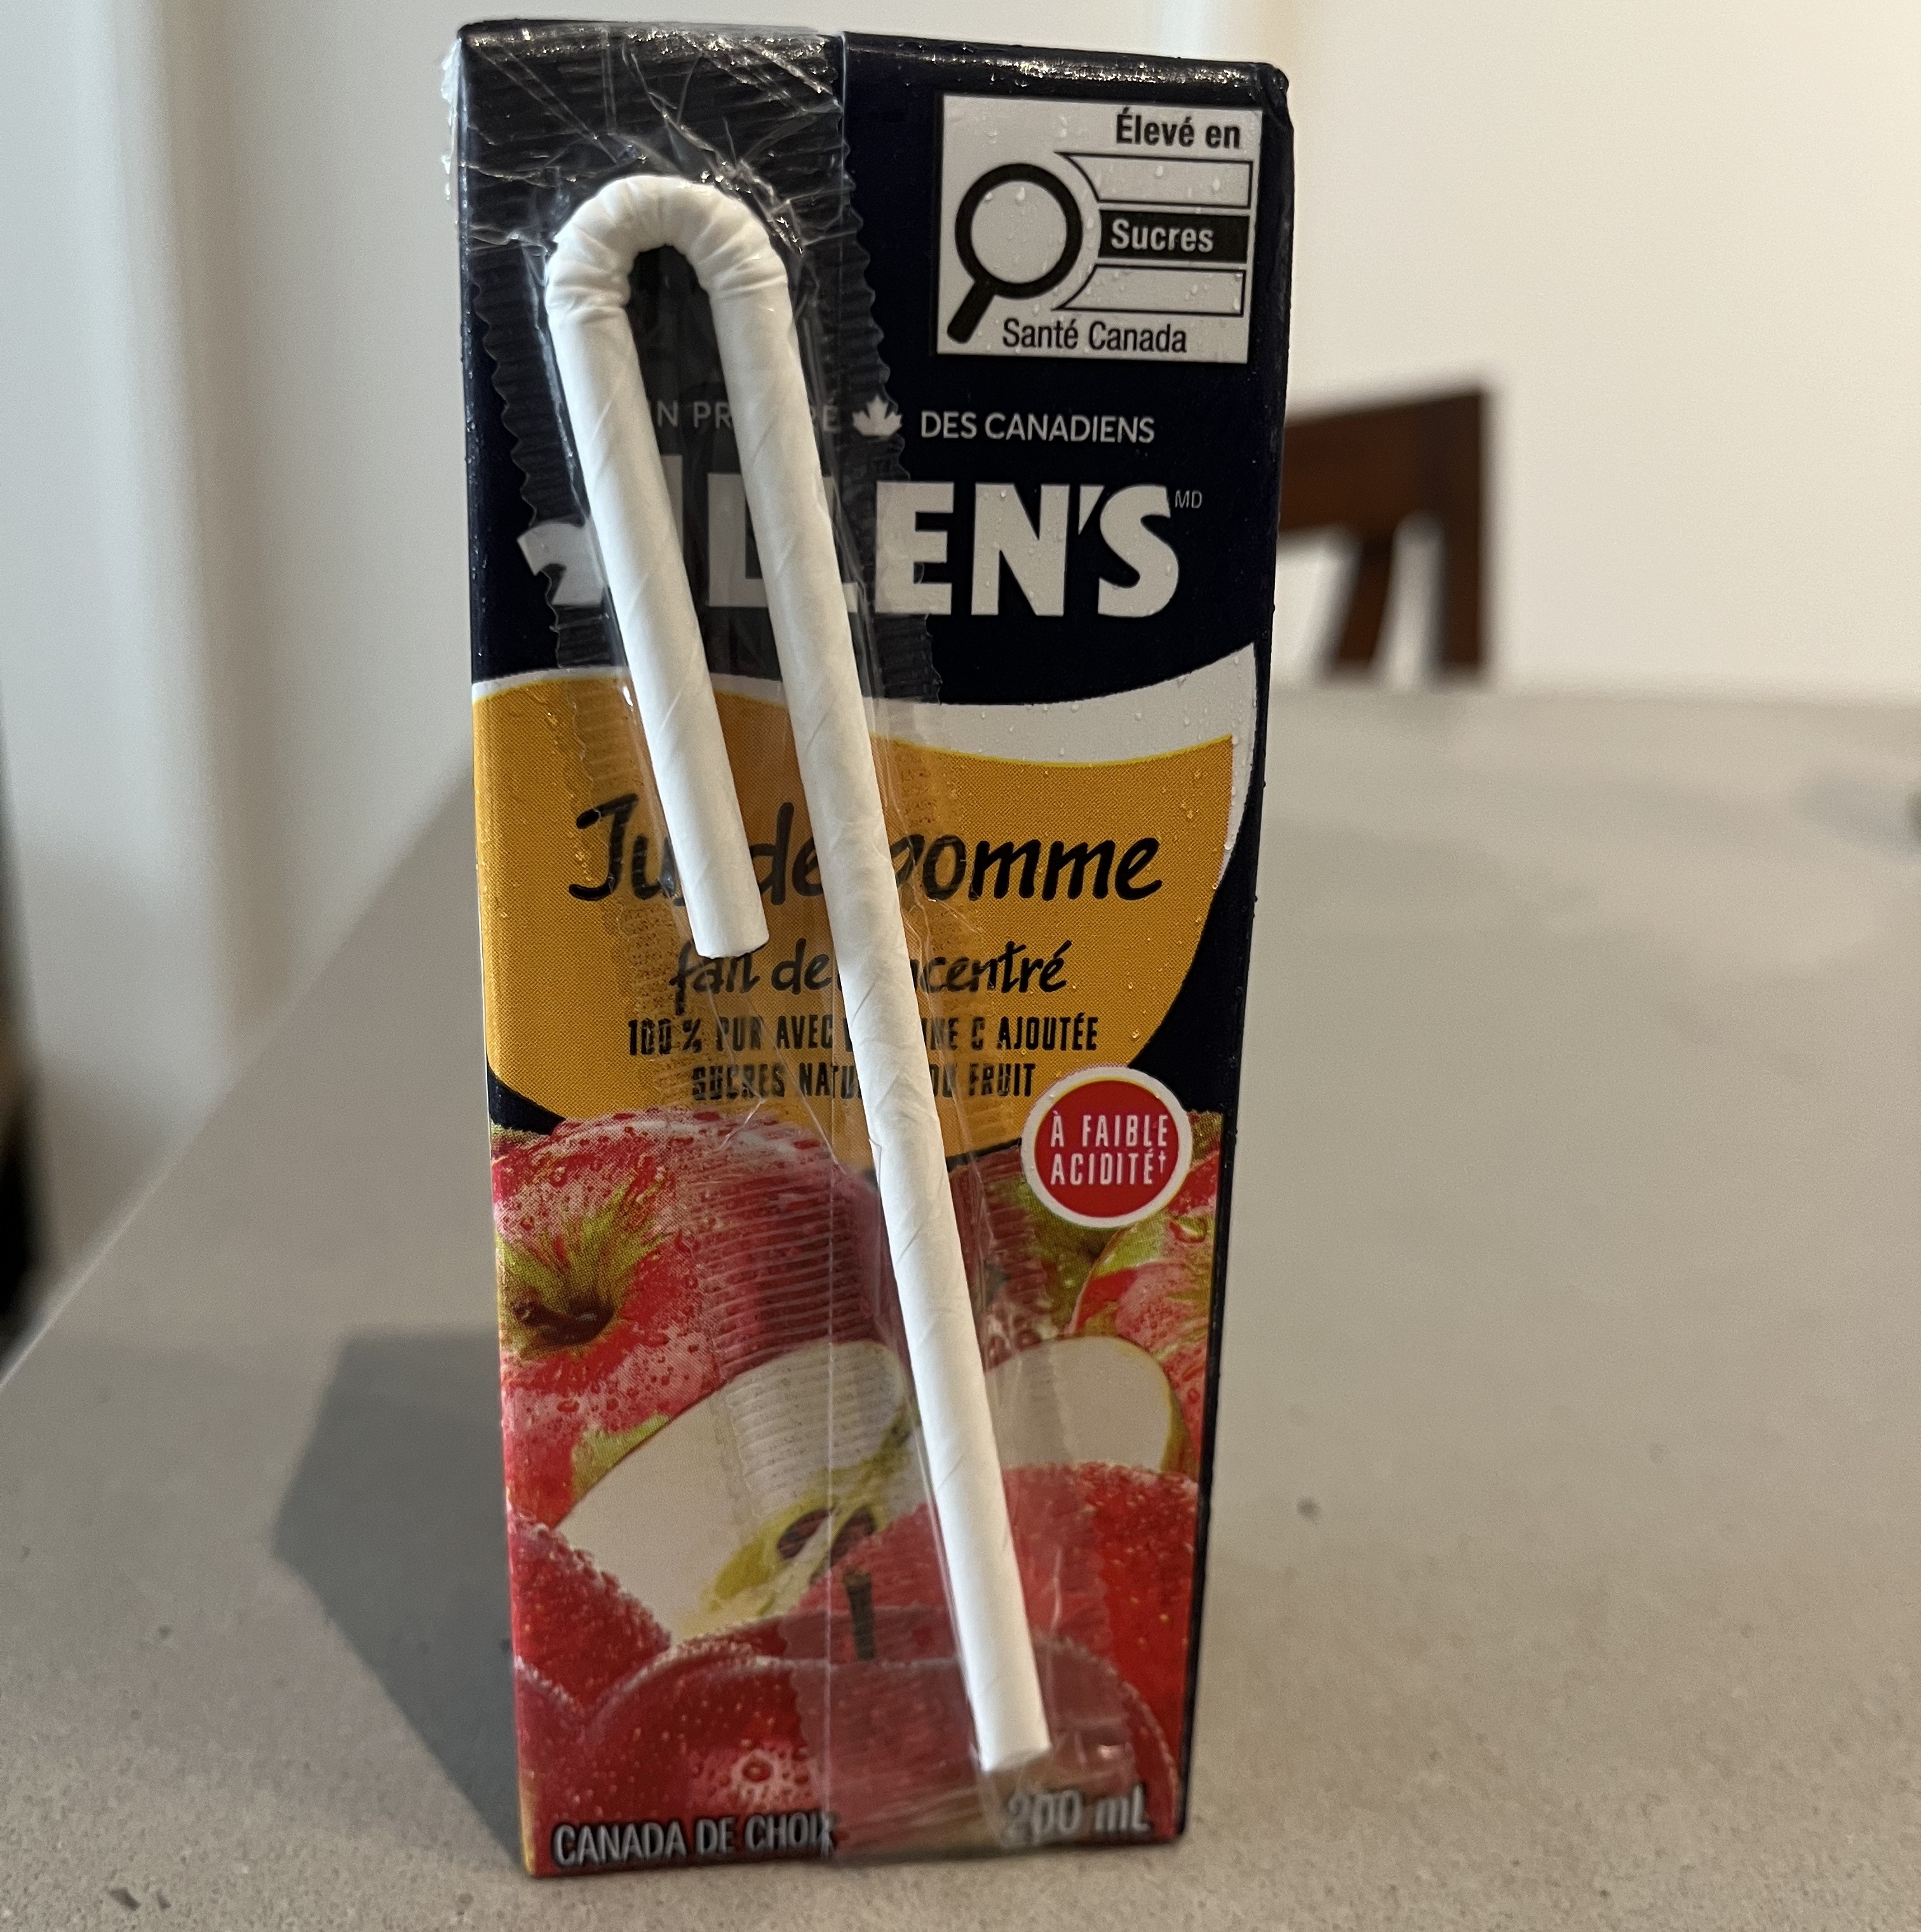
In this module, I practiced using Cinema 4D and learned basic modeling techniques through tutorial videos. I experimented with different tools while working on Cinema 4D. I also took photos of different objects and forms from different angles to document what their shapes more clearly.

Design Challenge 1
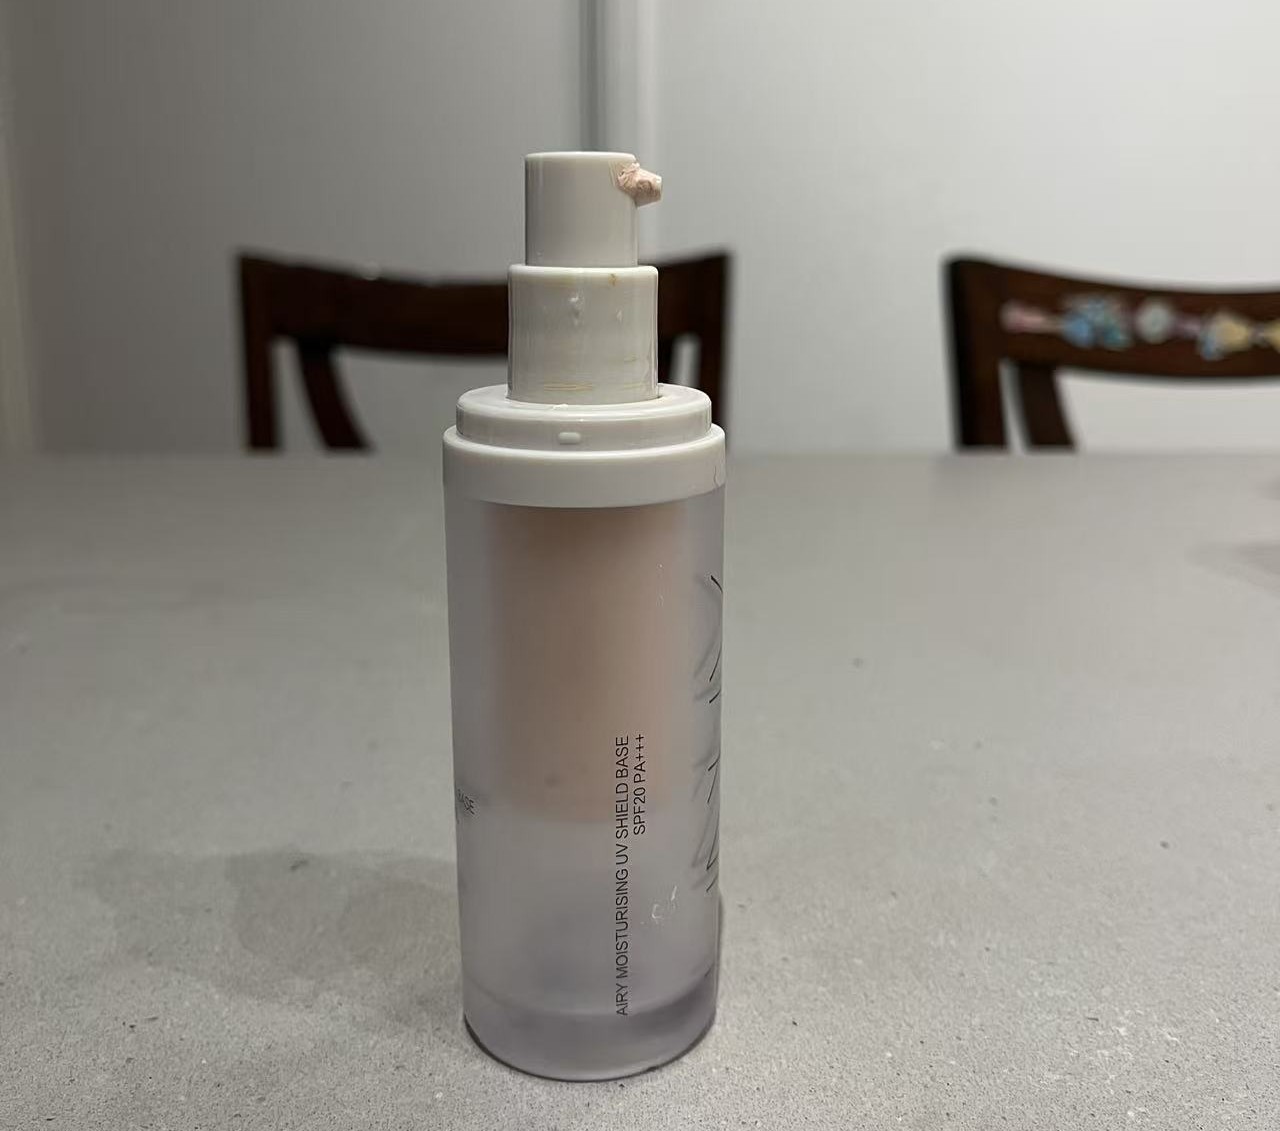
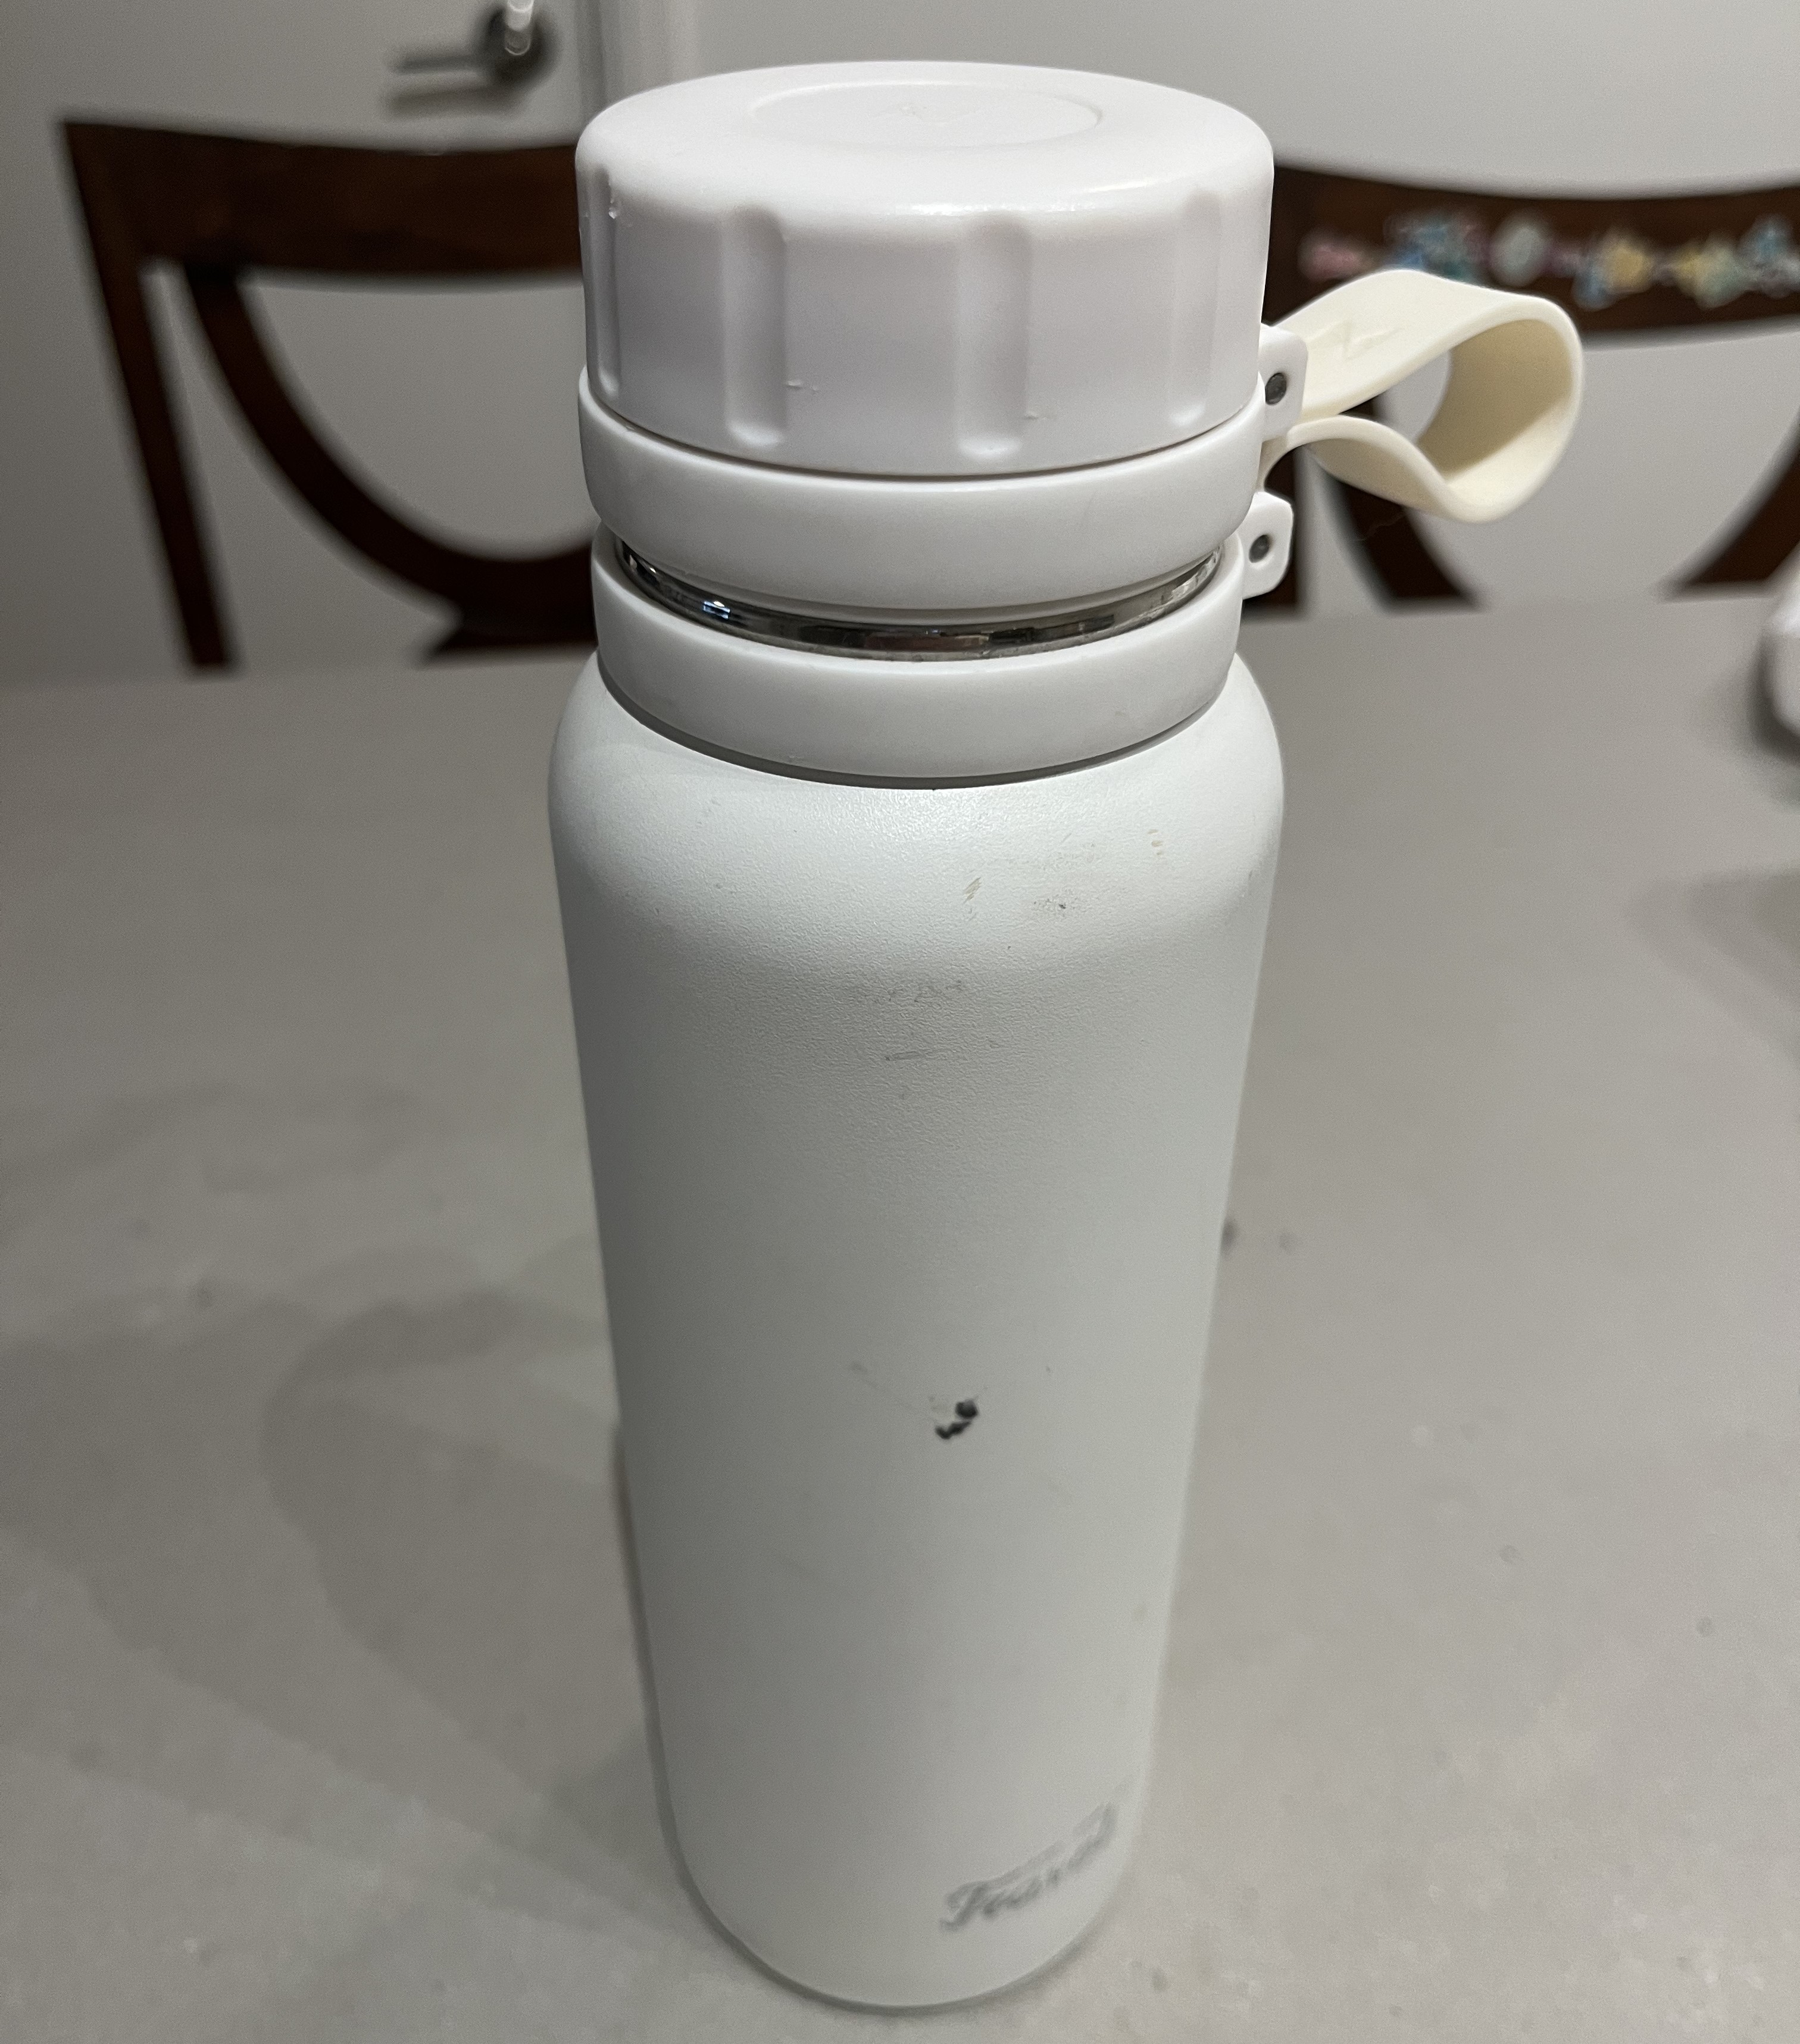
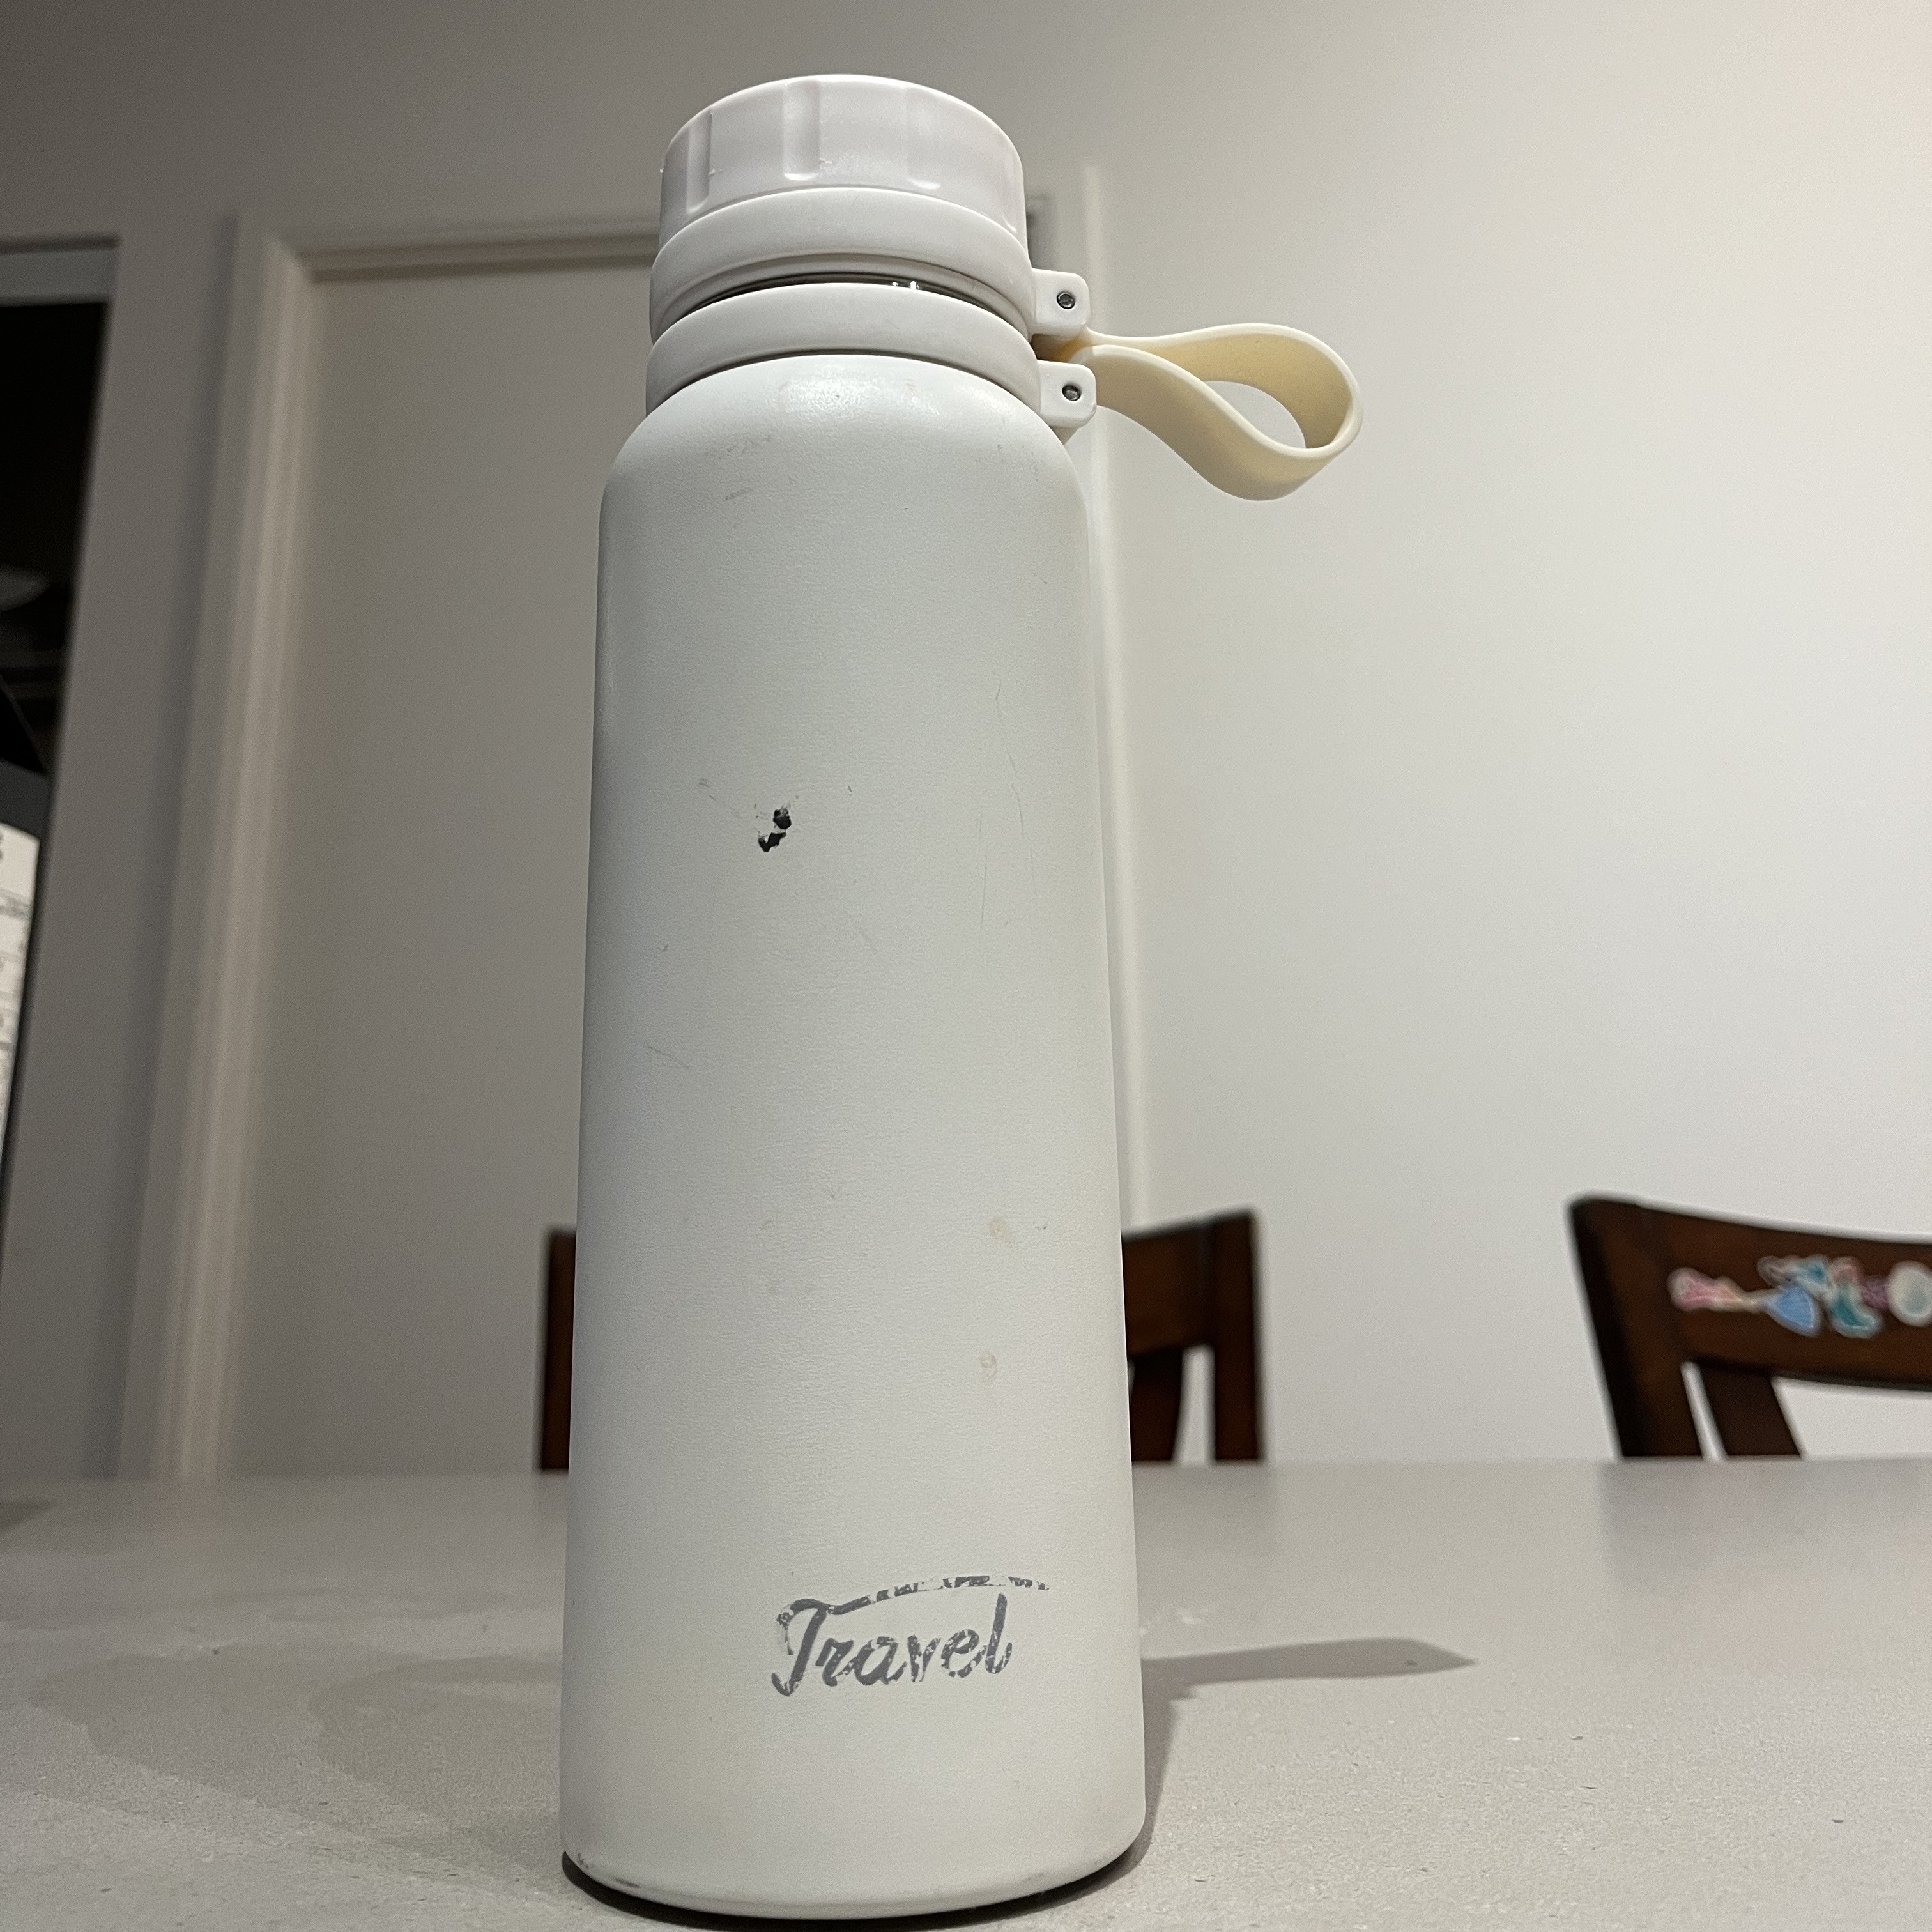
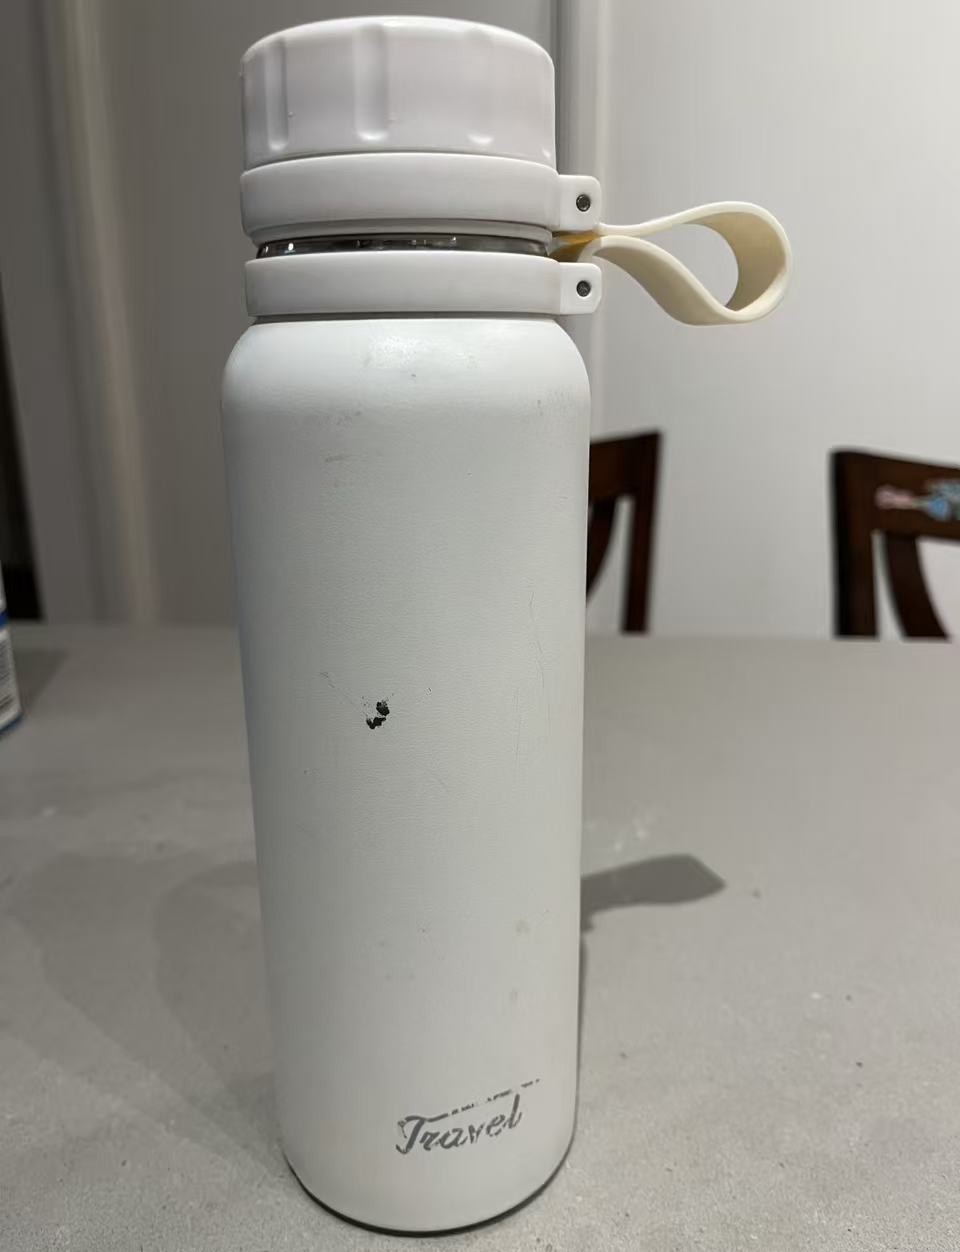
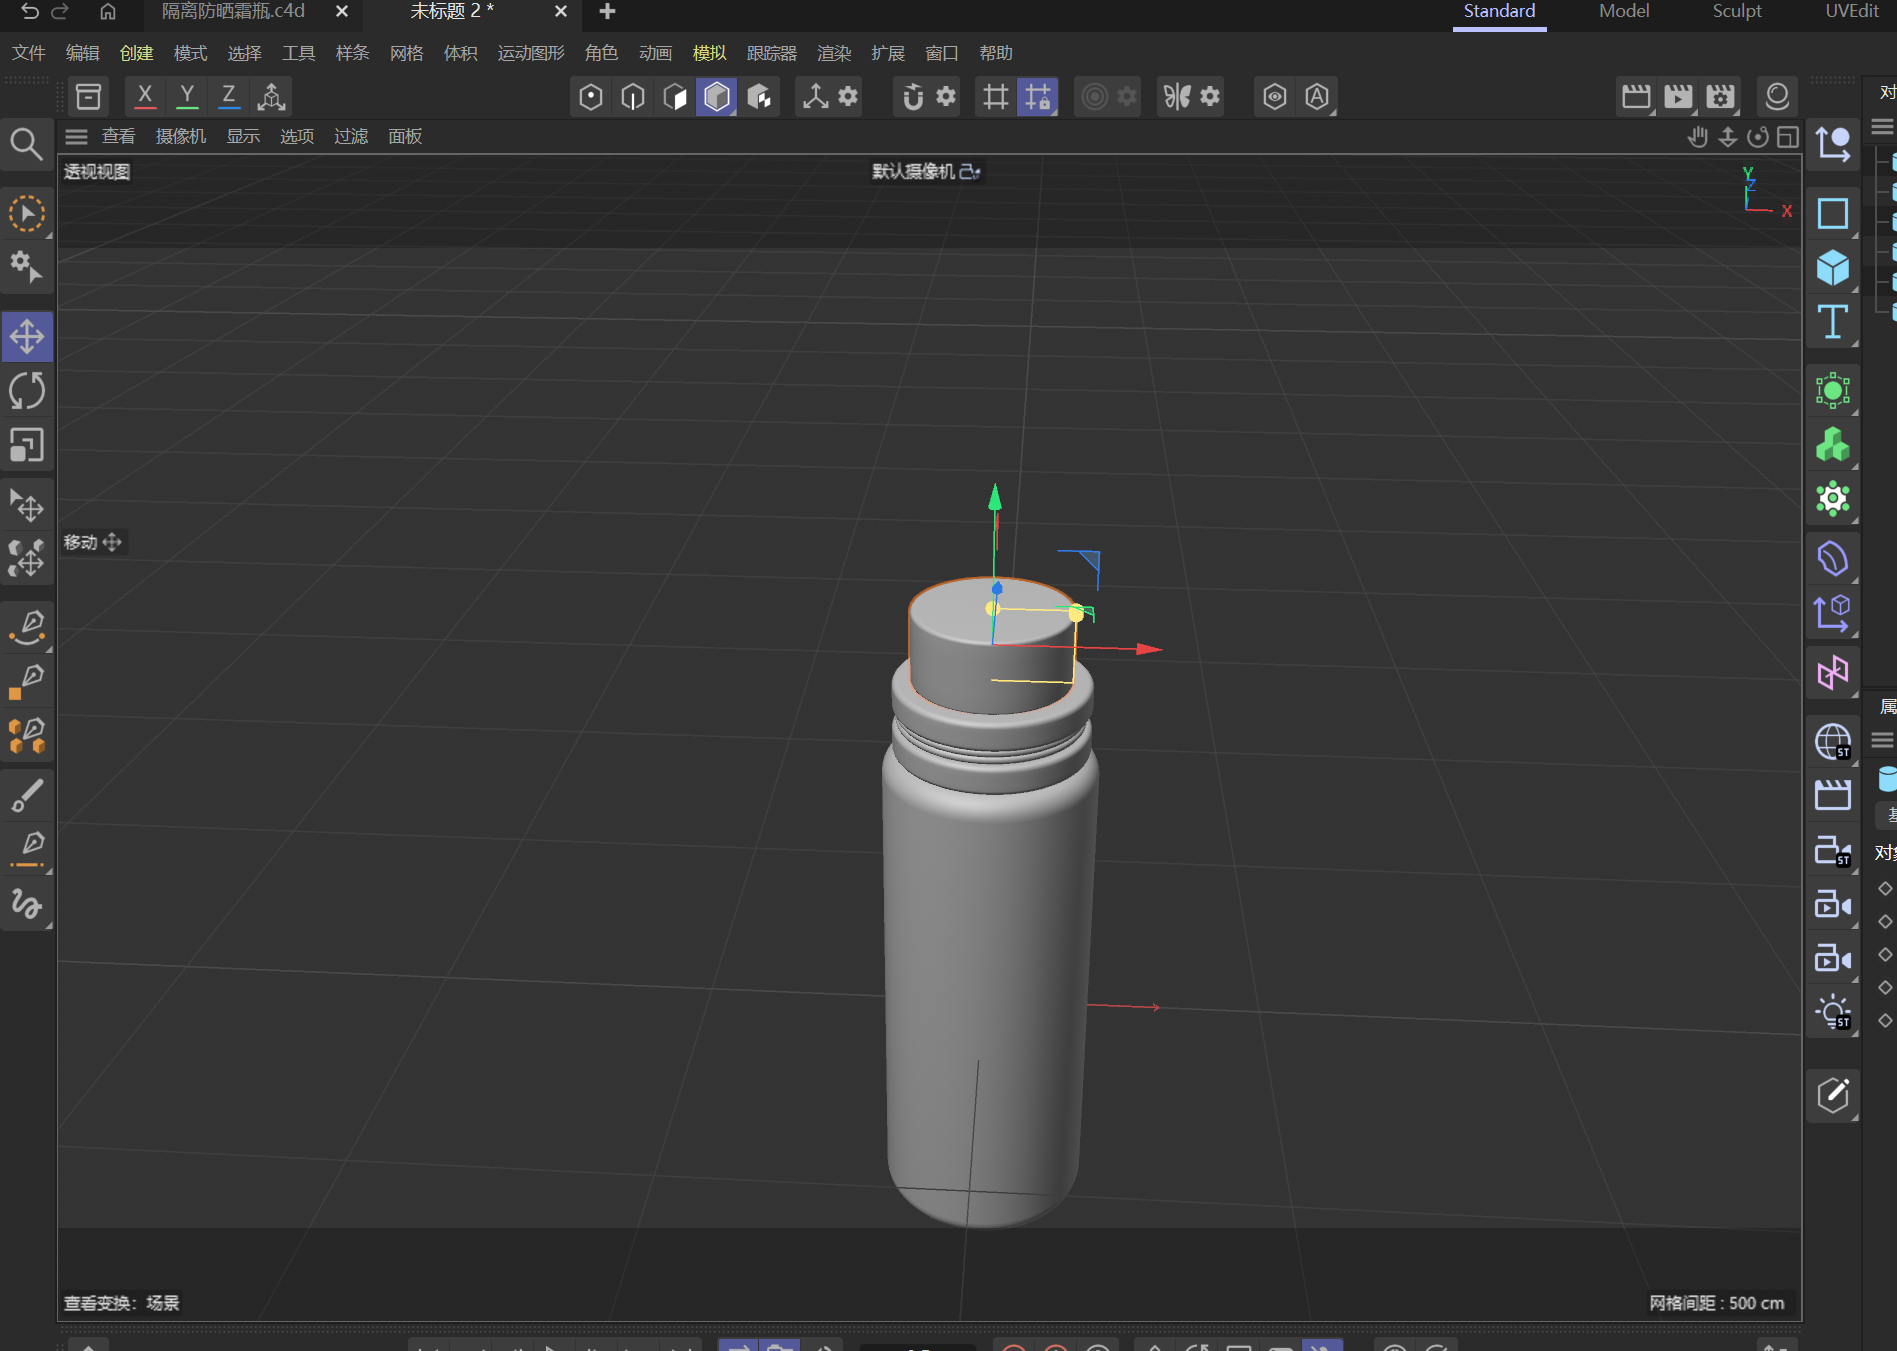
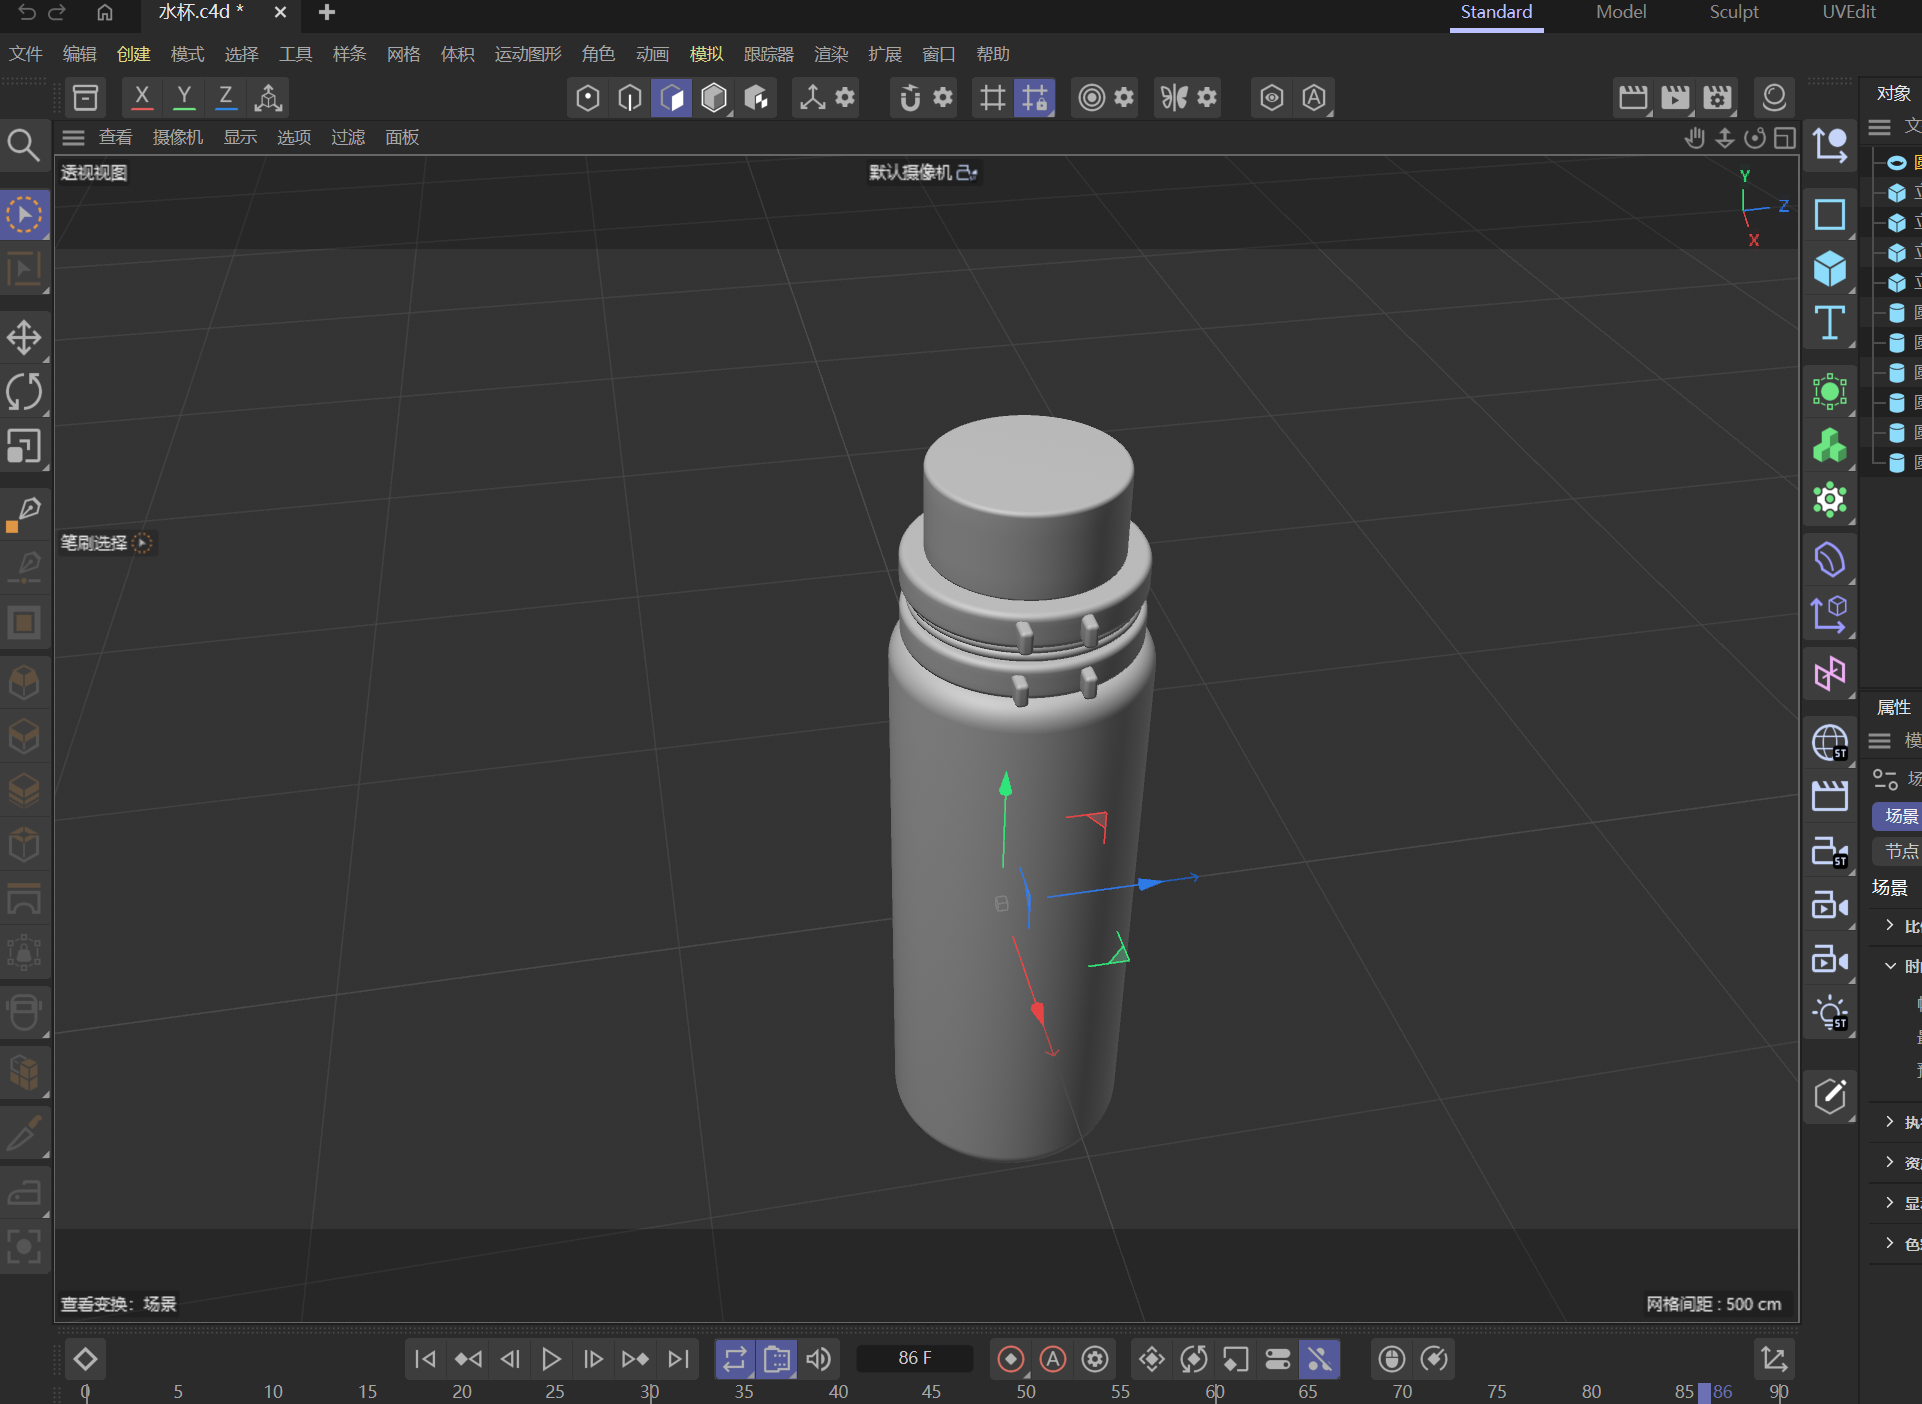
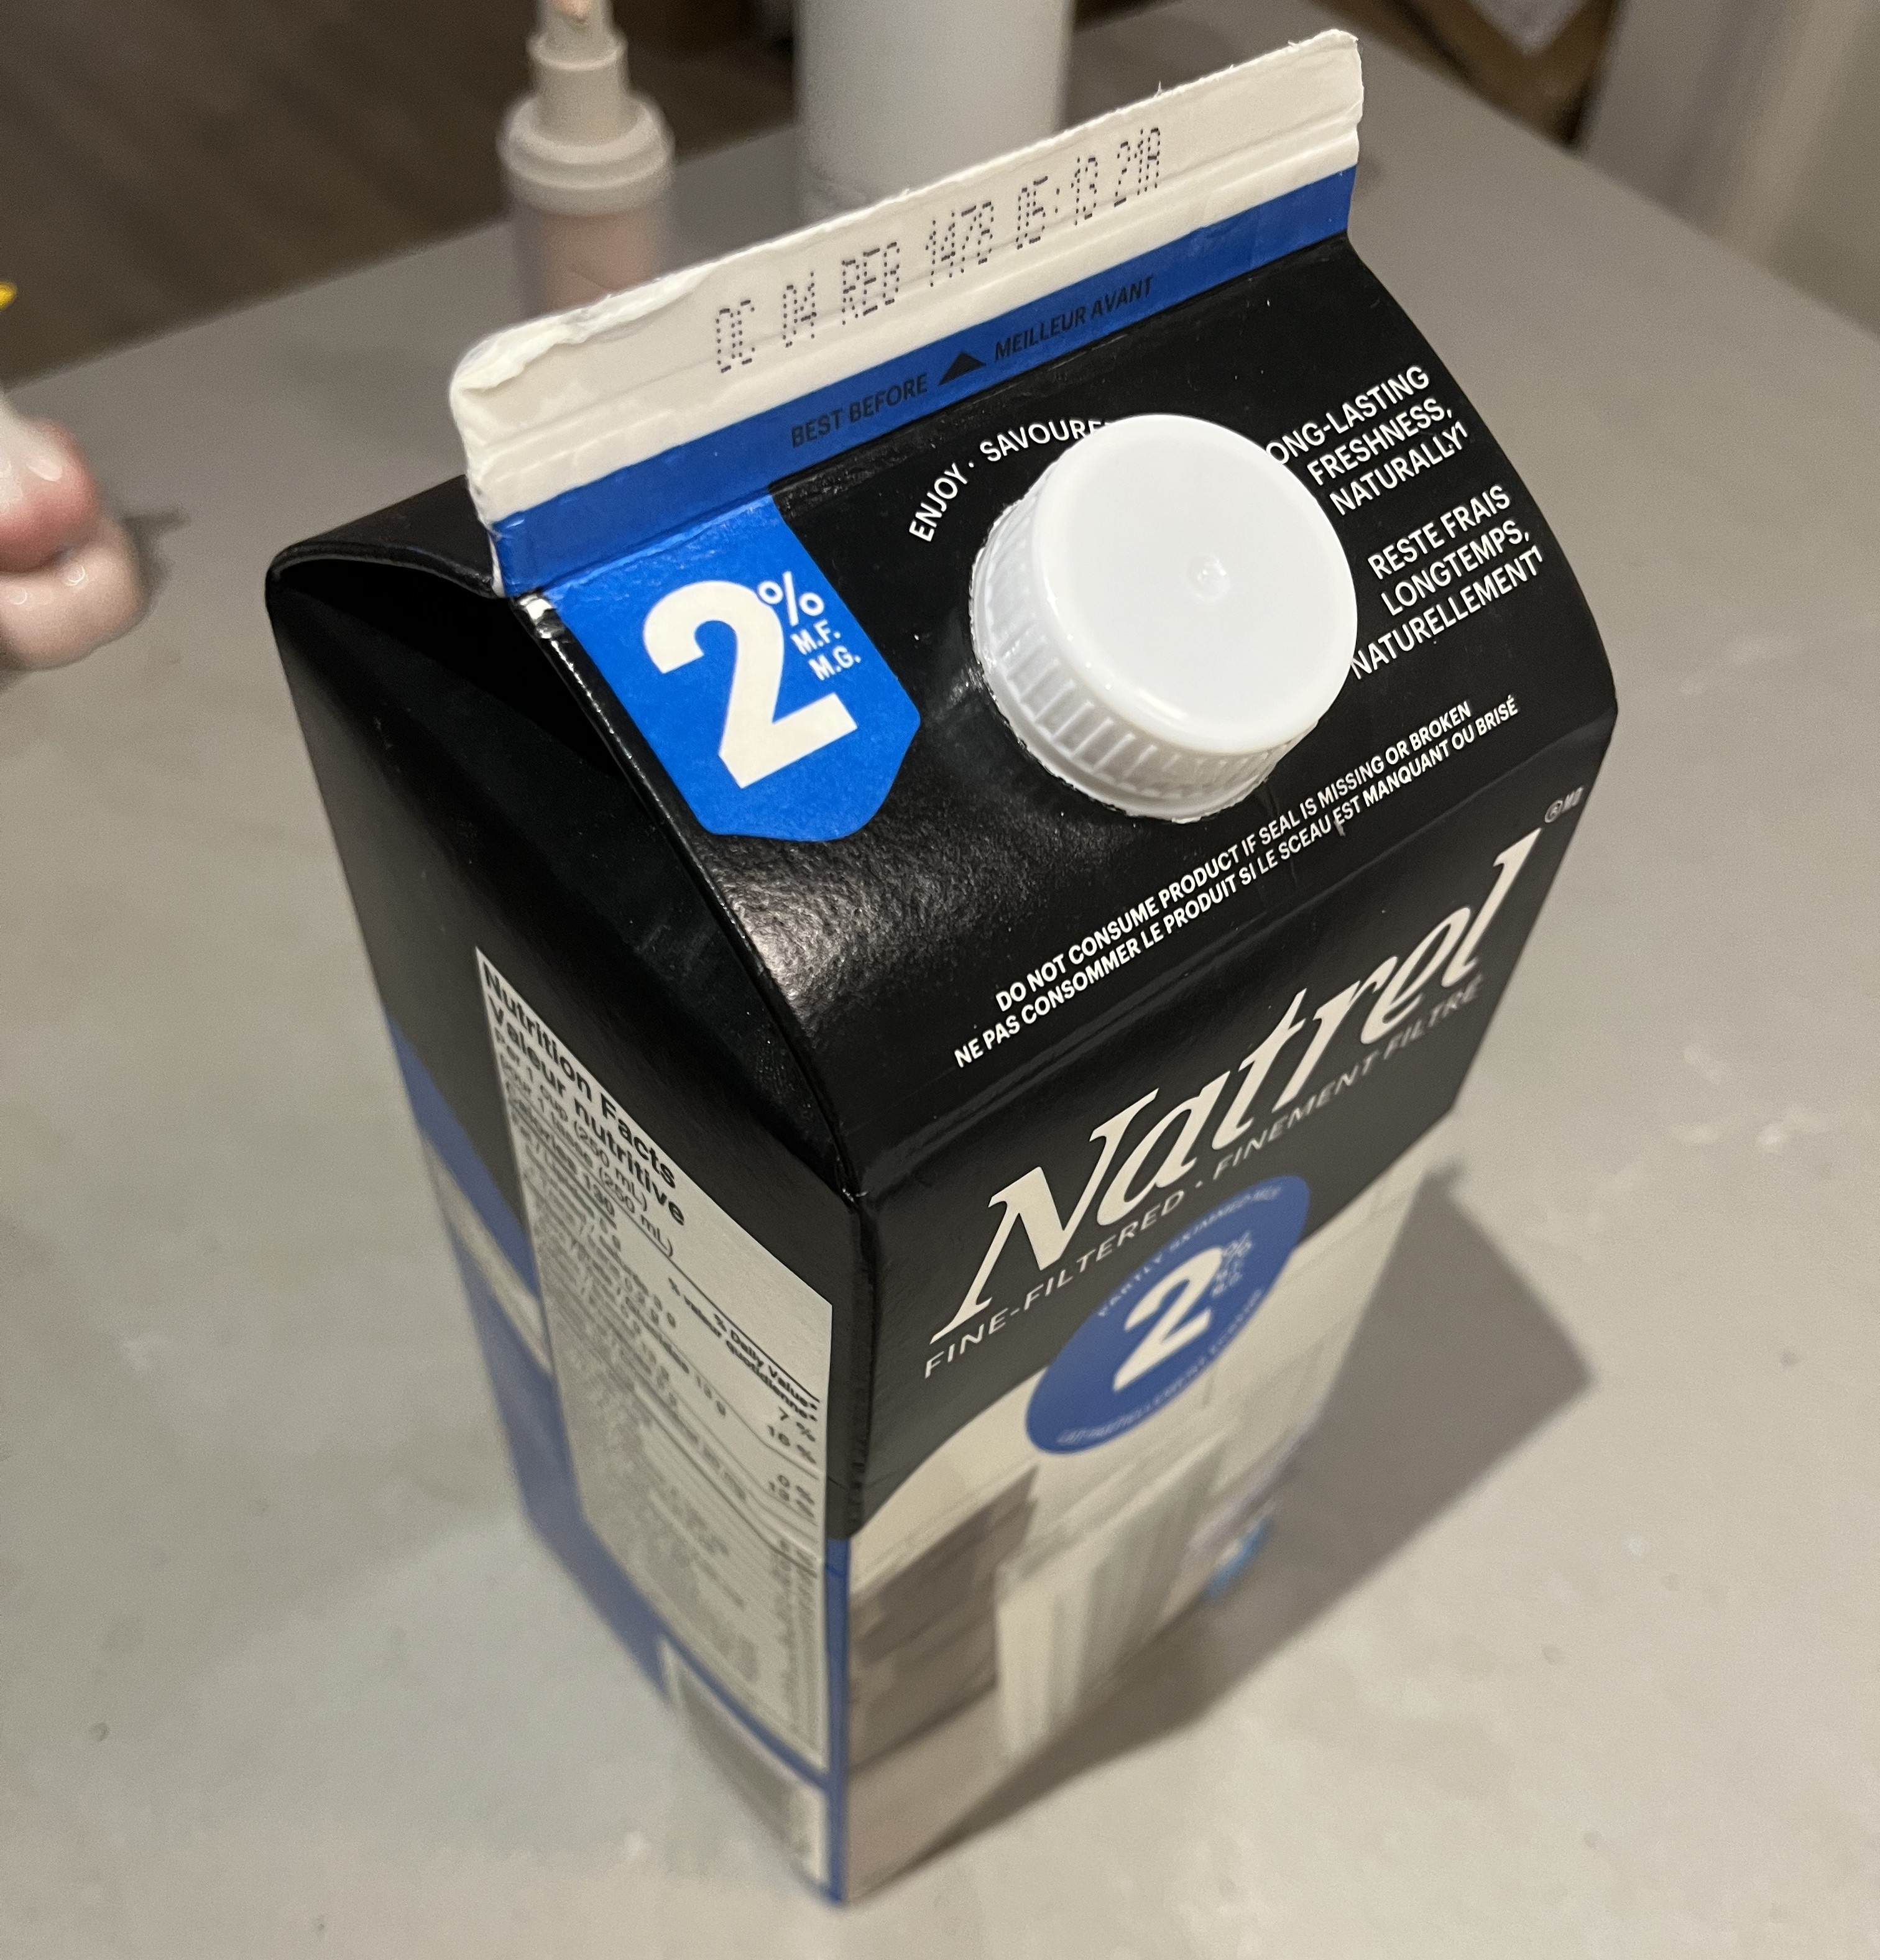
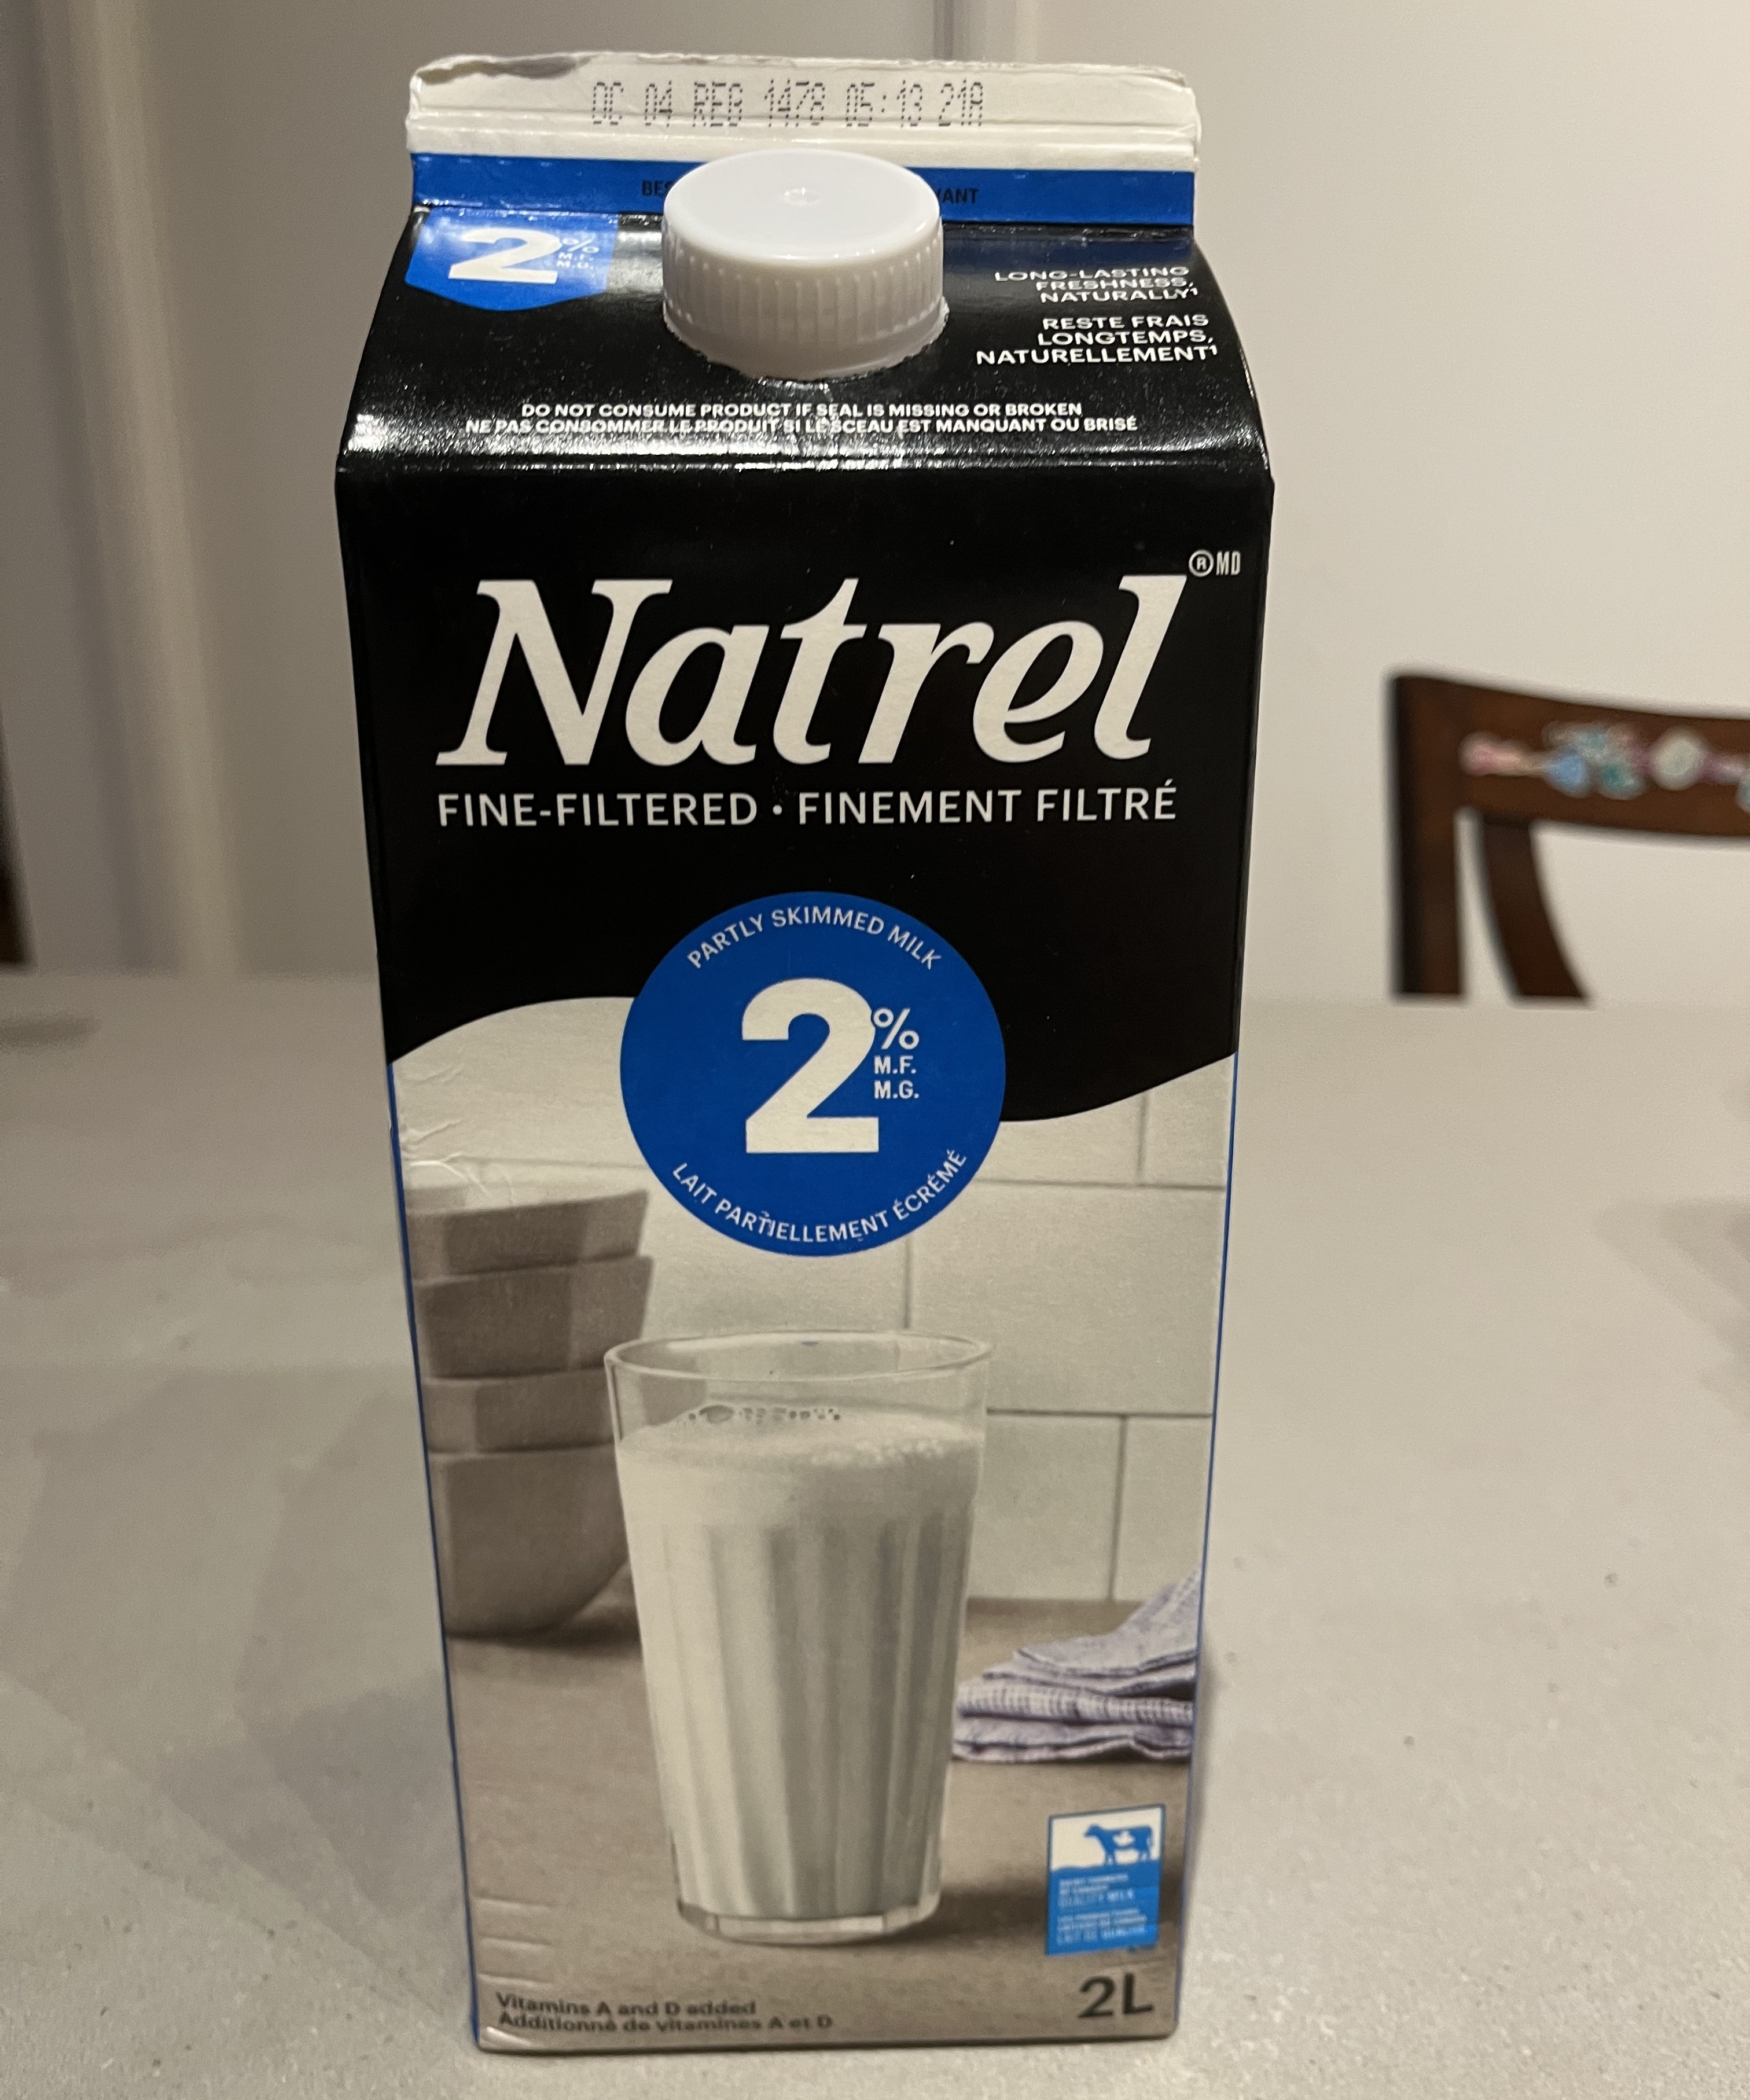
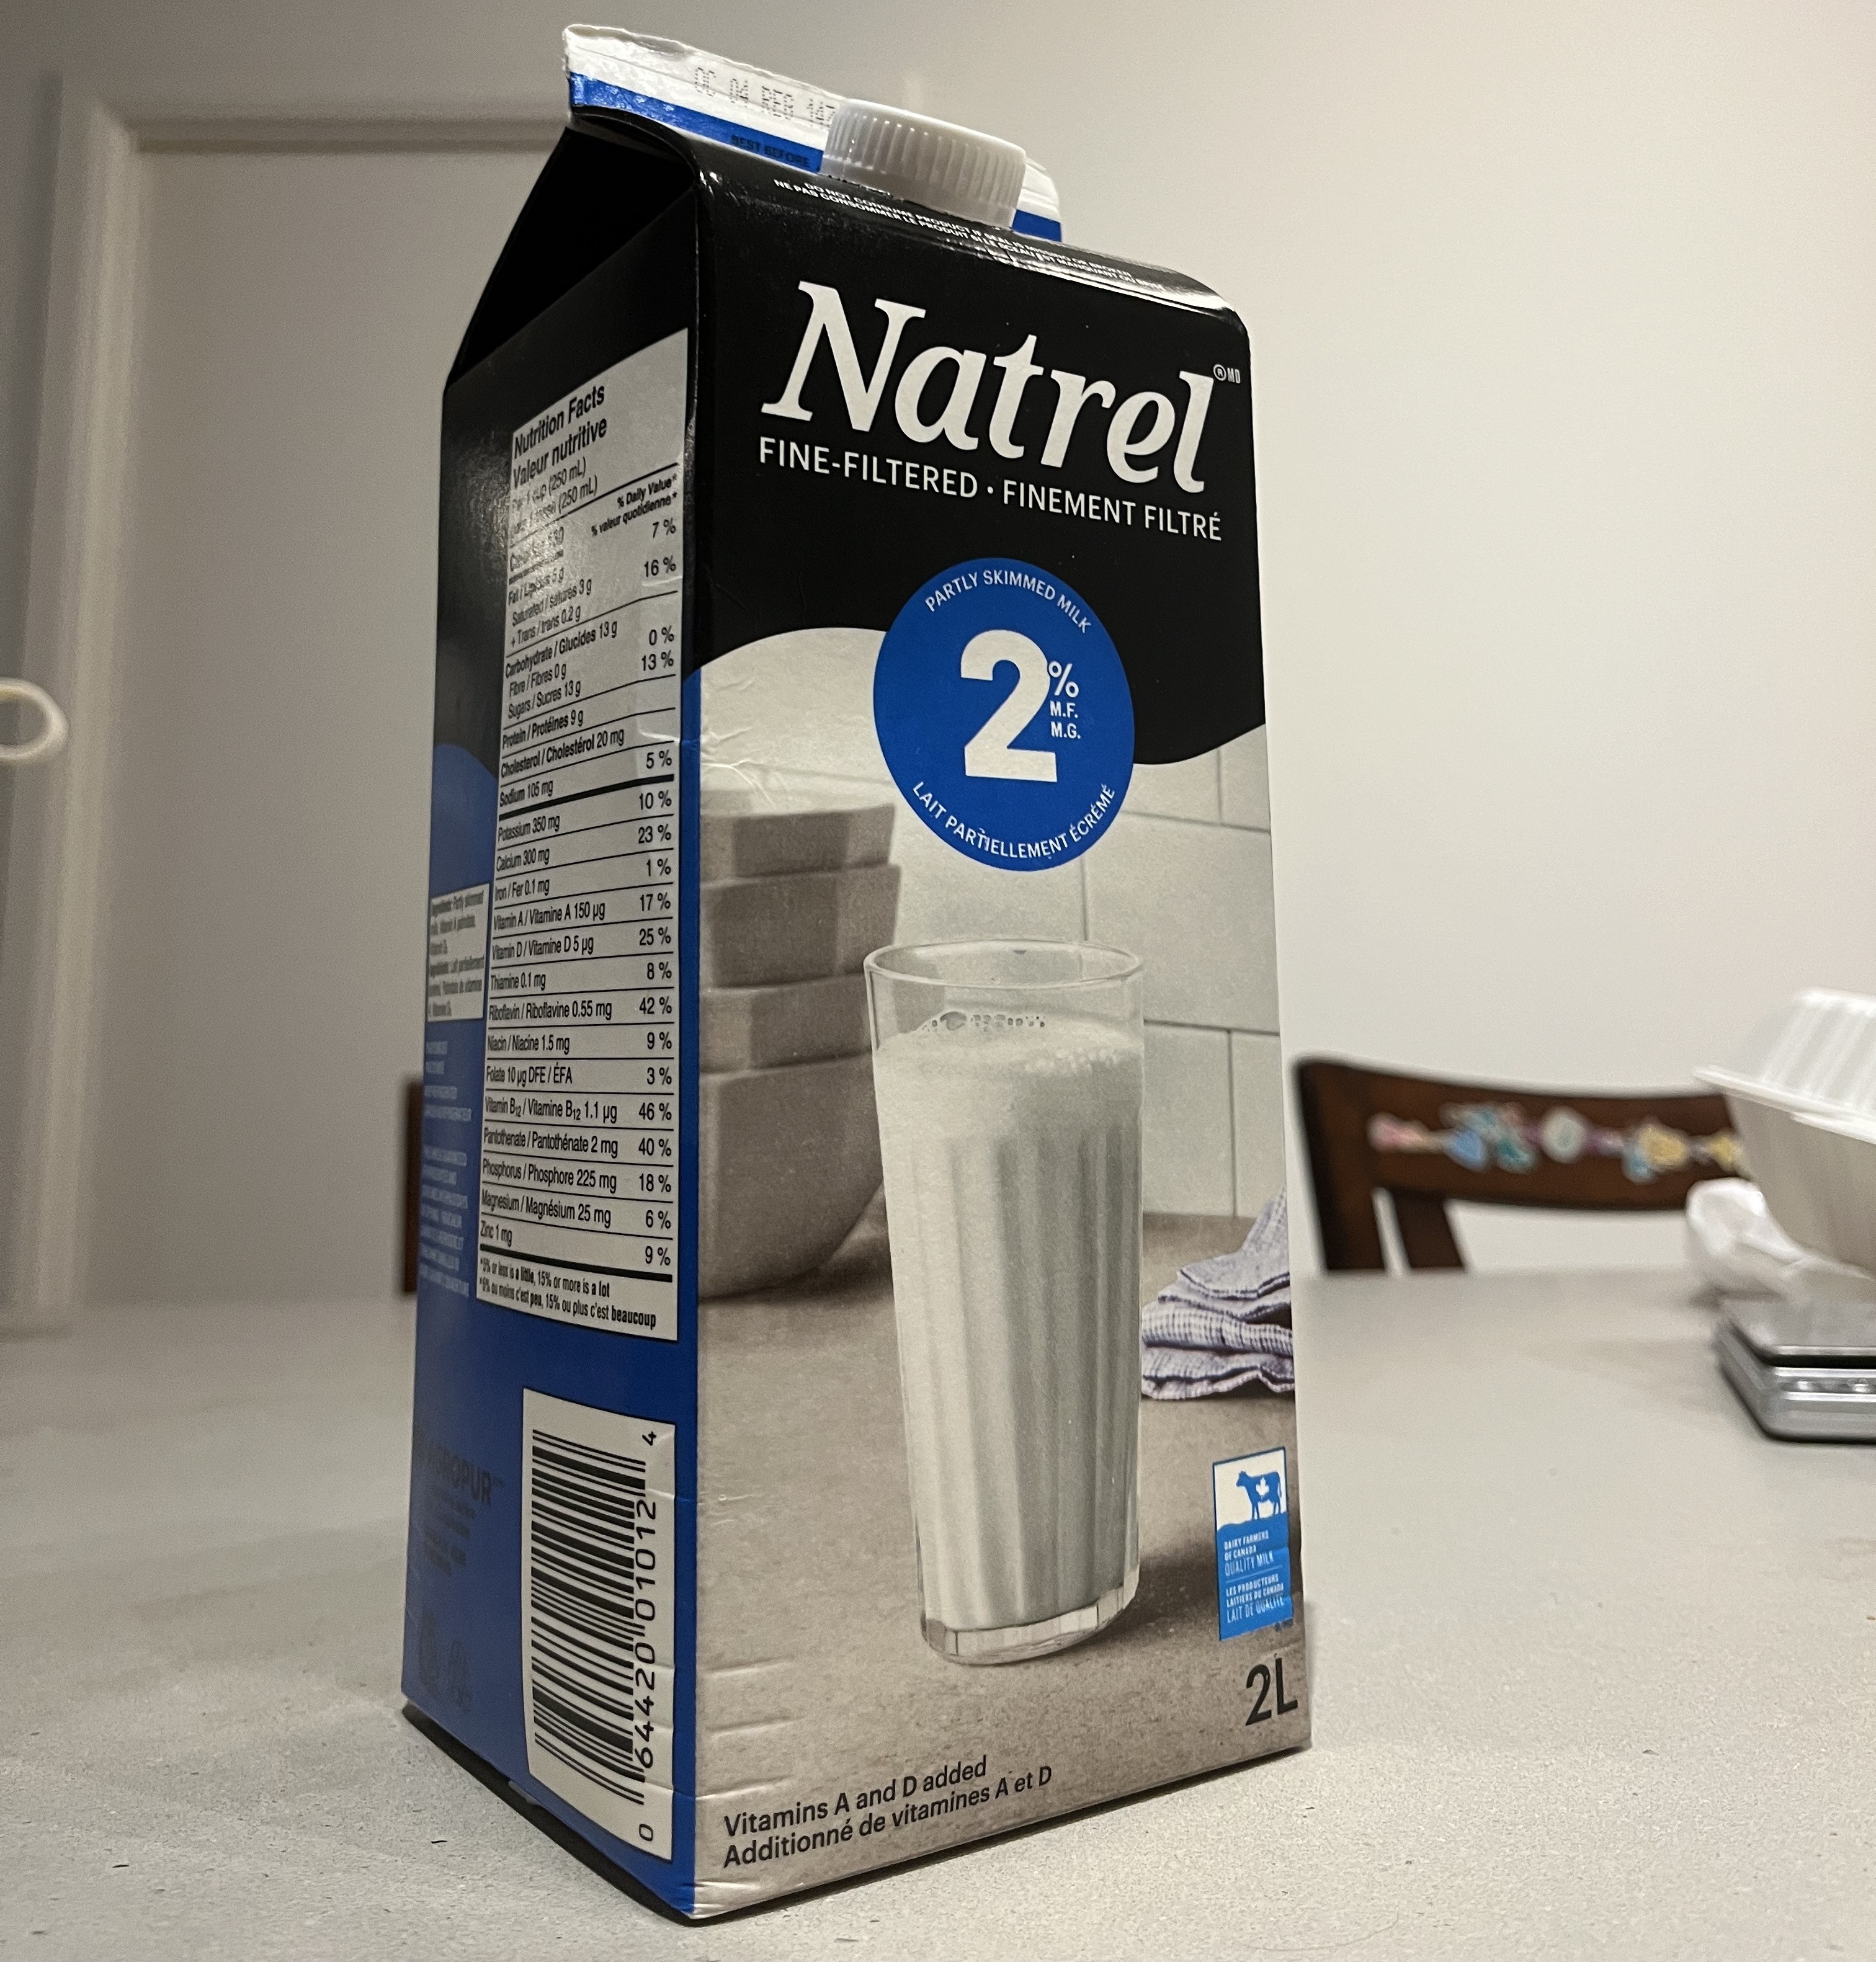
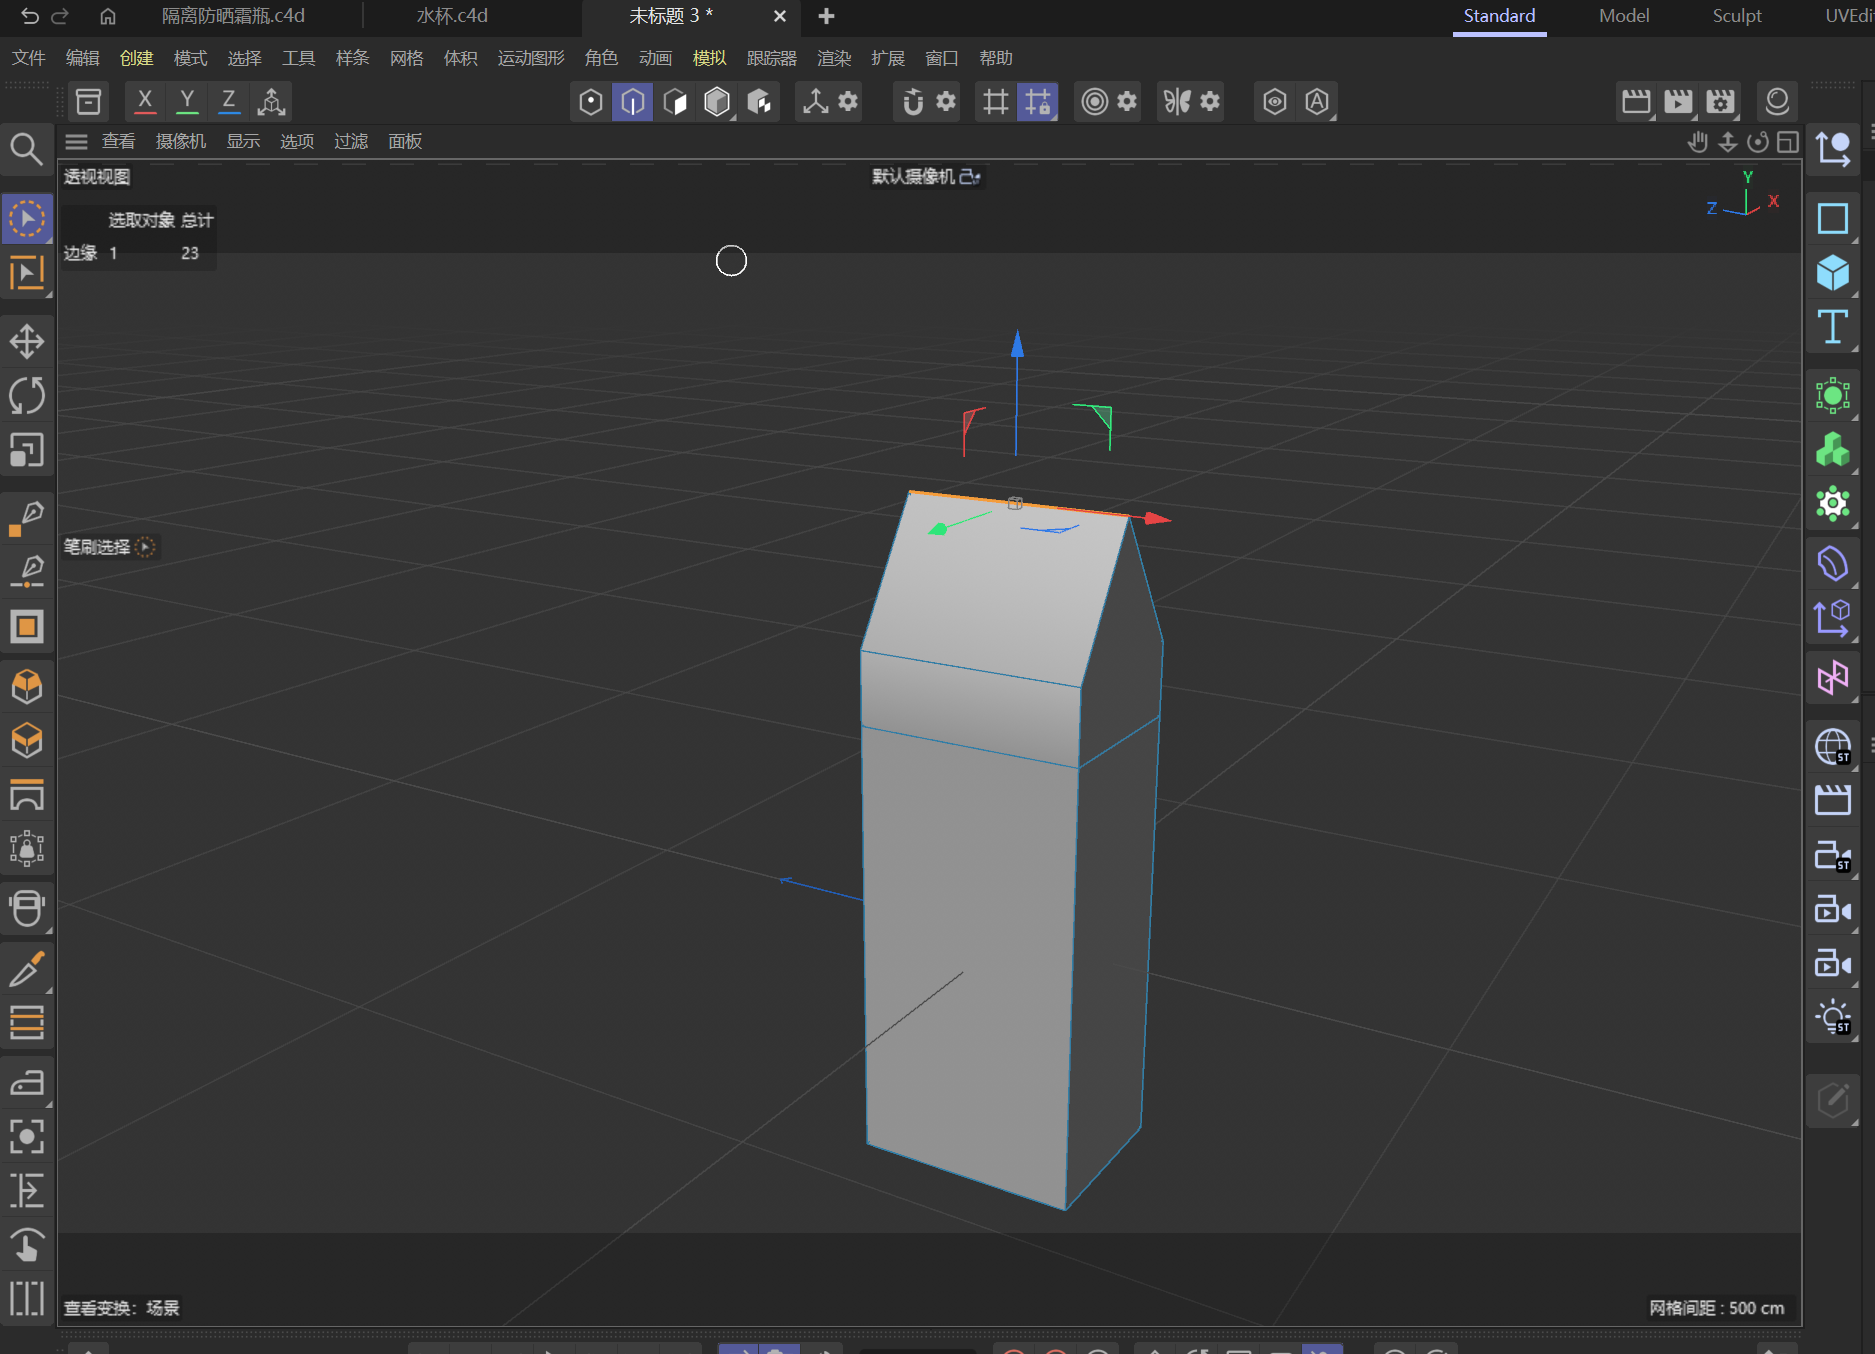
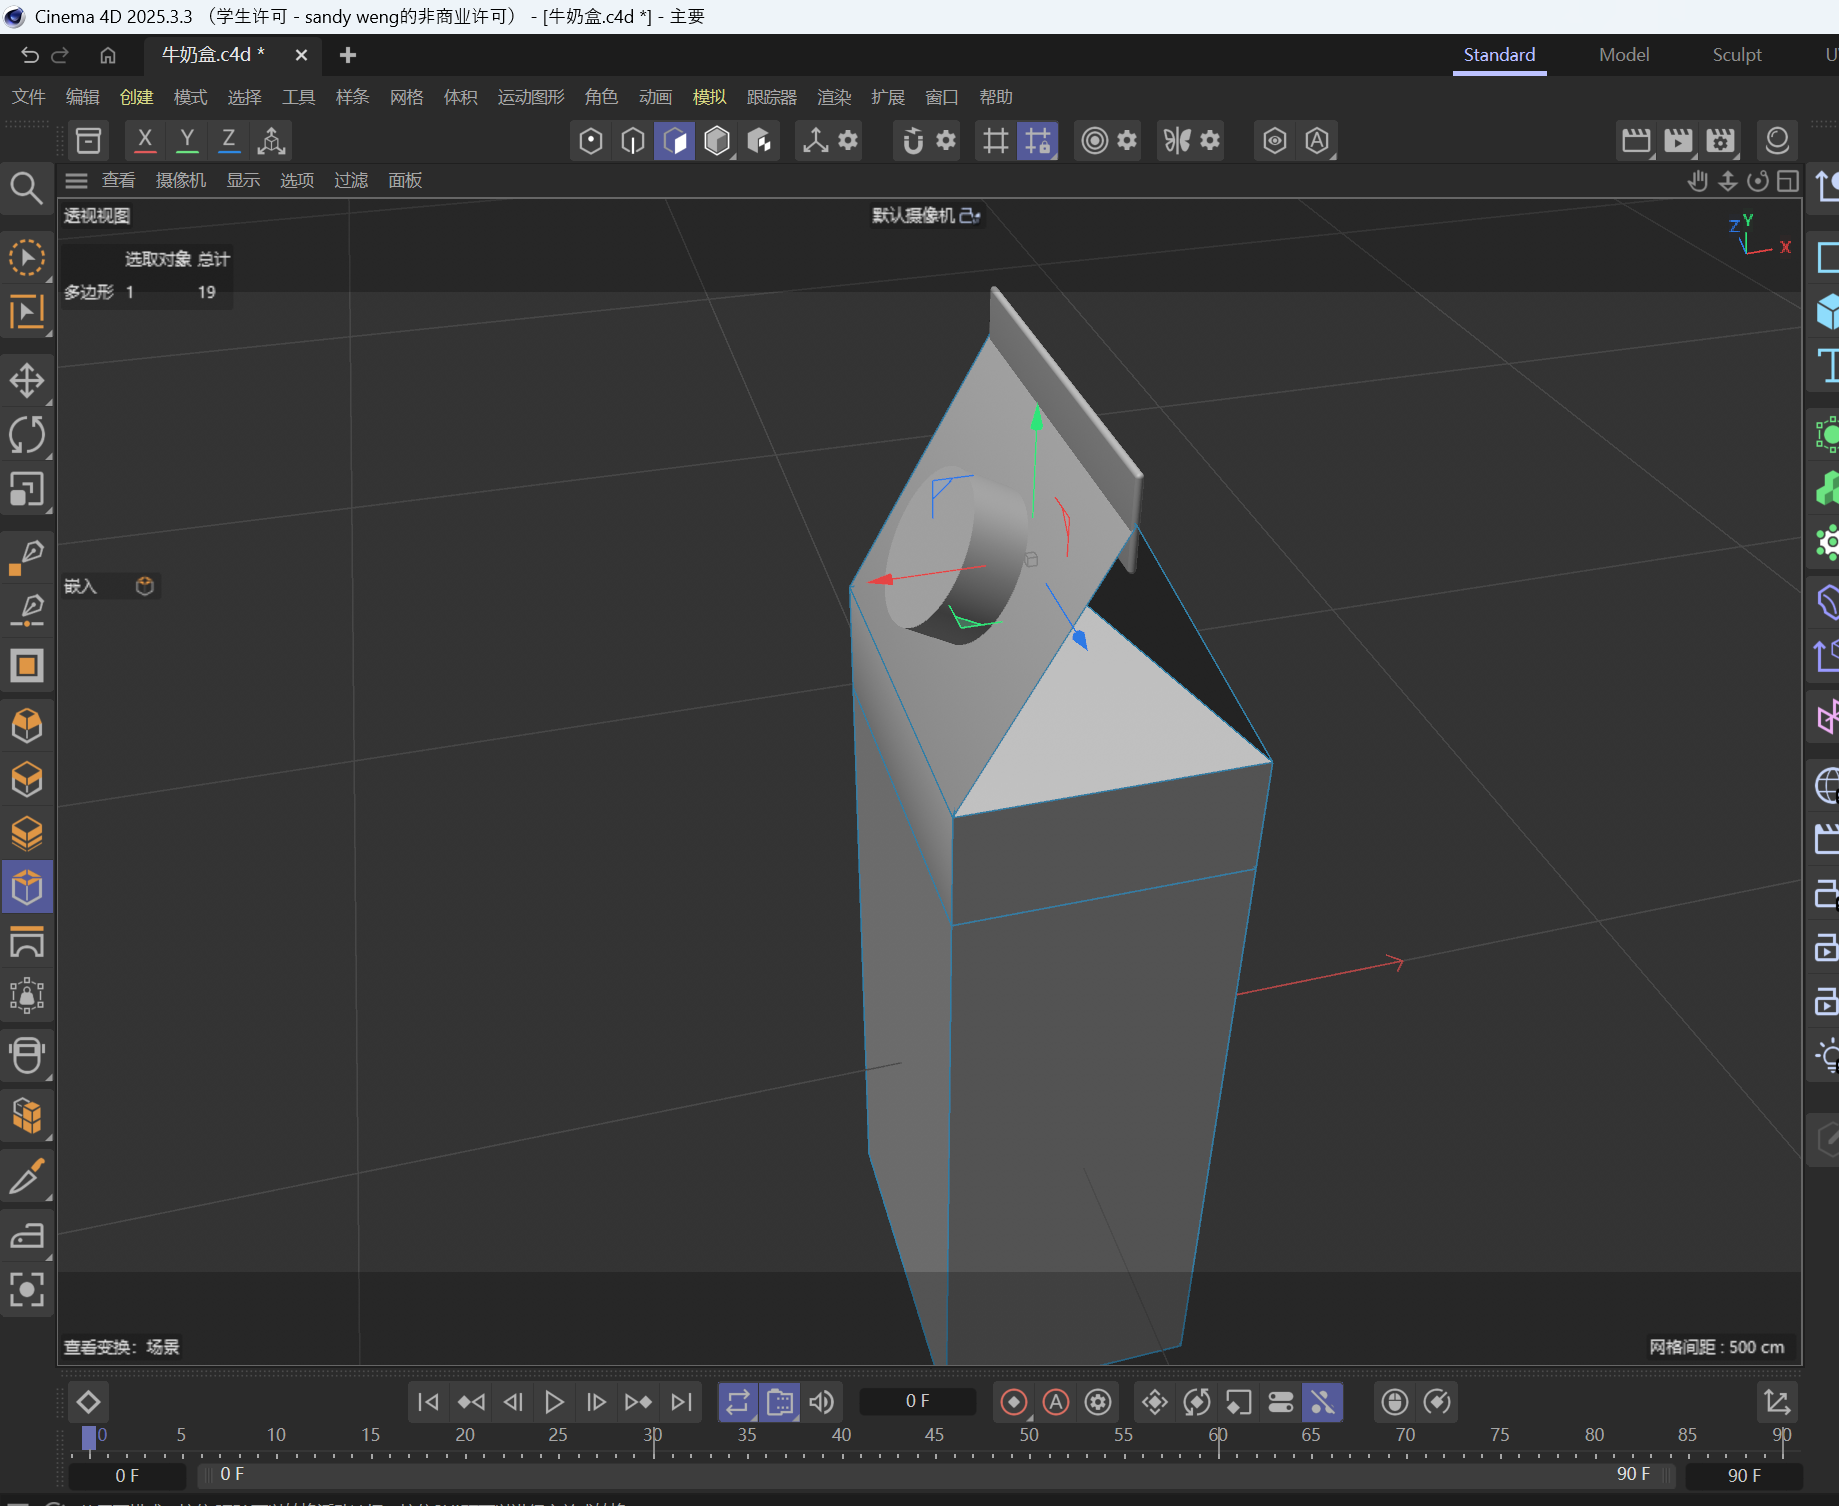
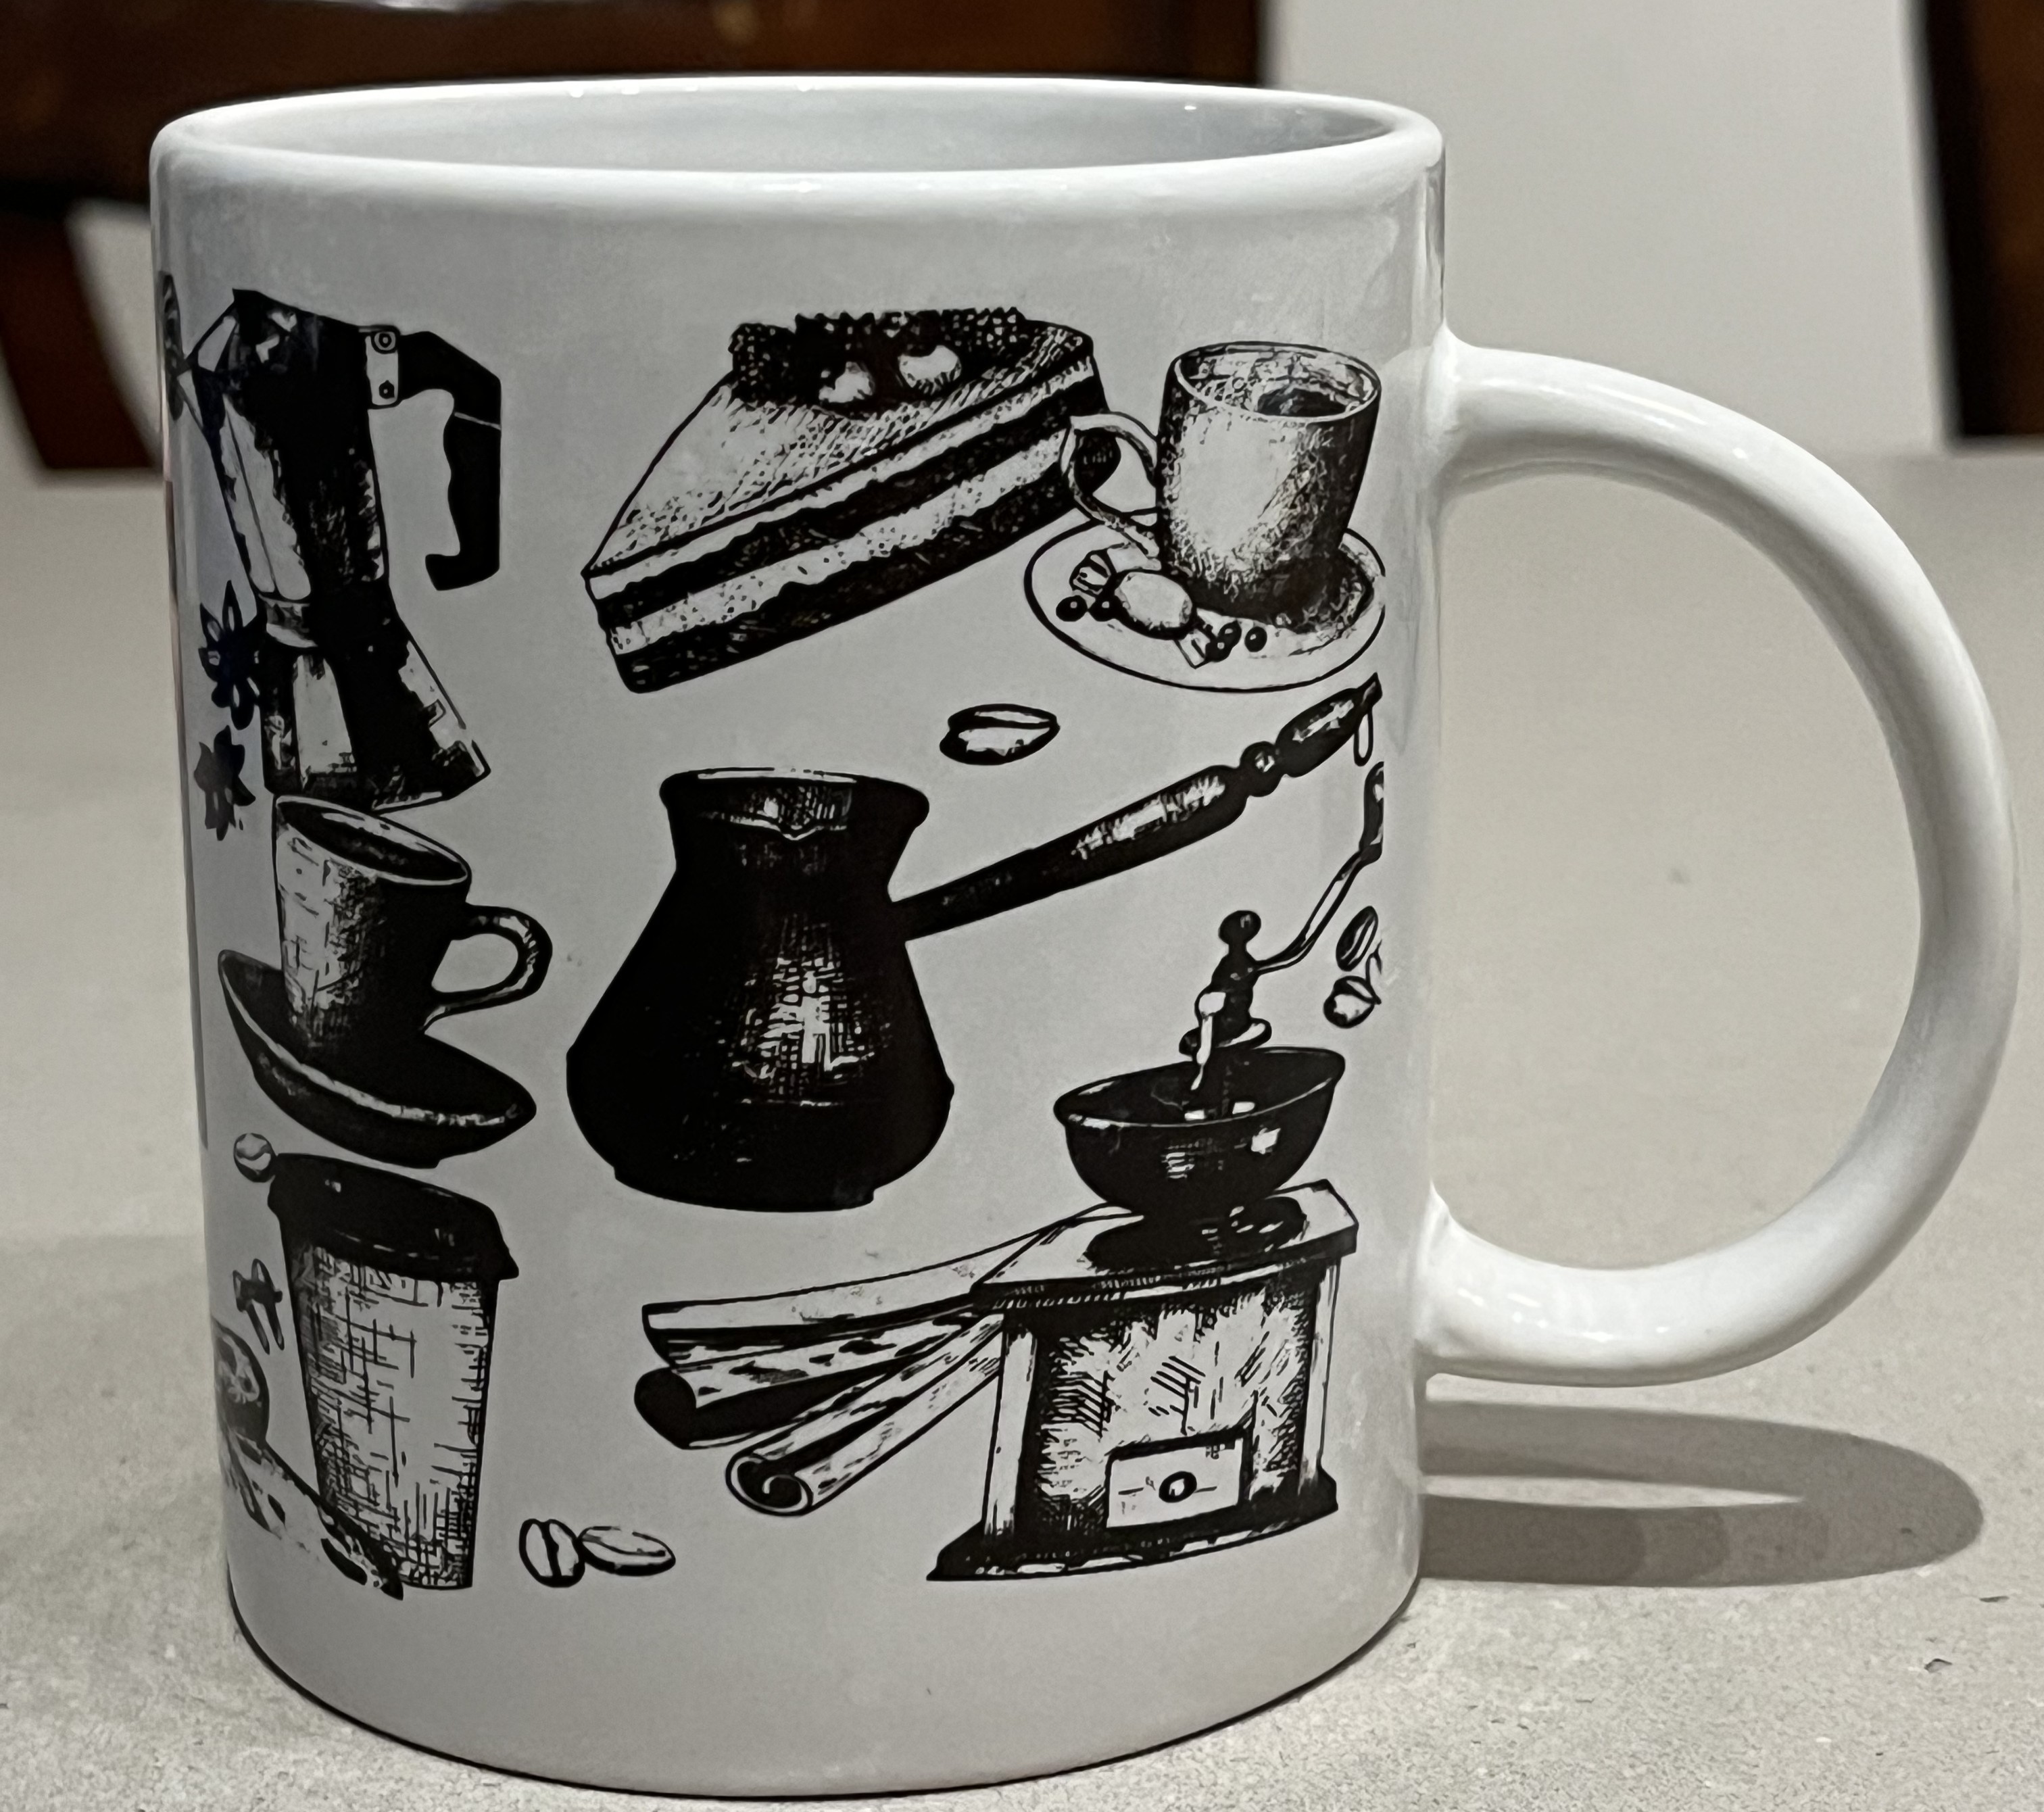
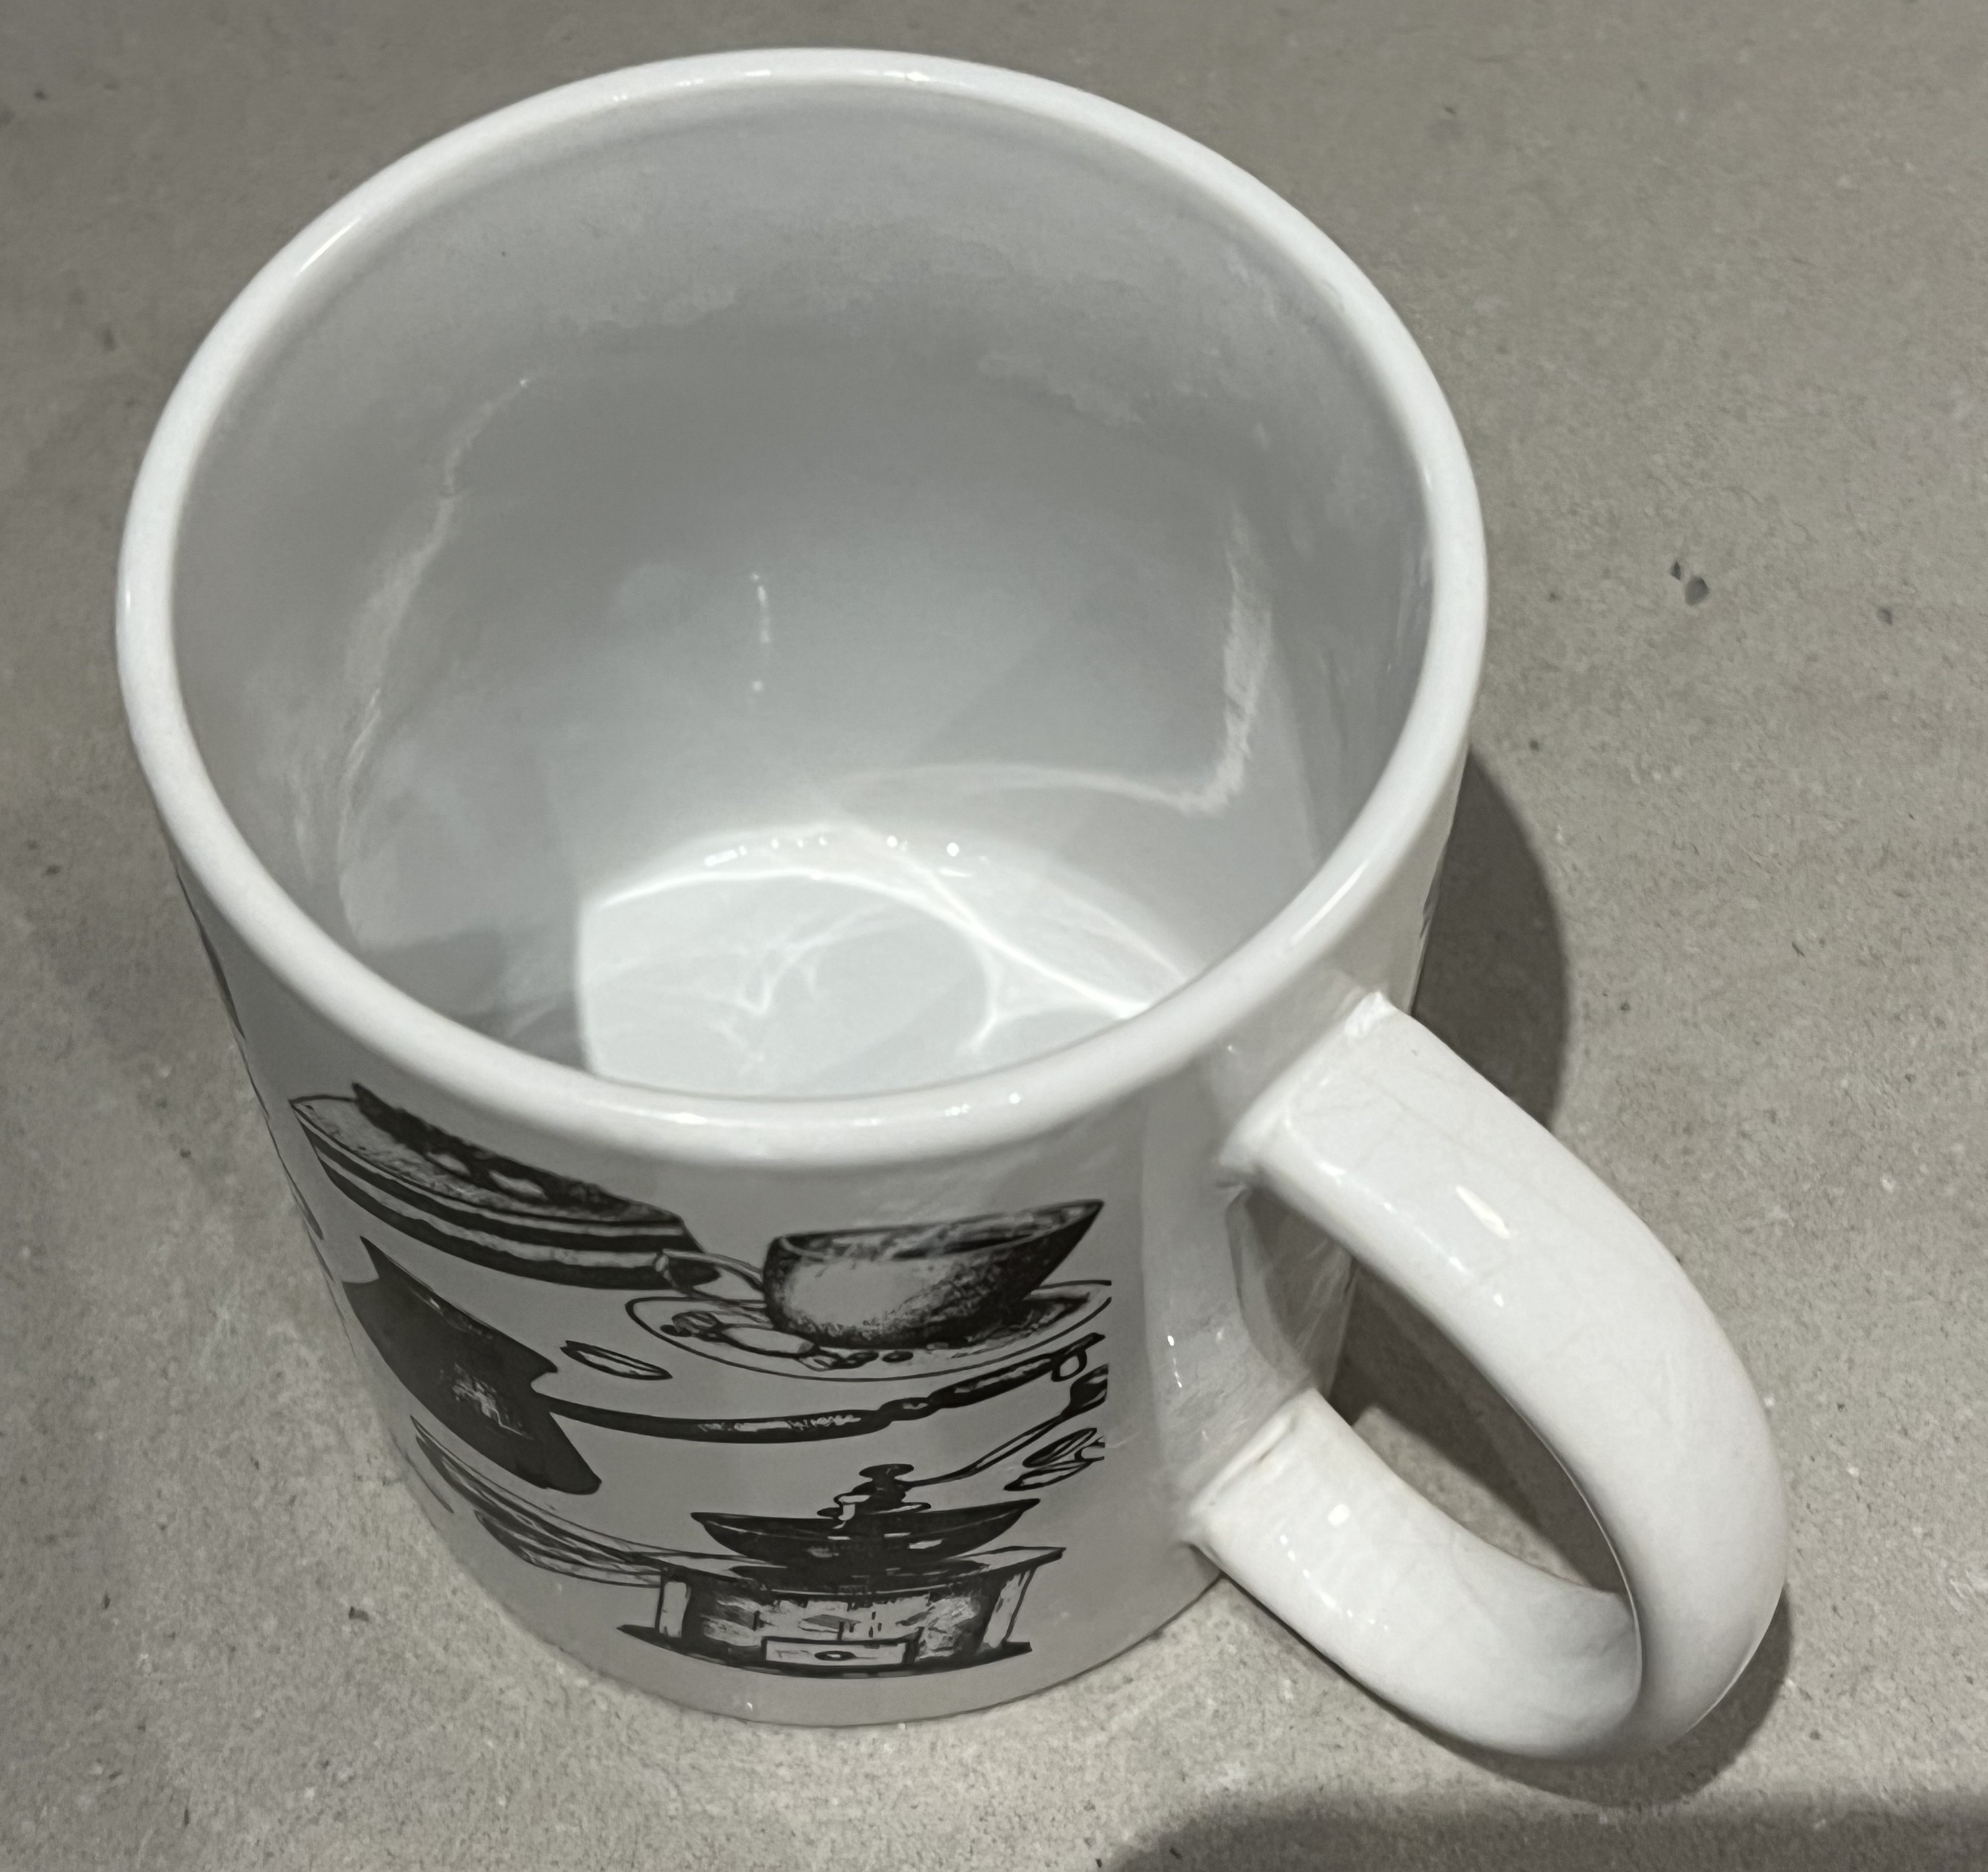
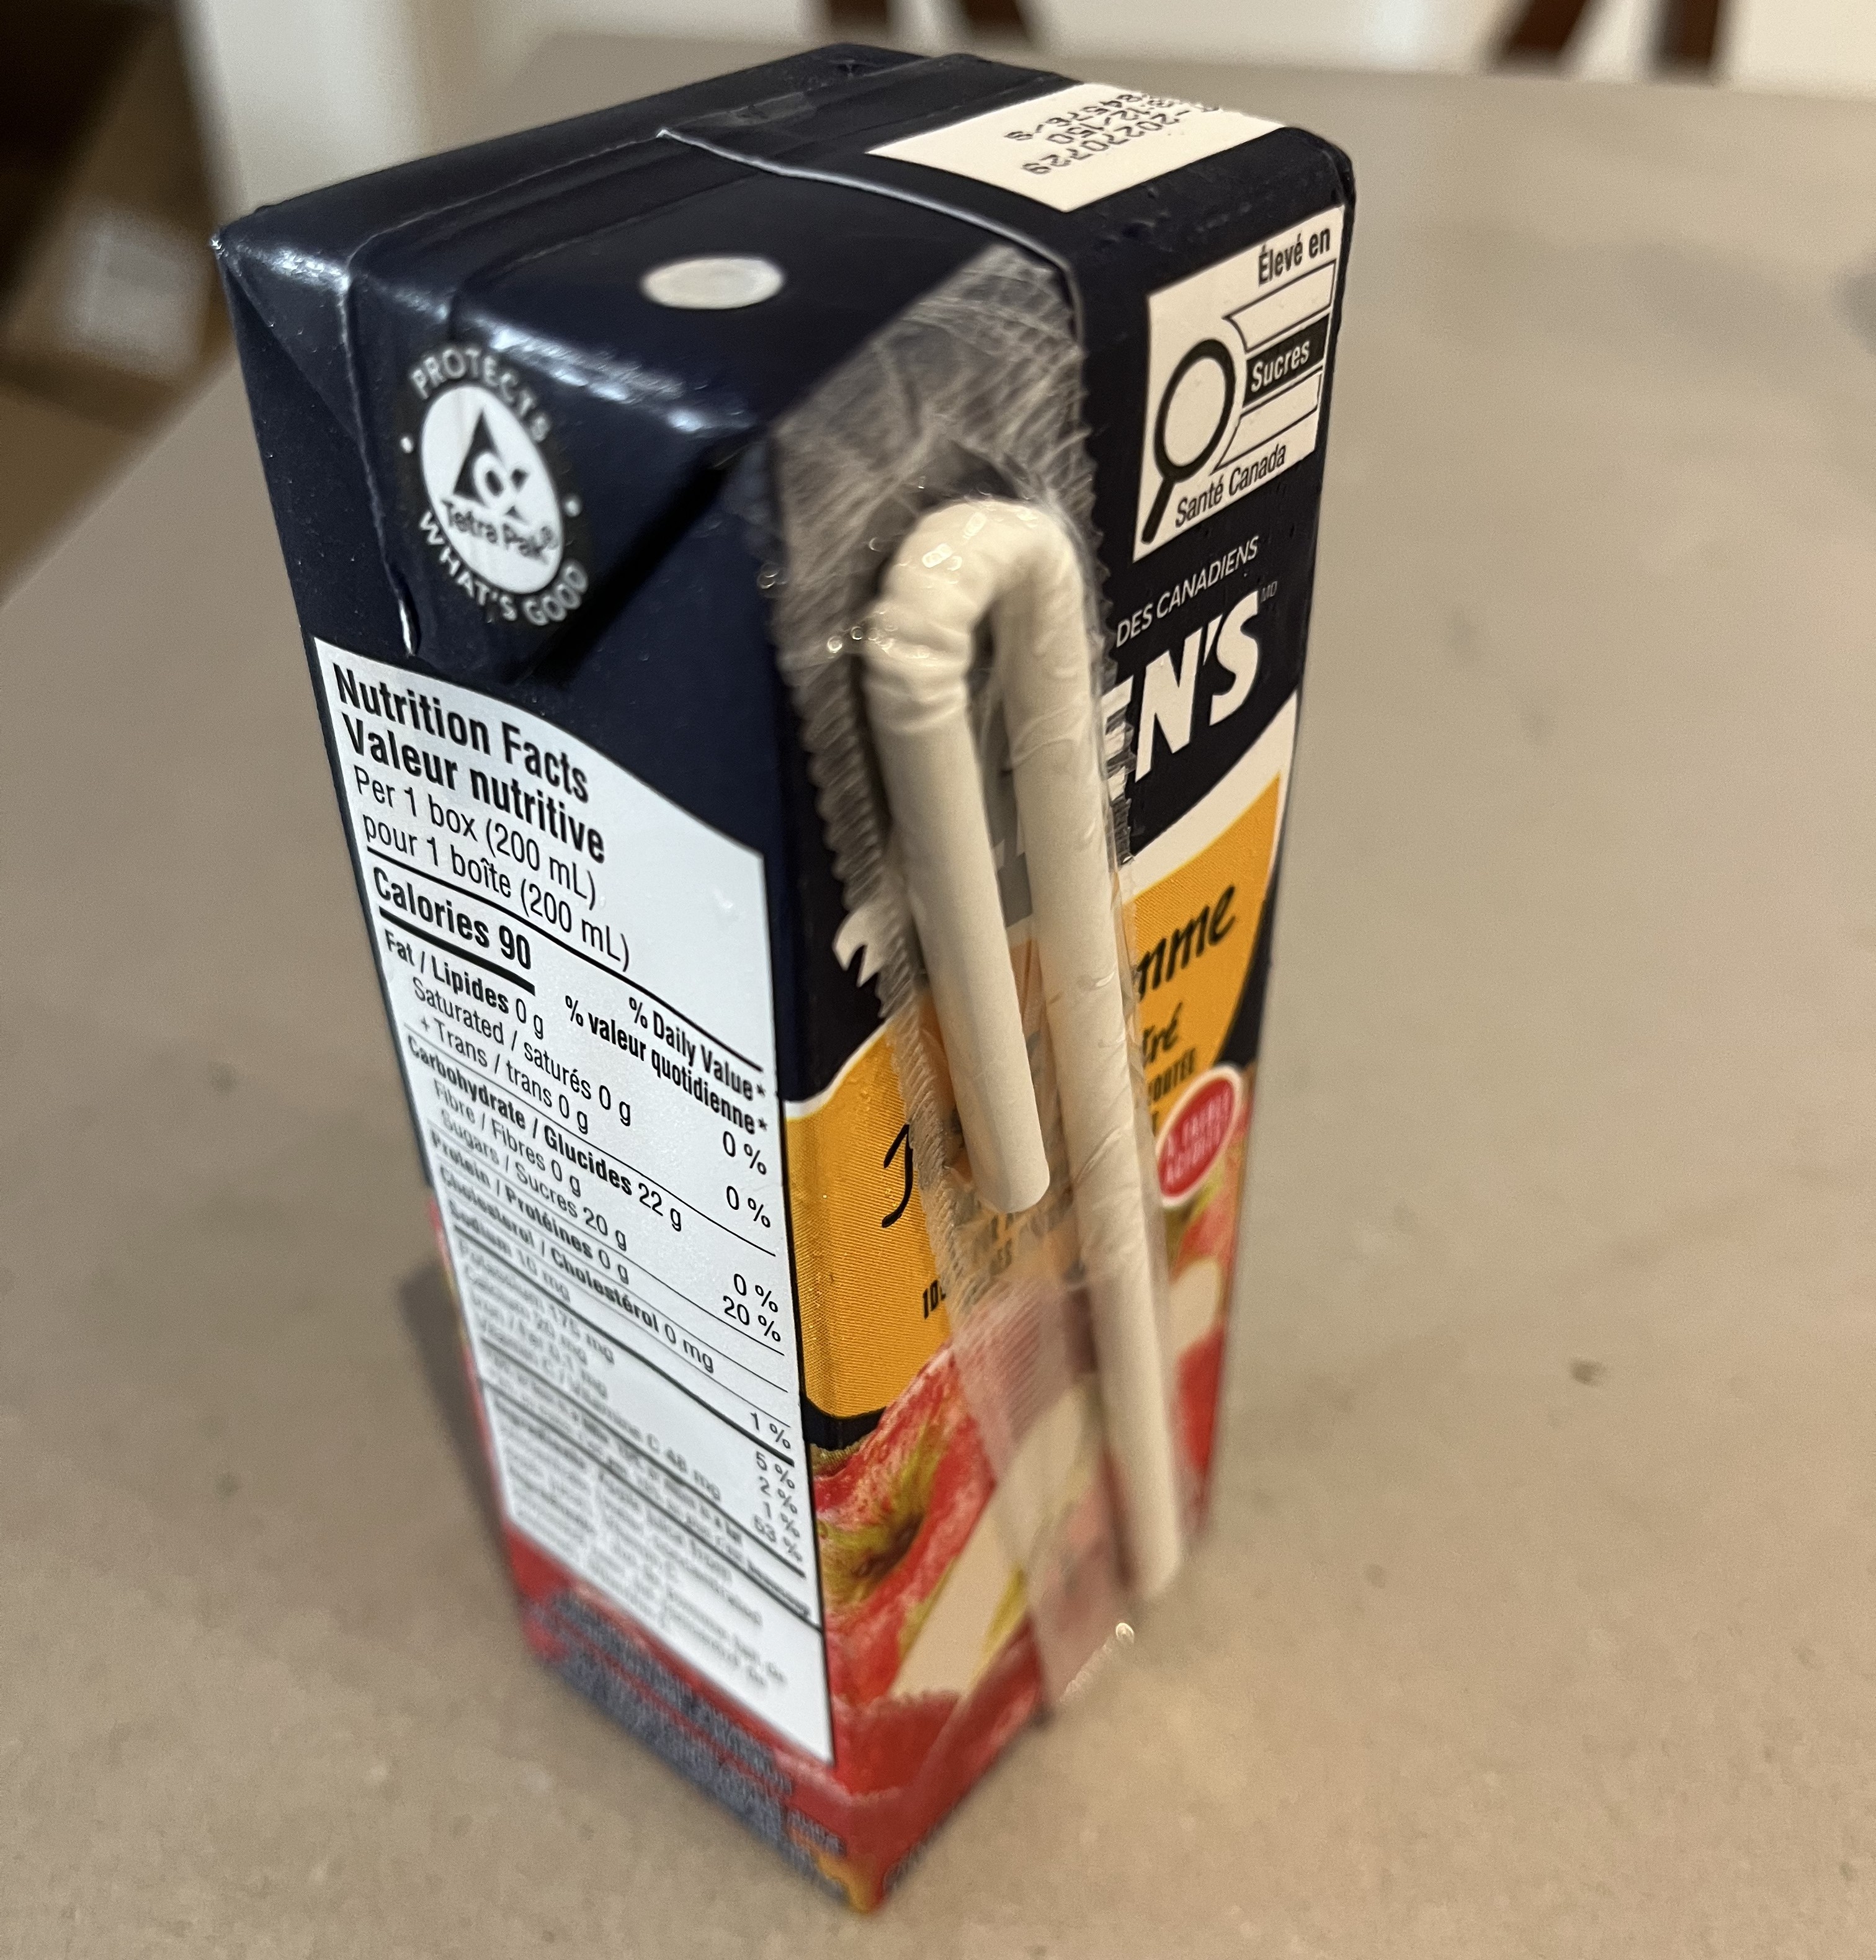
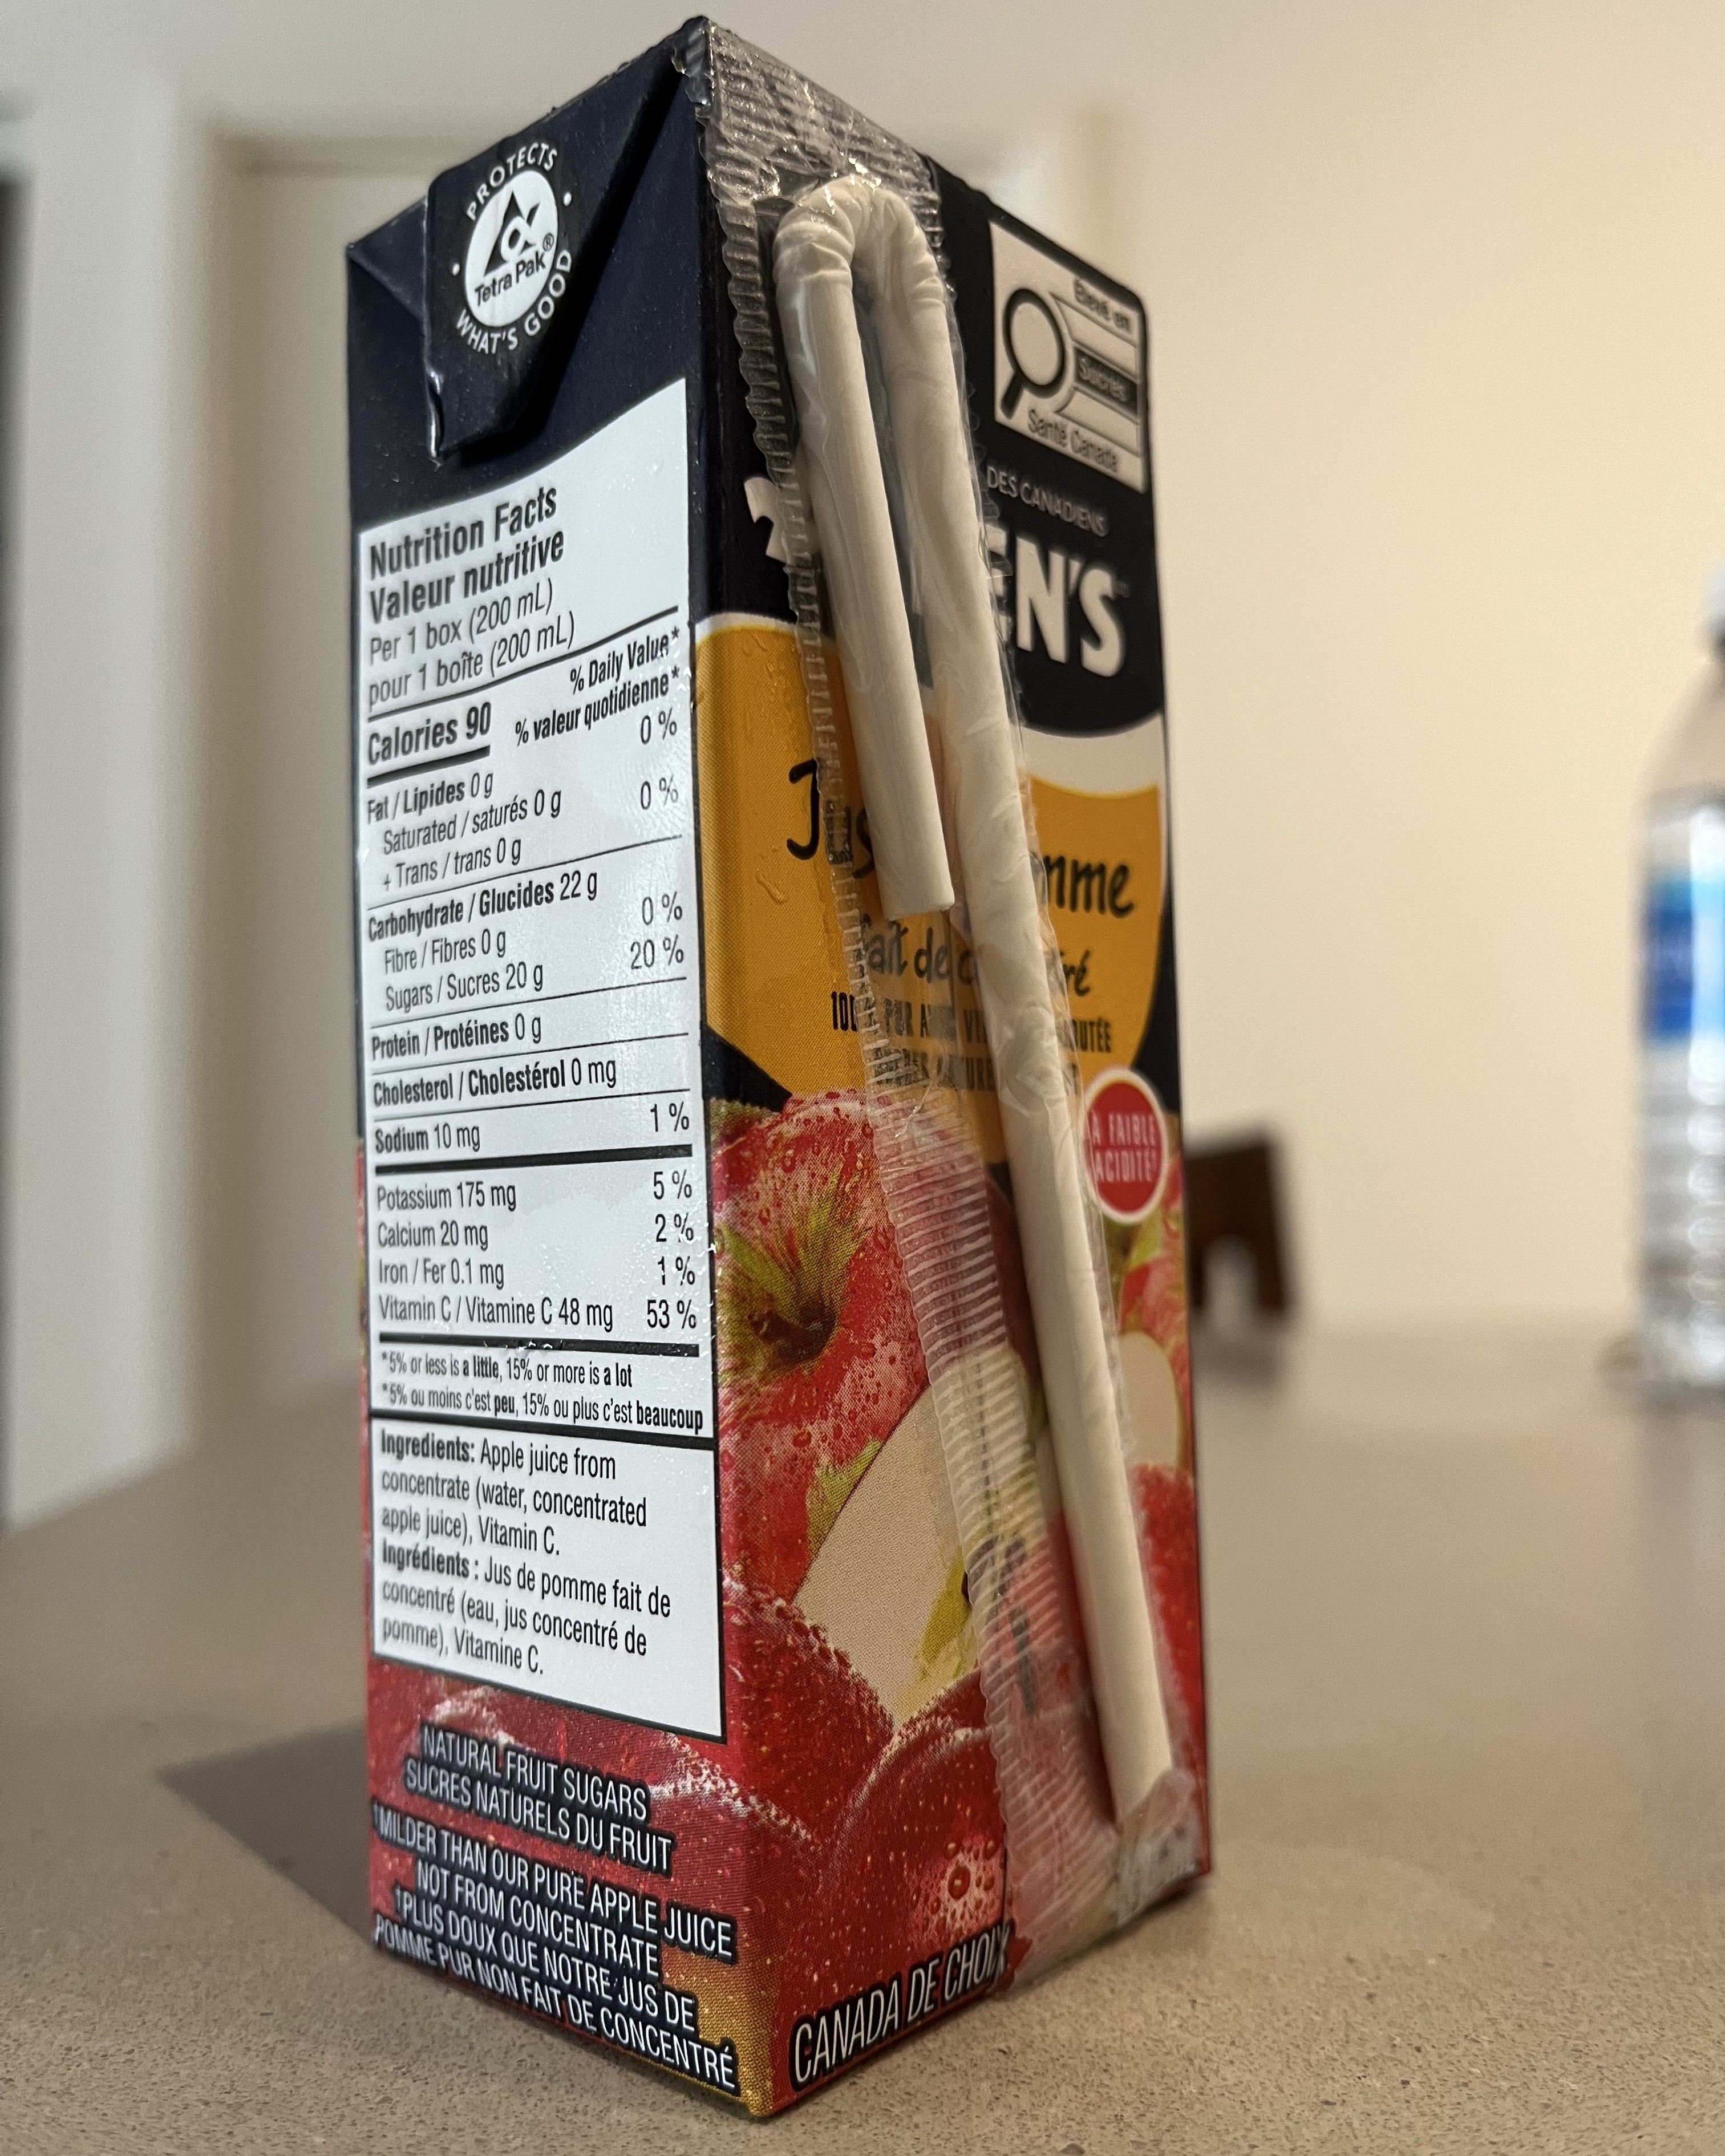
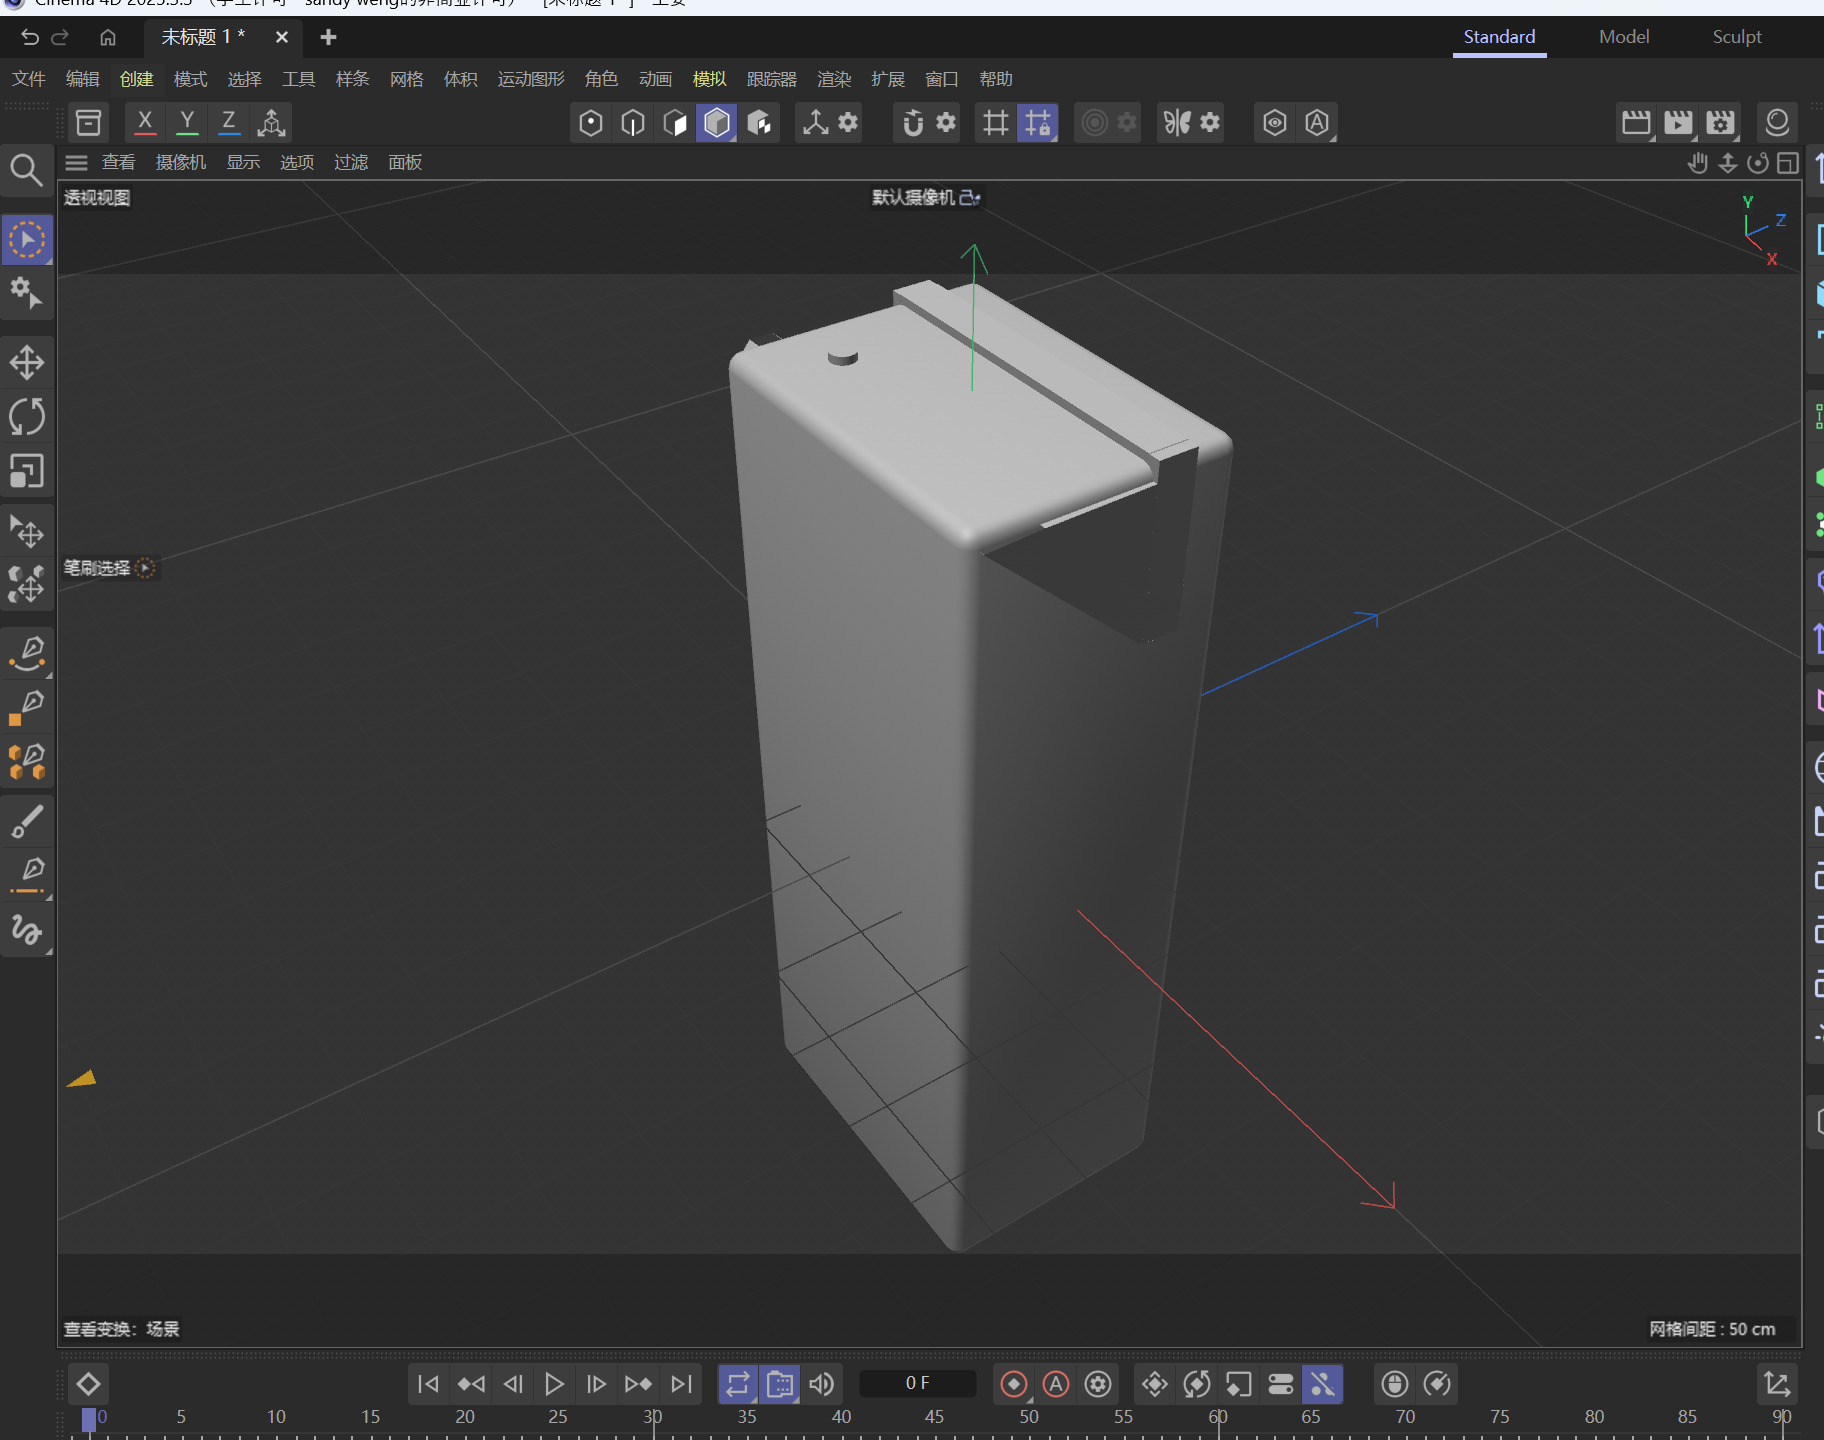
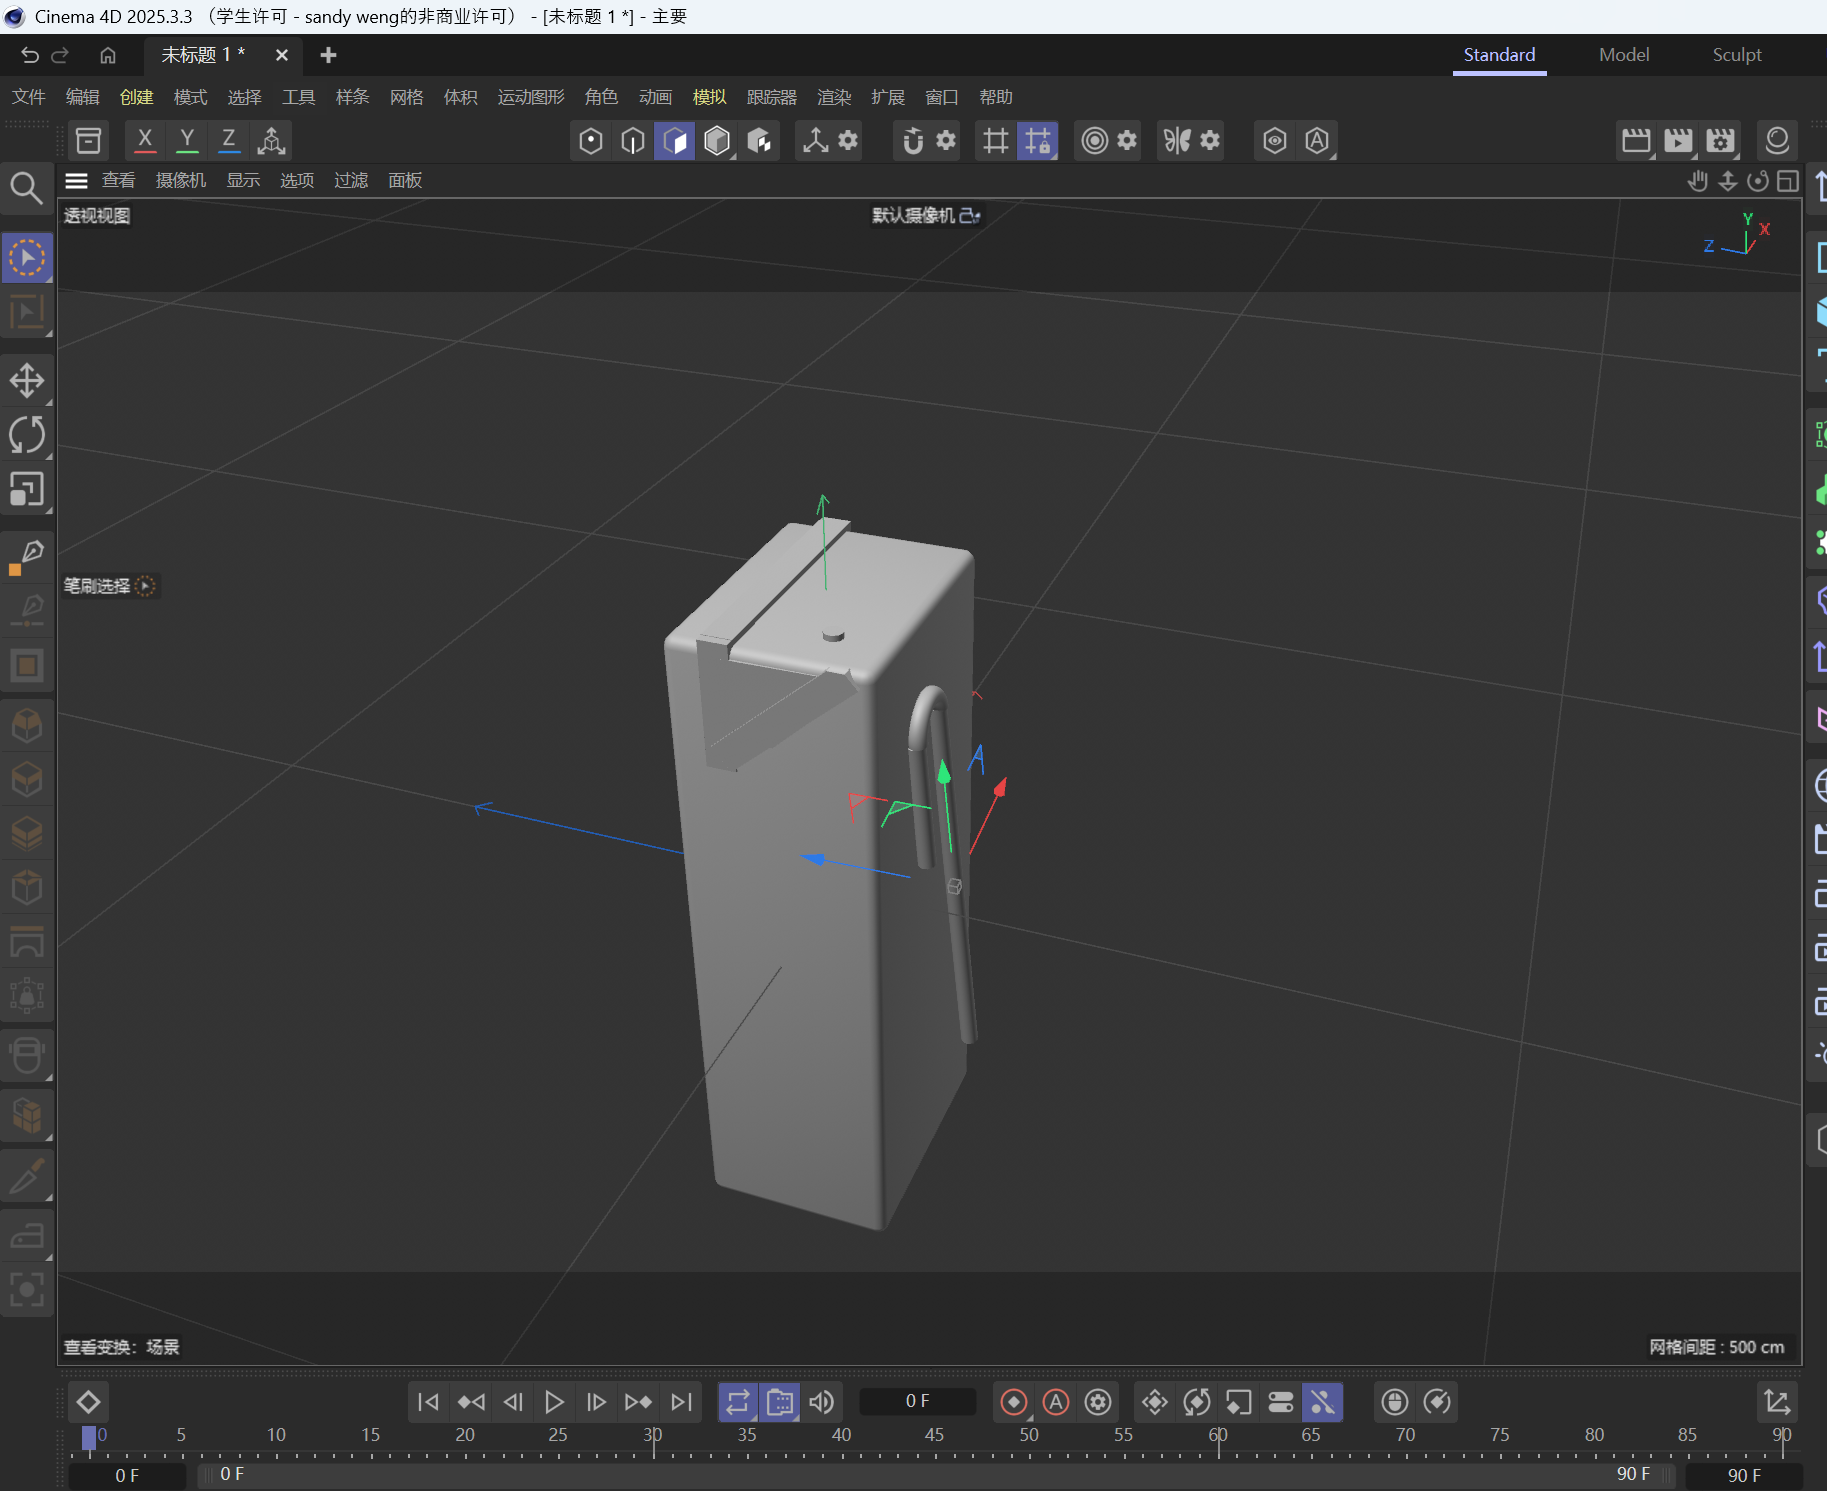
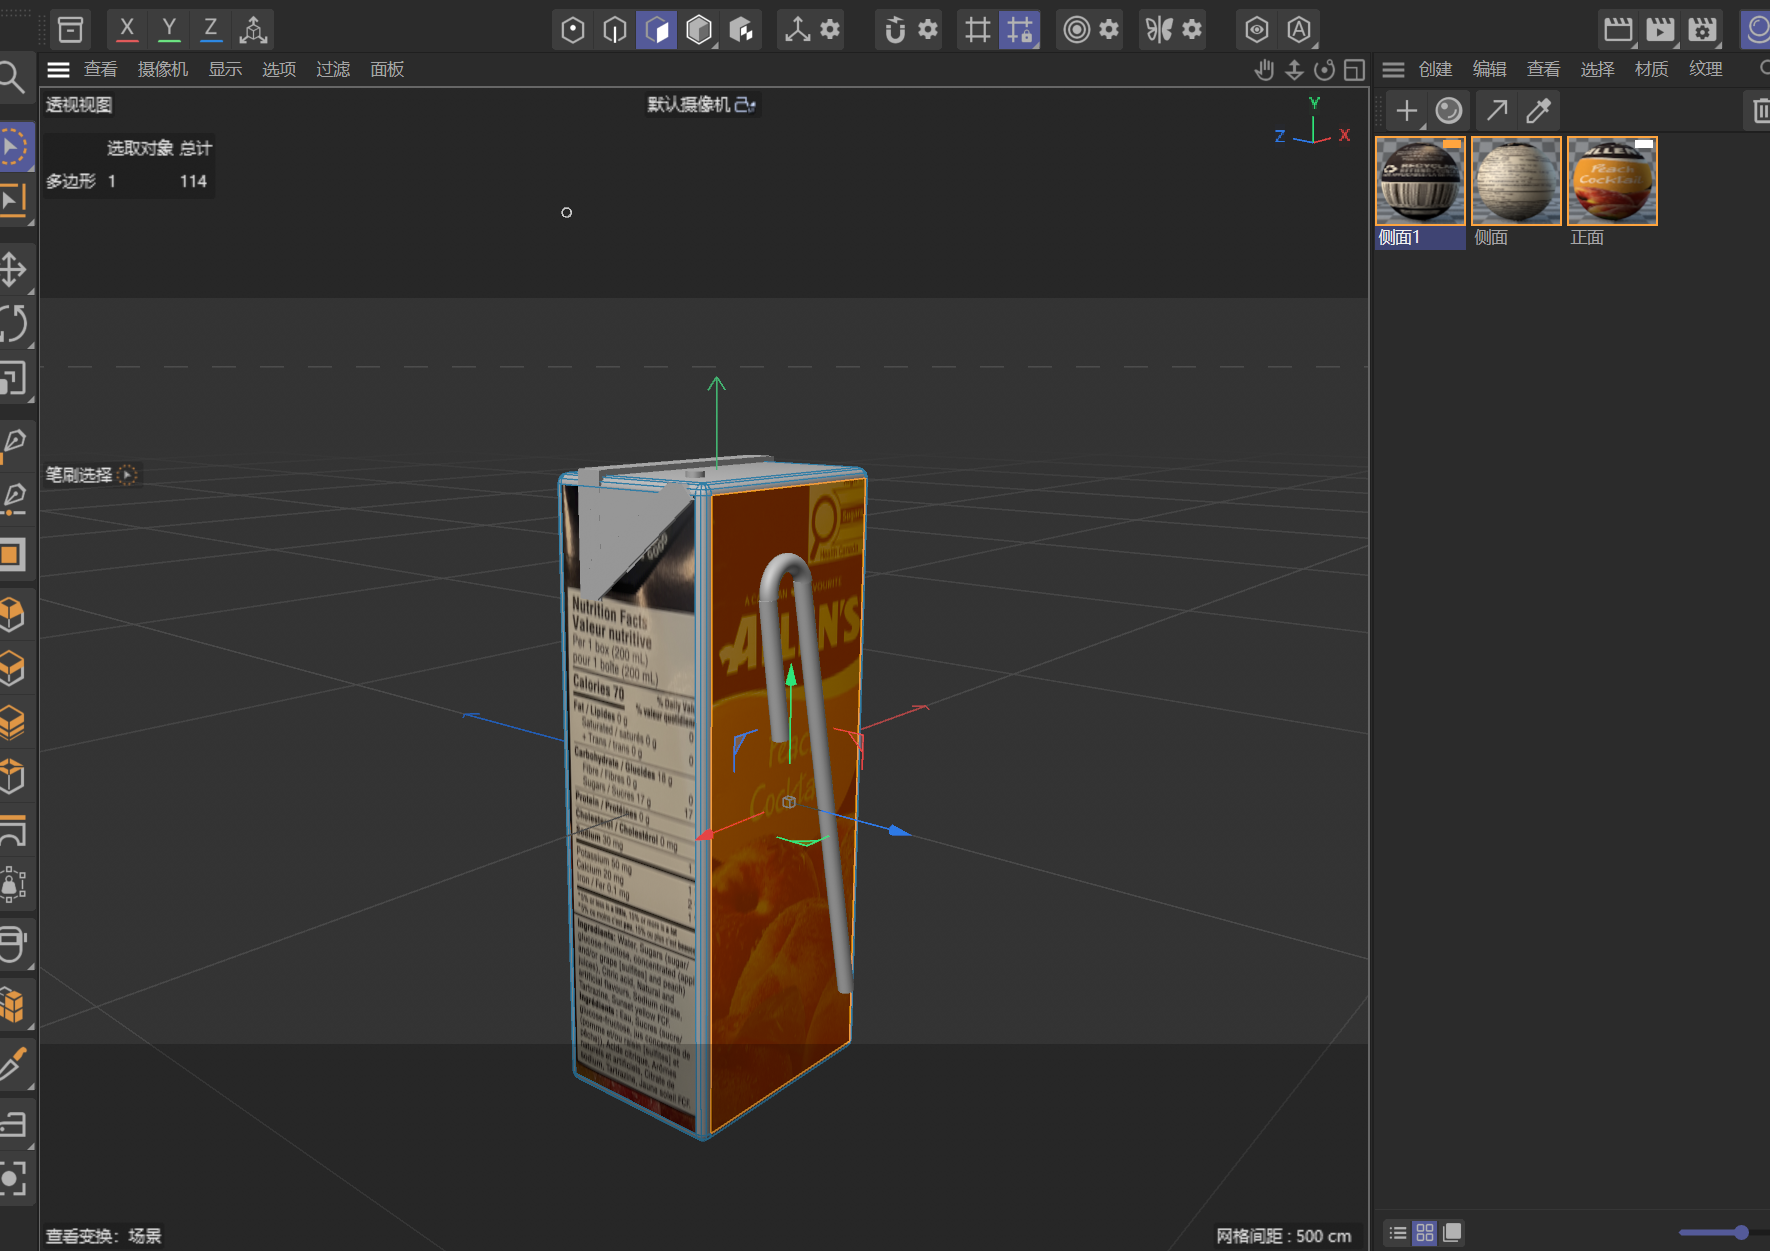
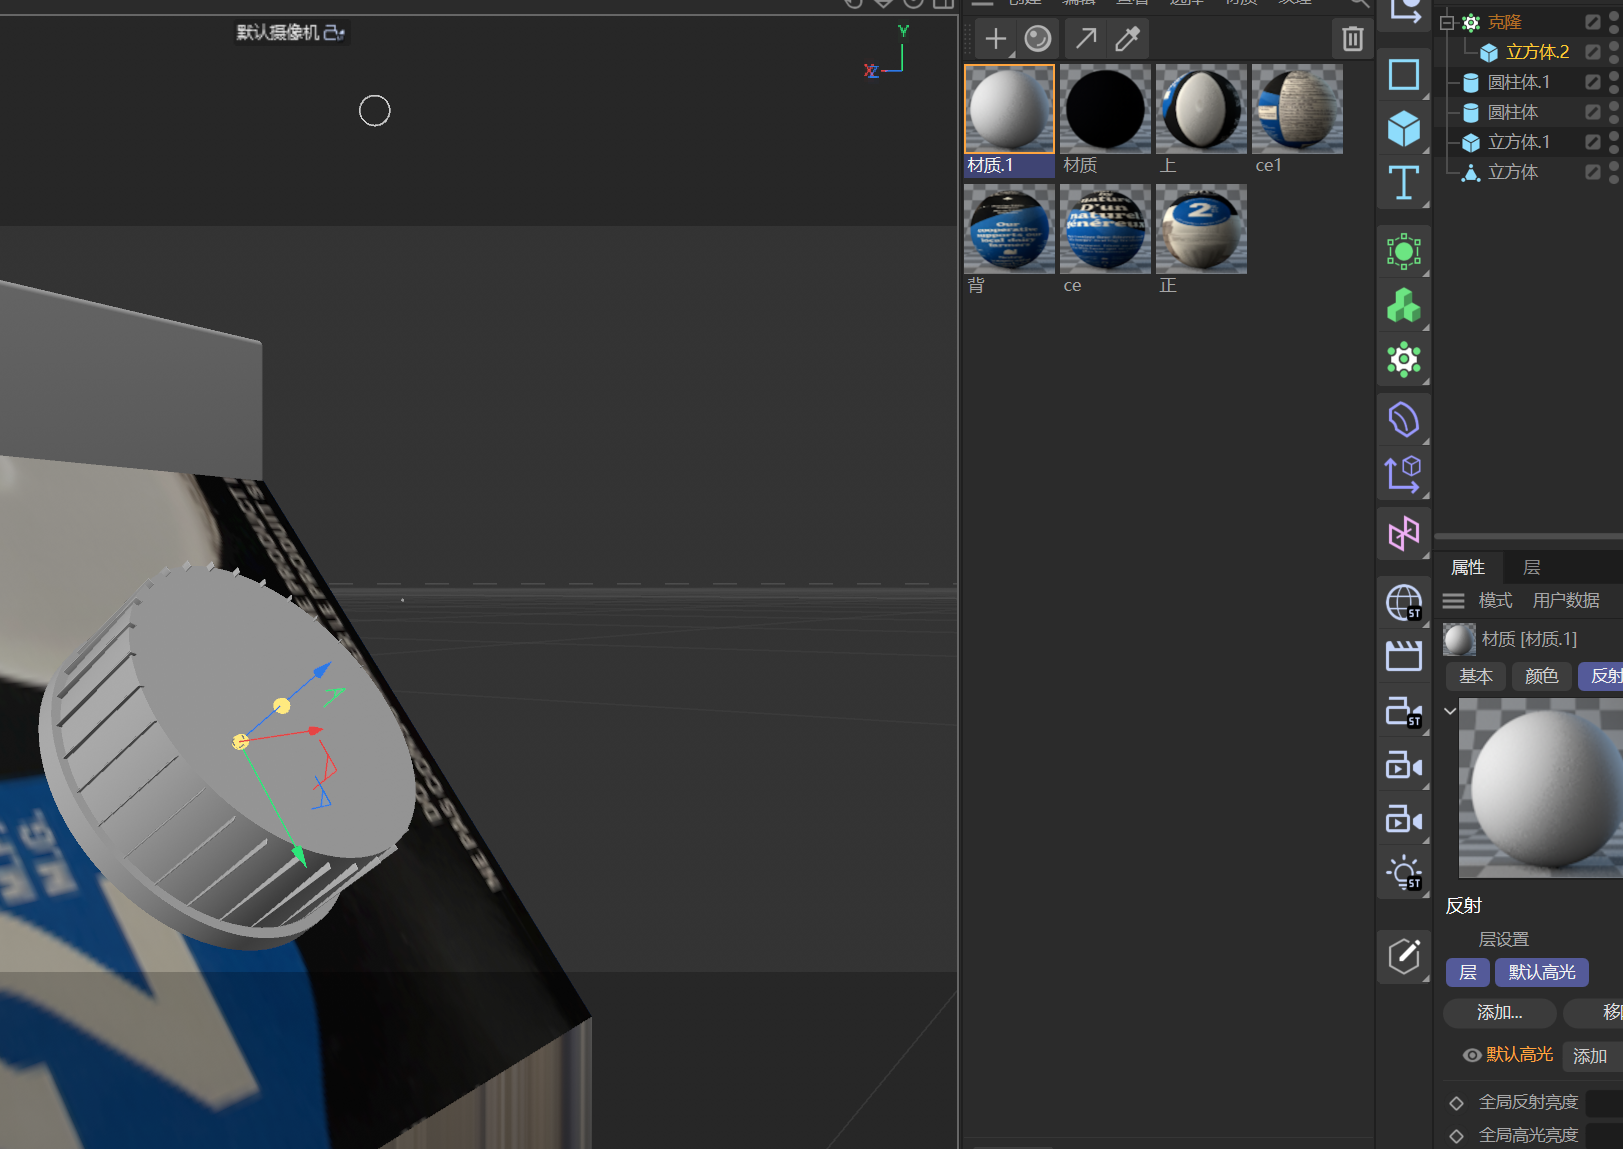
Front view of the sunscreen bottle Top angle showing the pump Side view of the sunscreen bottle Simple 3D model based on the sunscreen bottle. Side view of the 3D sunscreen bottle model Close up of the water bottle lid Front view of the water bottle Side view showing the bottle shape Top view of the 3D bottle model Angled view of the 3D bottle model Angled view of the milk carton Front view of the milk carton Side view showing the carton shape 3D model based on the milk carton Angled view of the carton model Front view of the mug Top view showing the inside of the mug Side view of the mug 3D model of the mug and handle Top angle of the mug model Front view of the juice box Angled view showing the side and straw Side view of the juice box 3D model based on the juice box Side view of the juice box model

Design Challenge 2
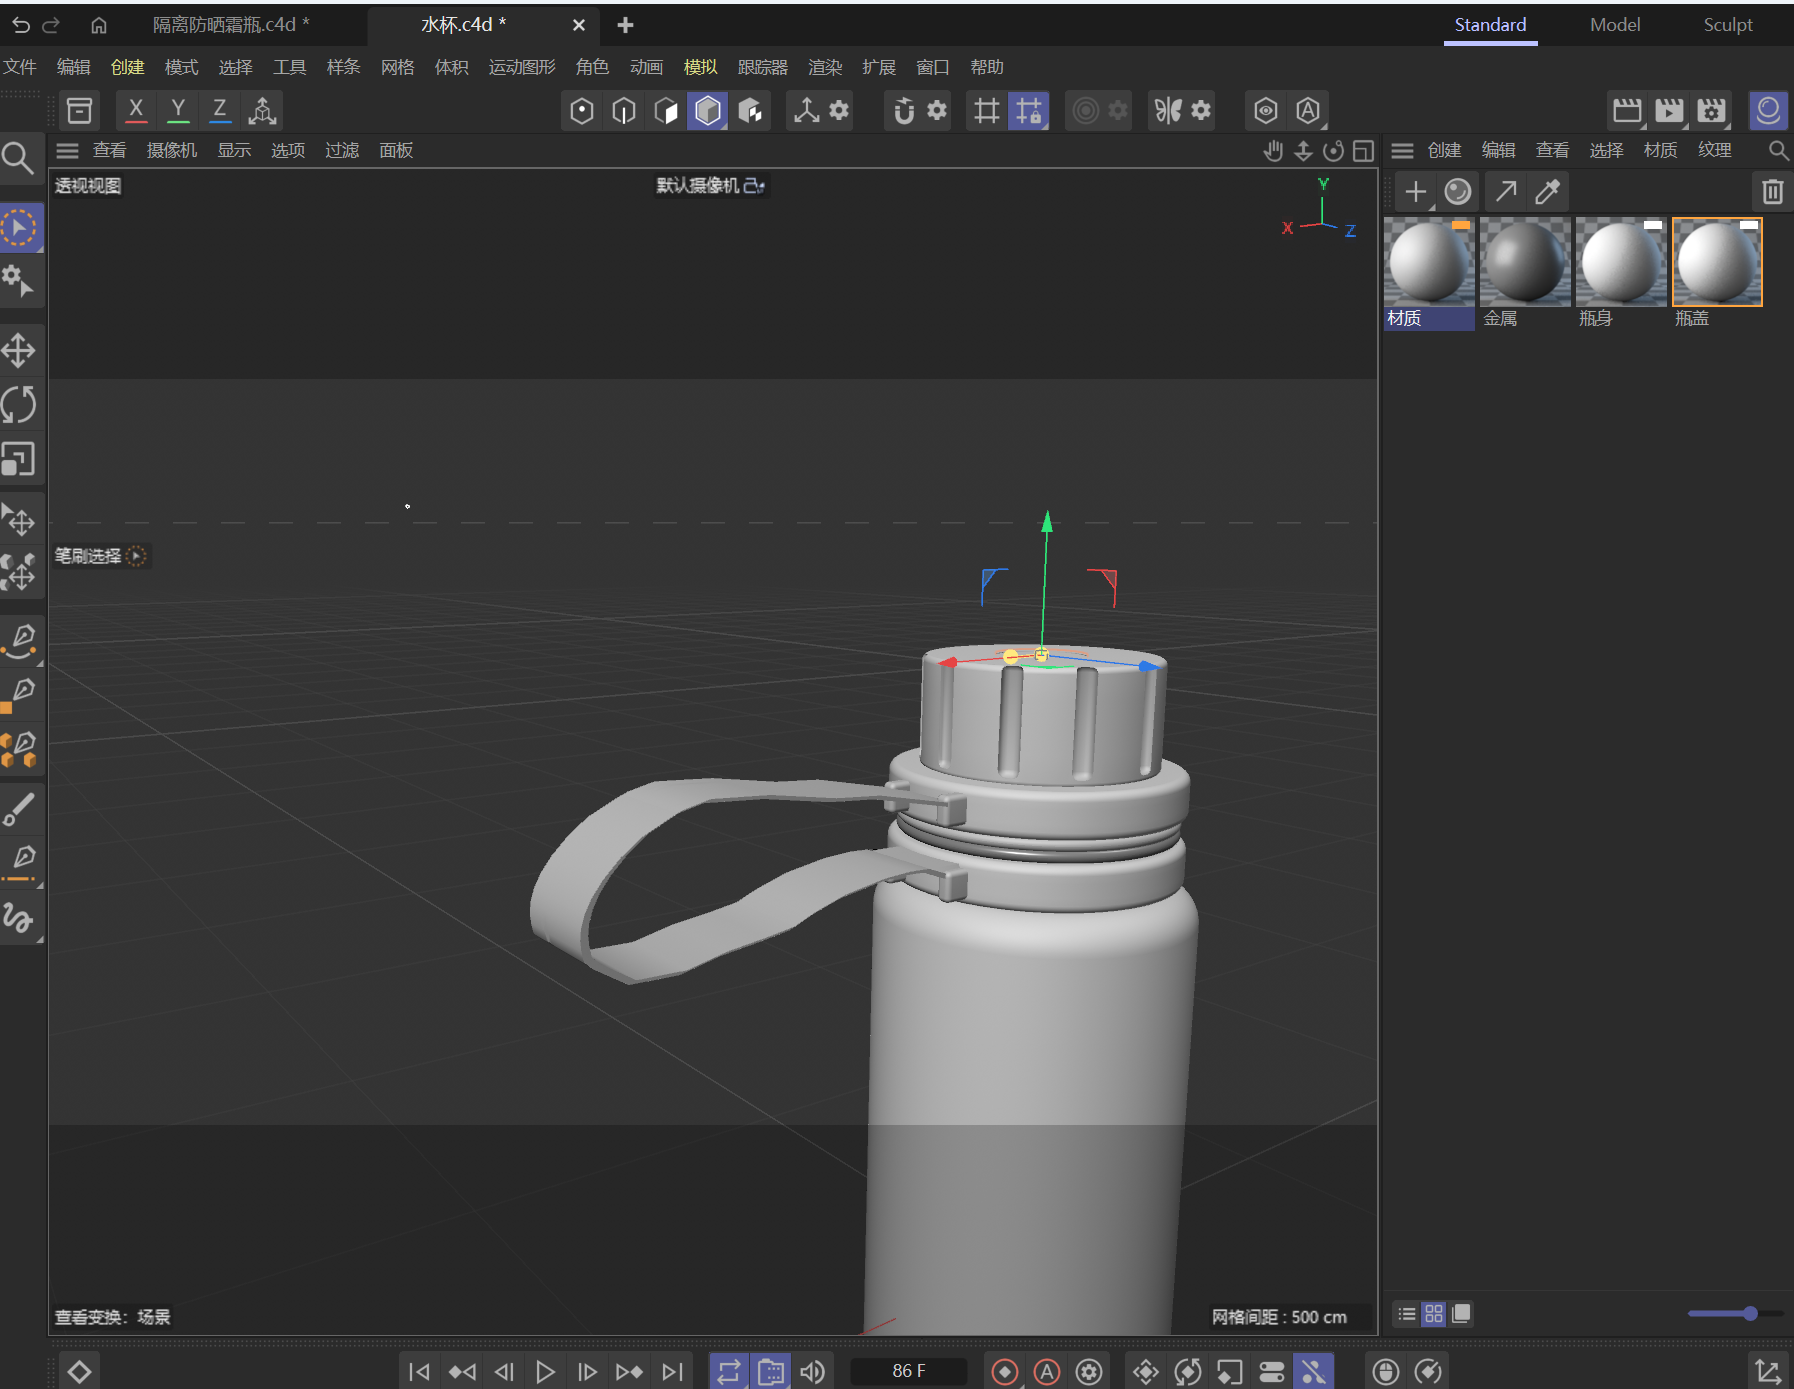
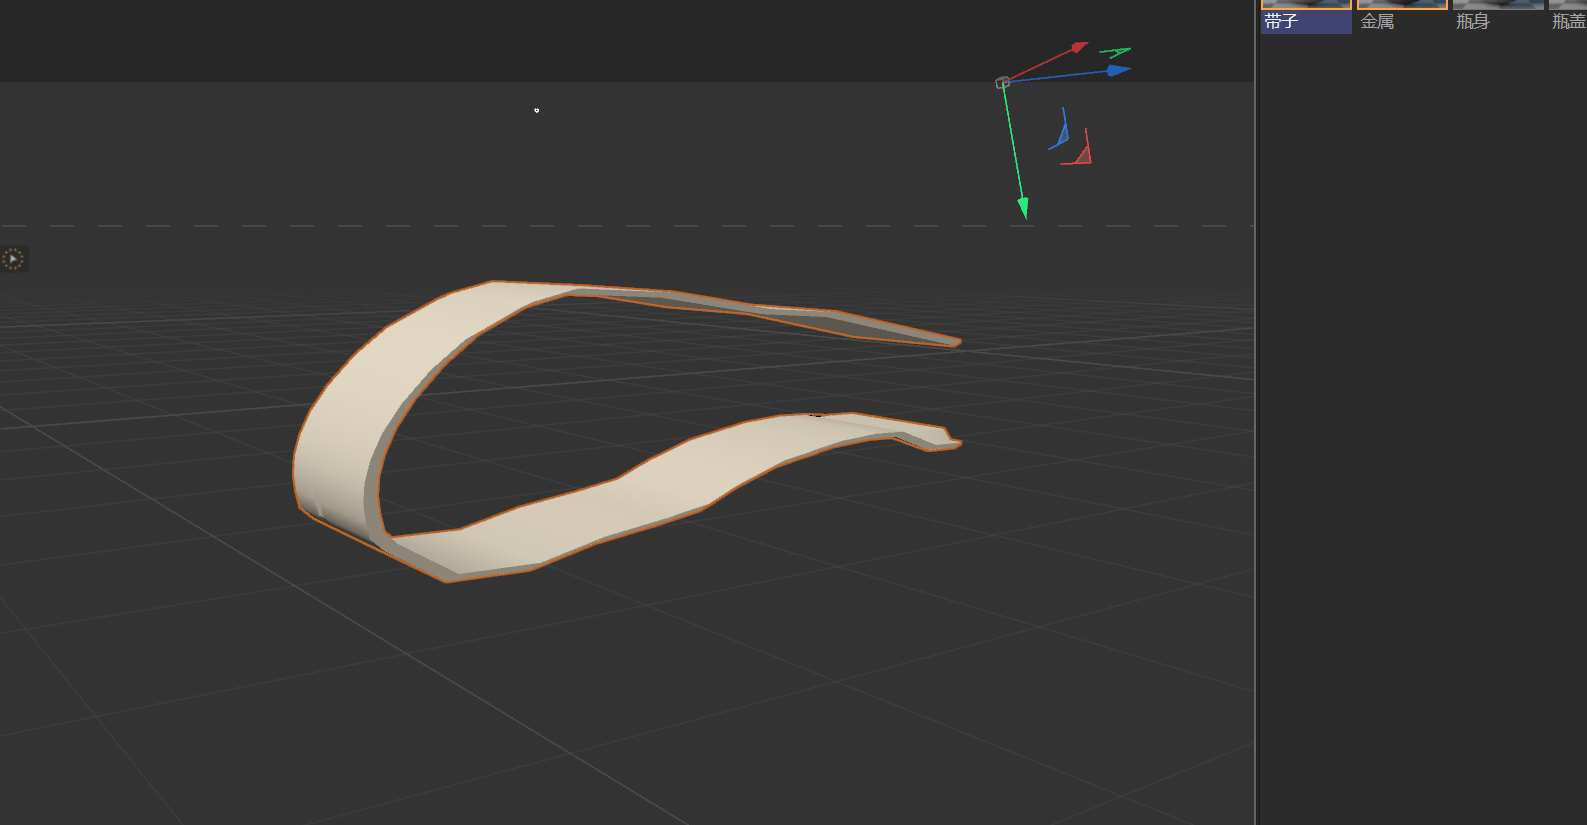
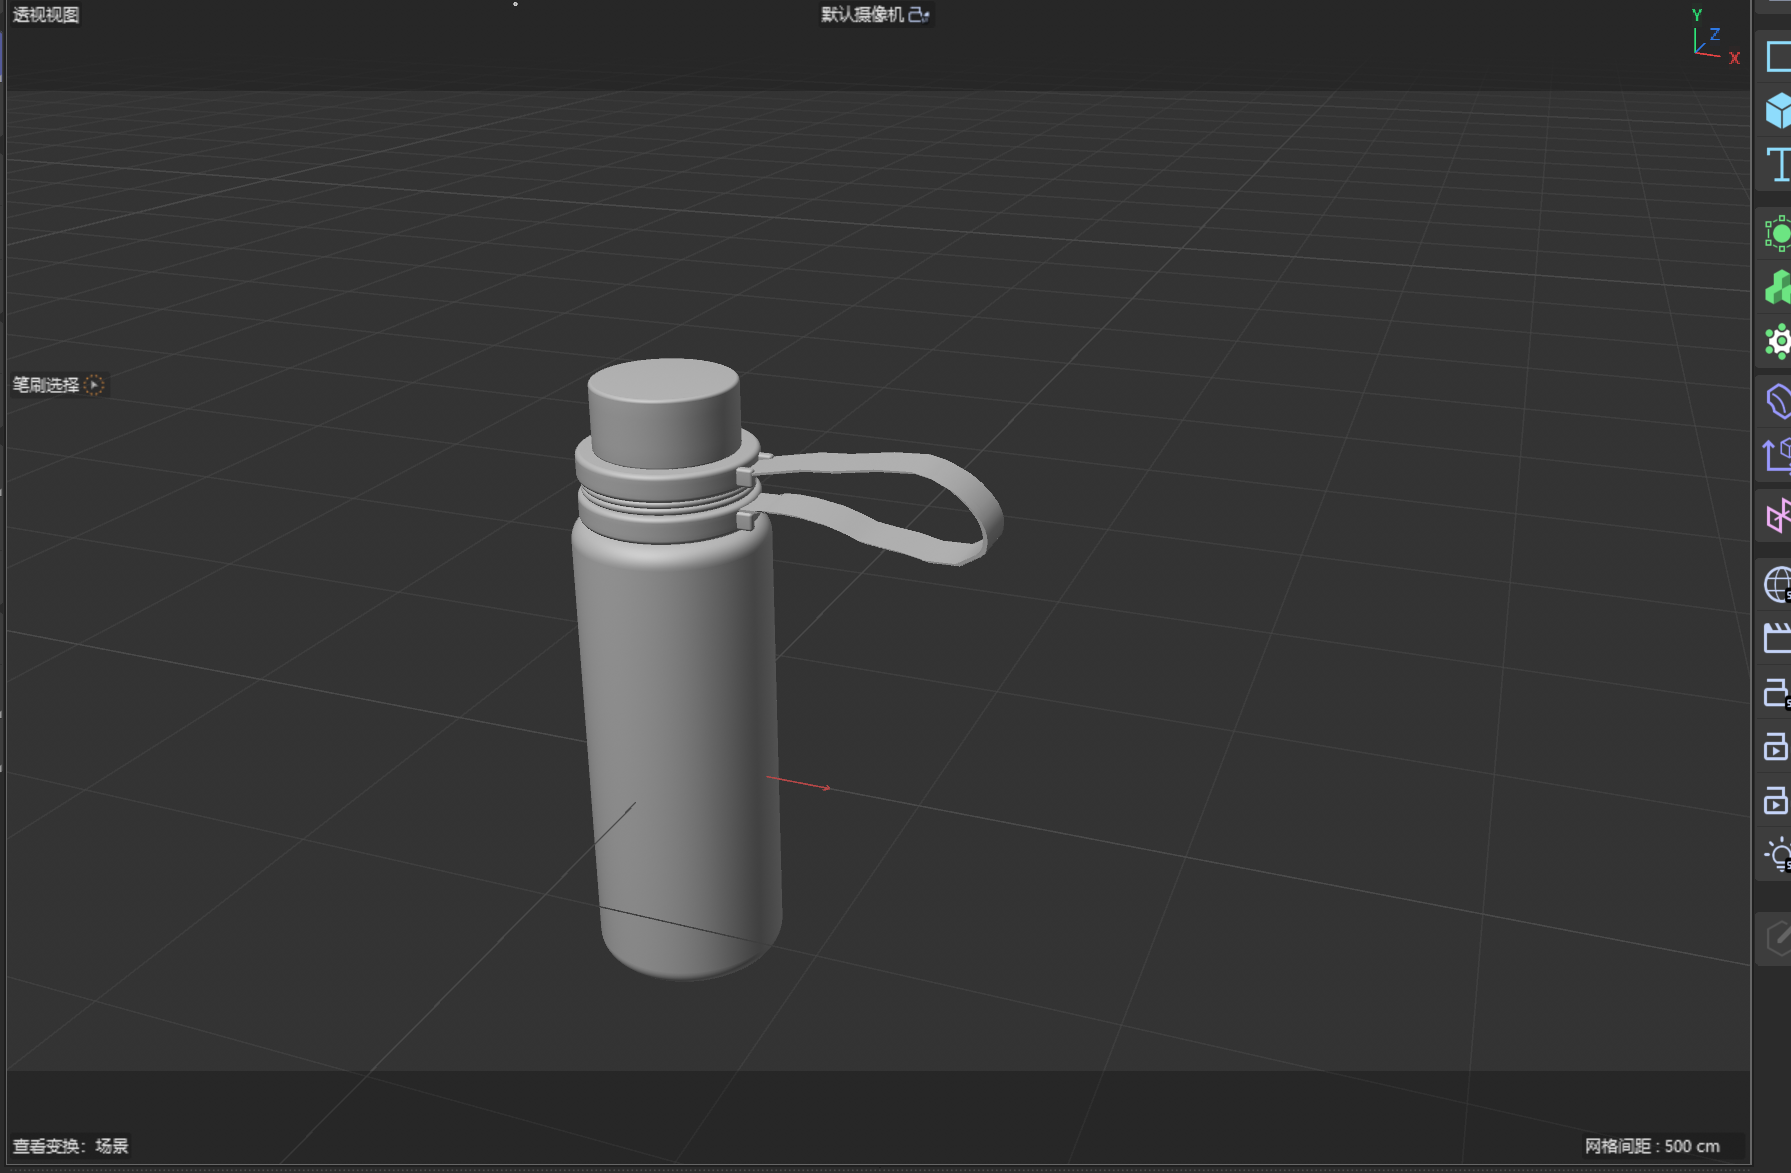
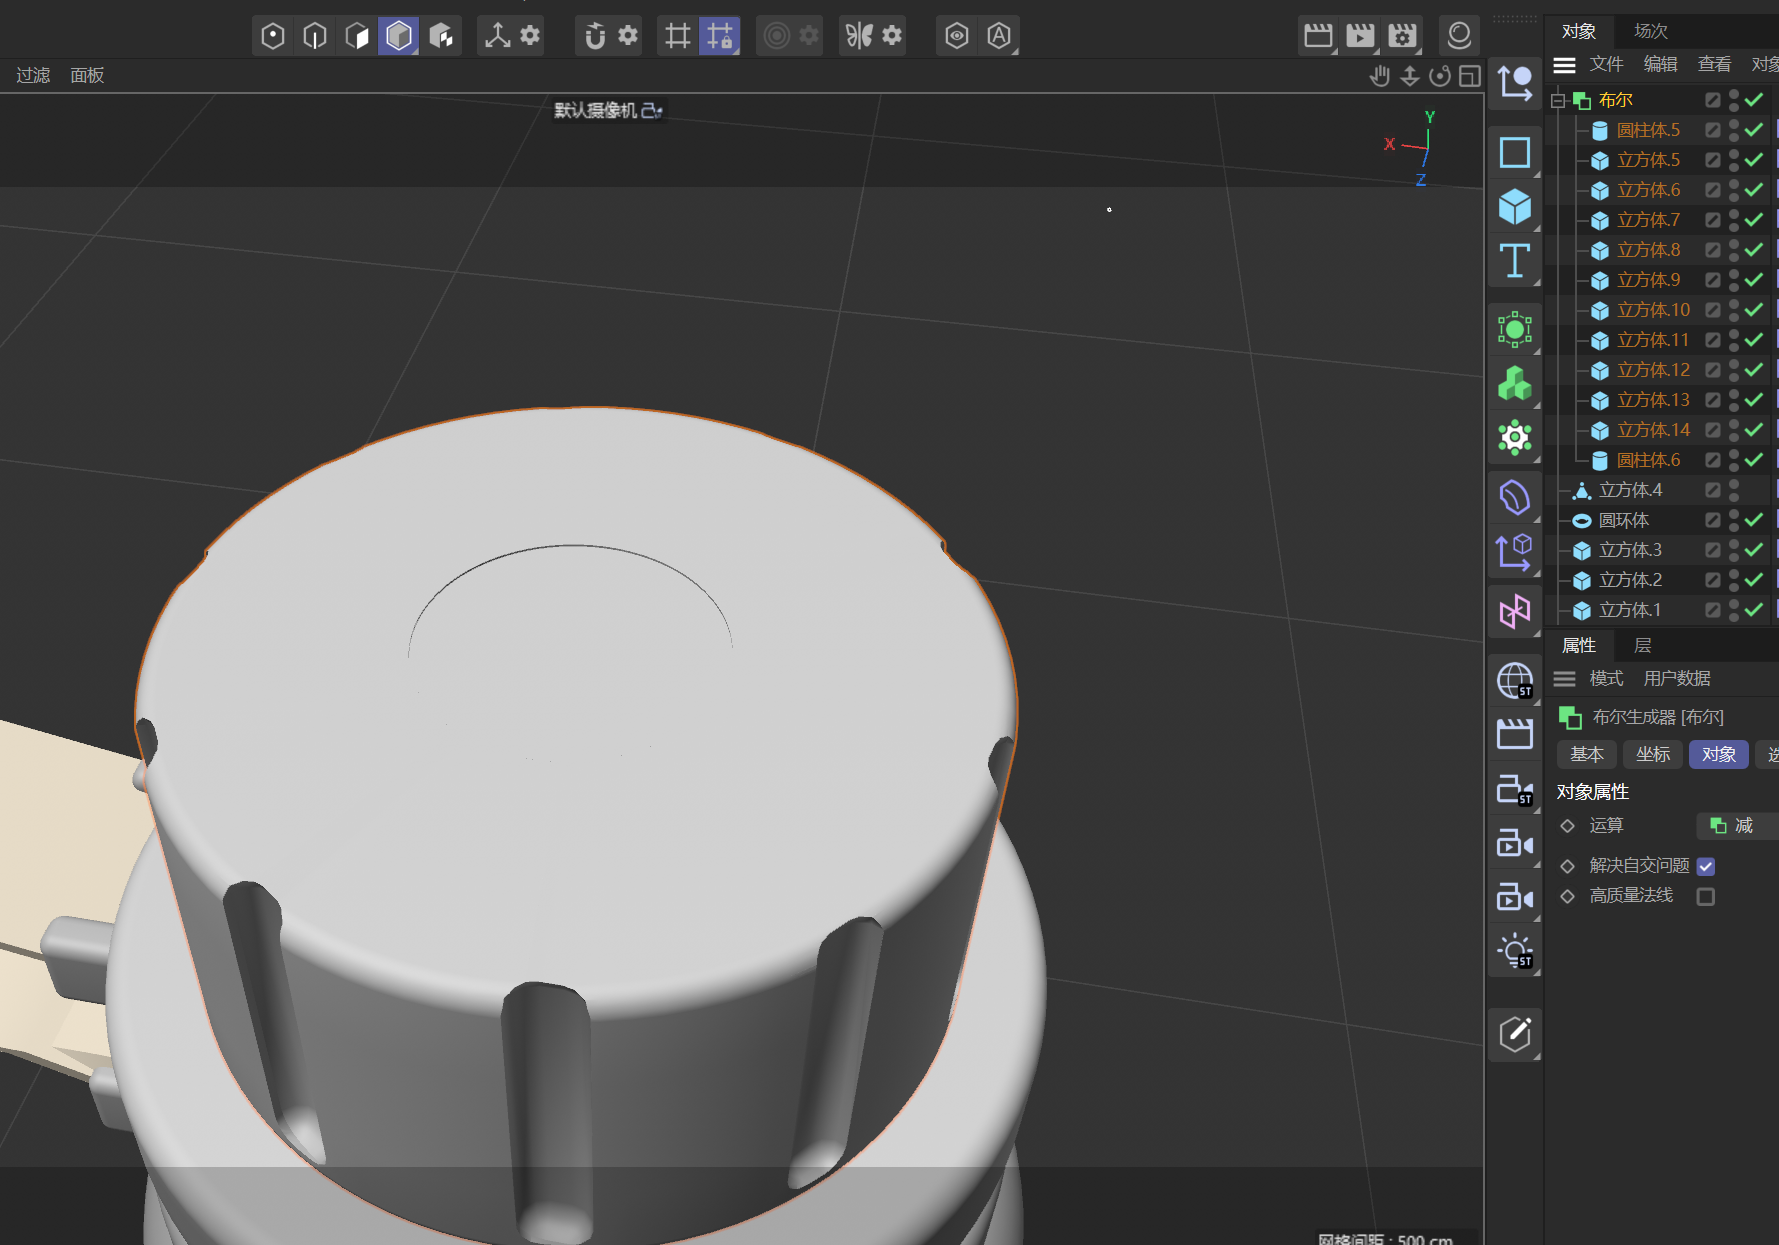
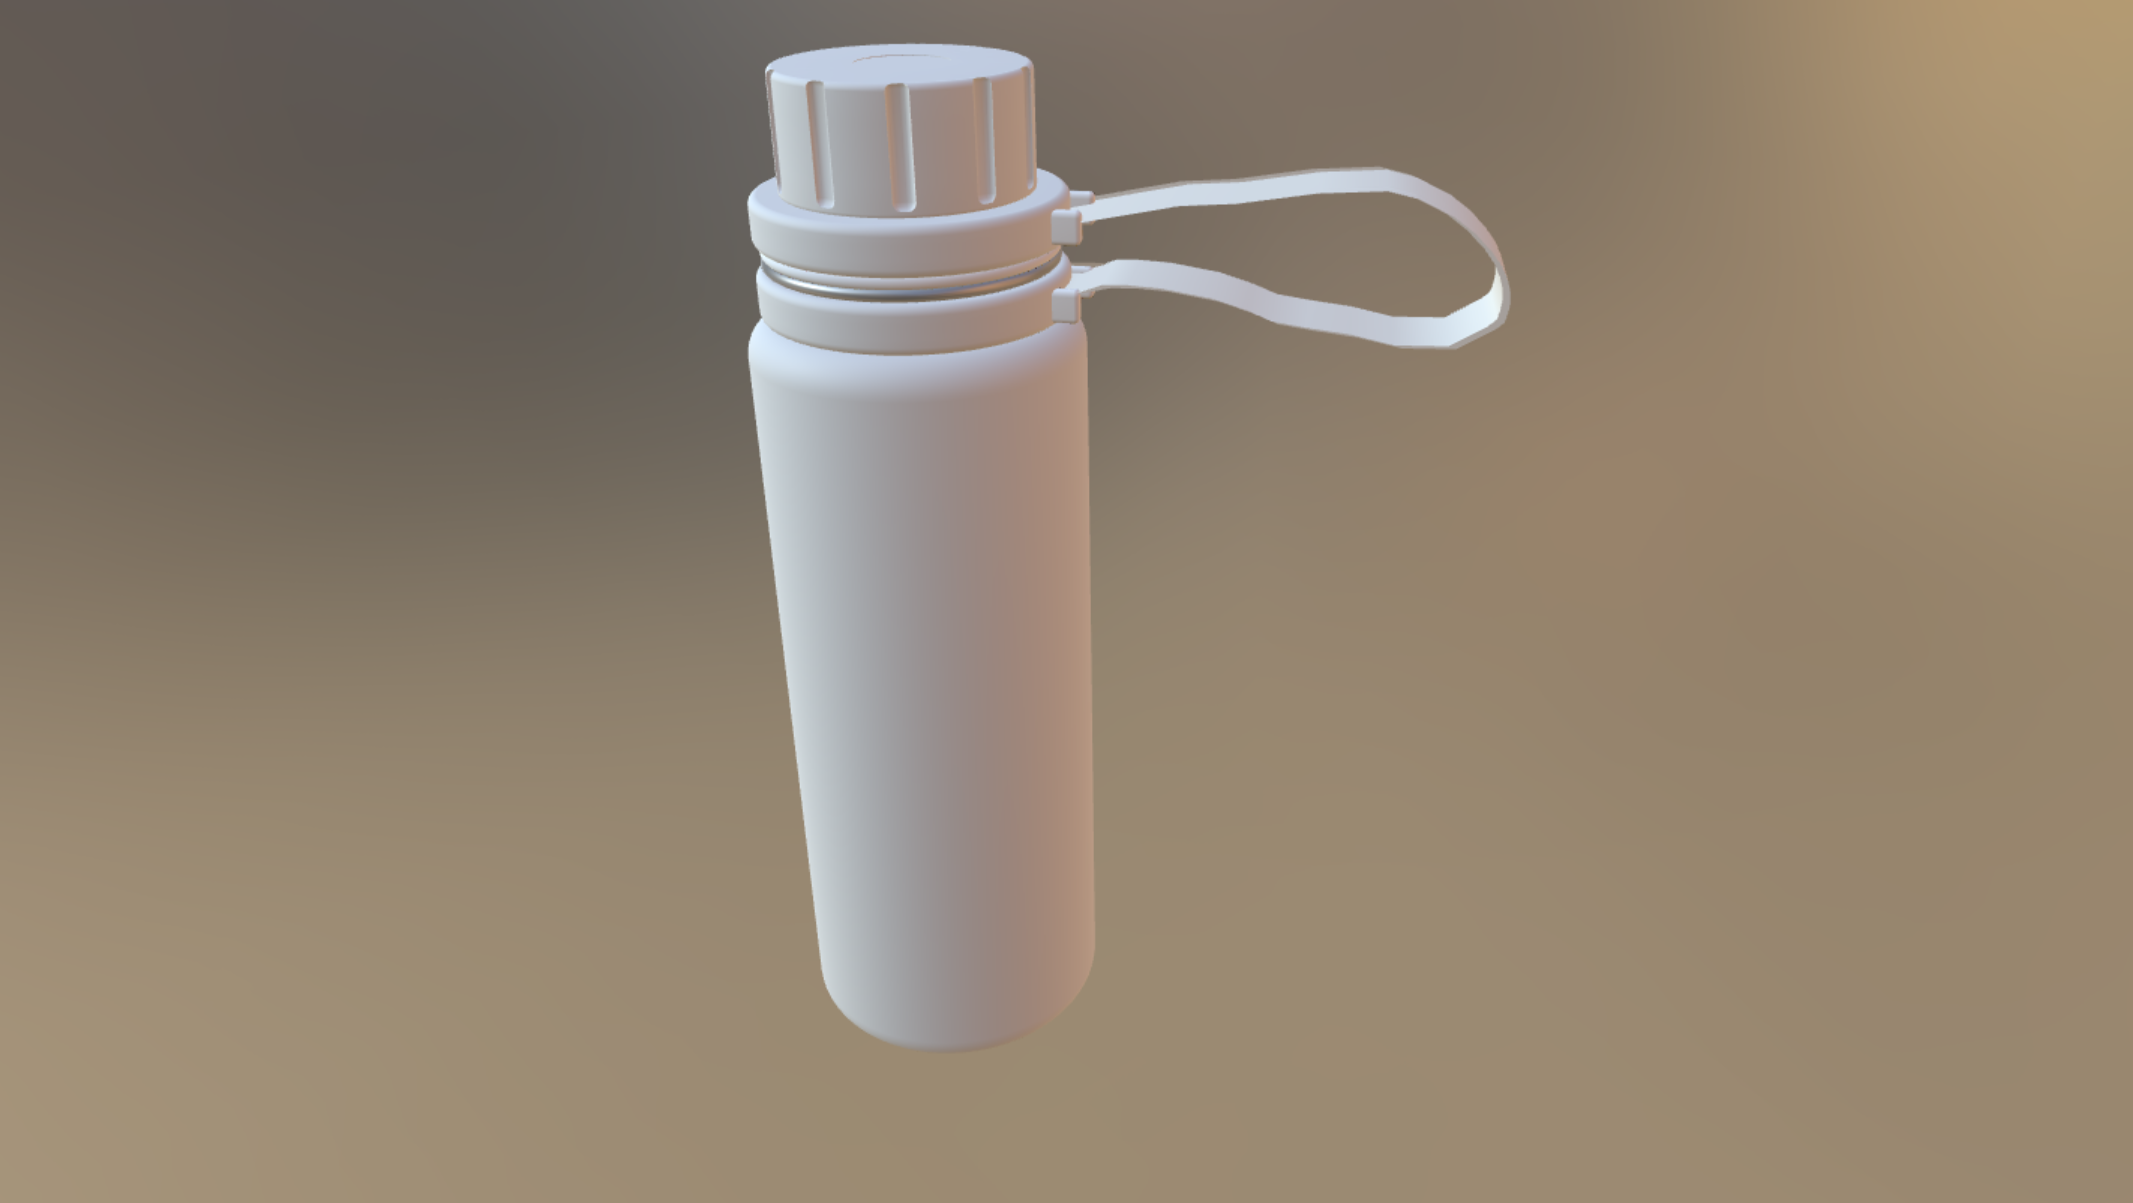
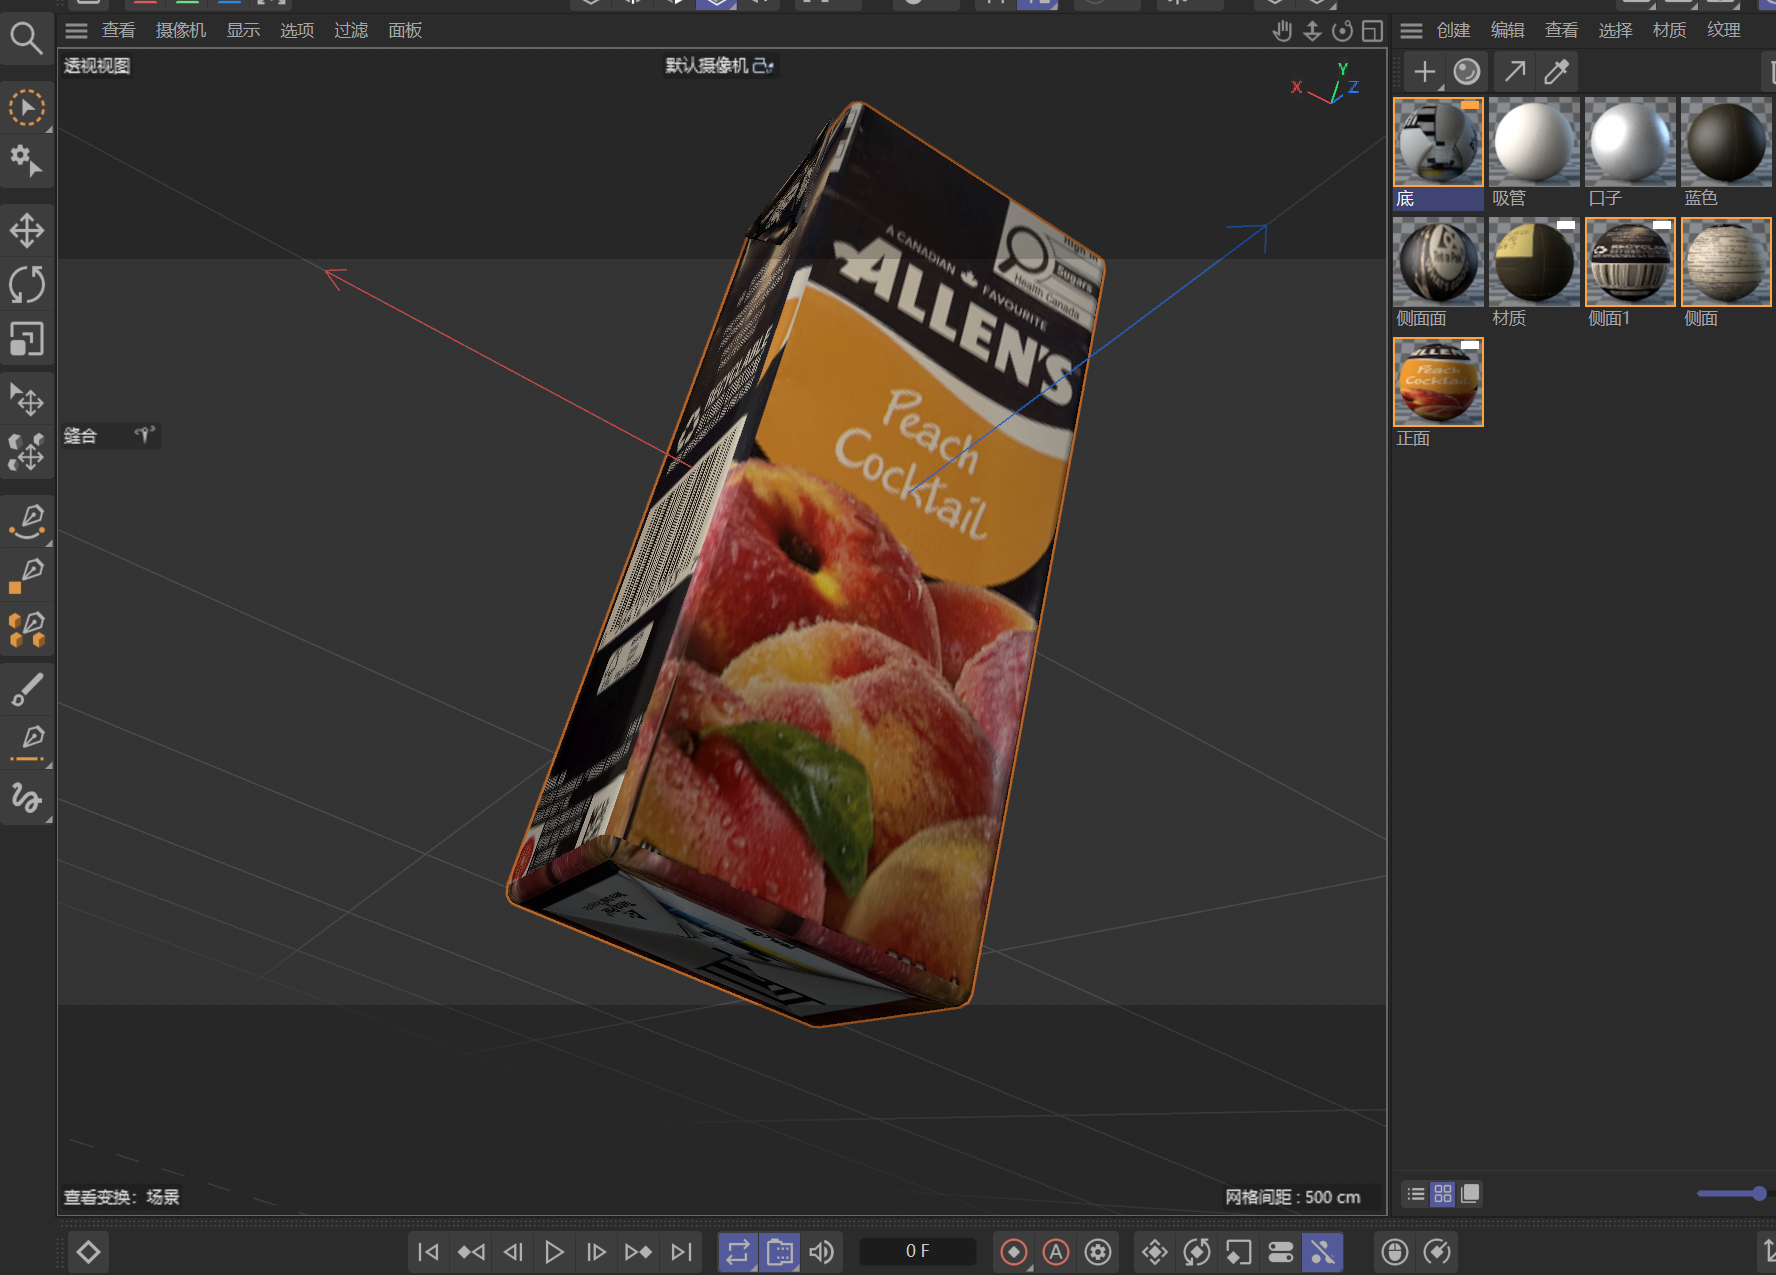
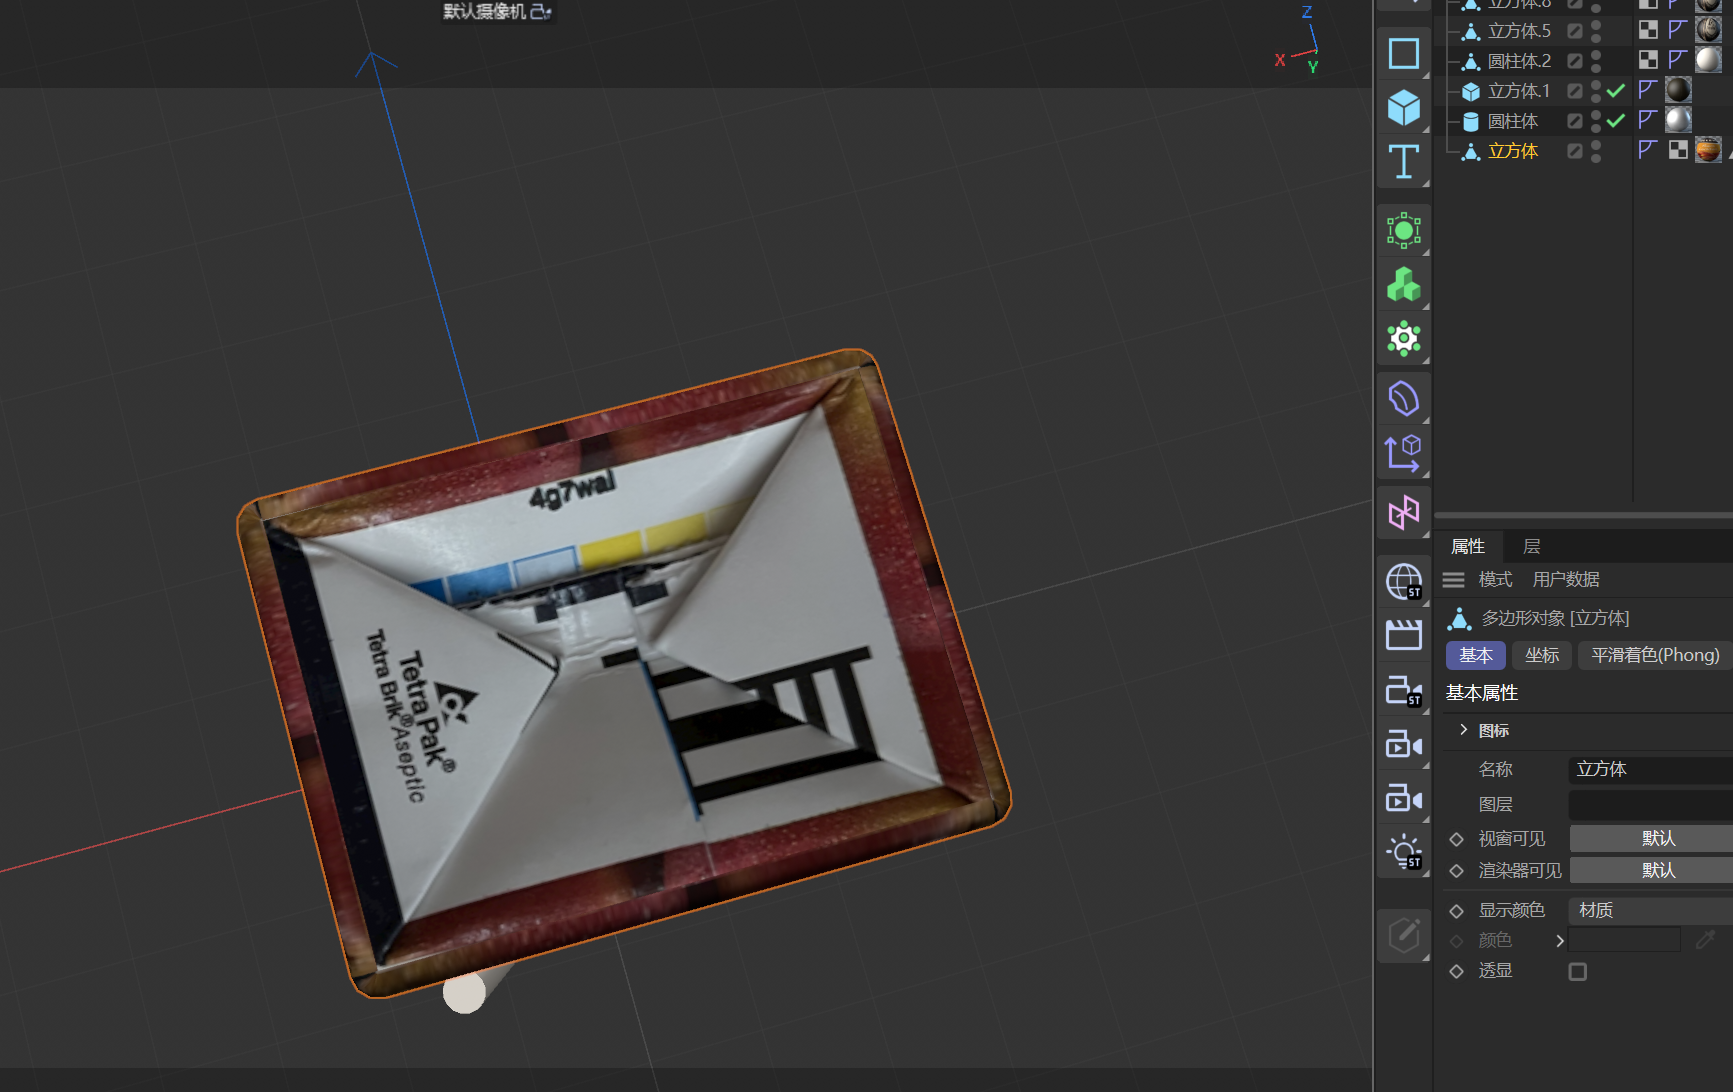
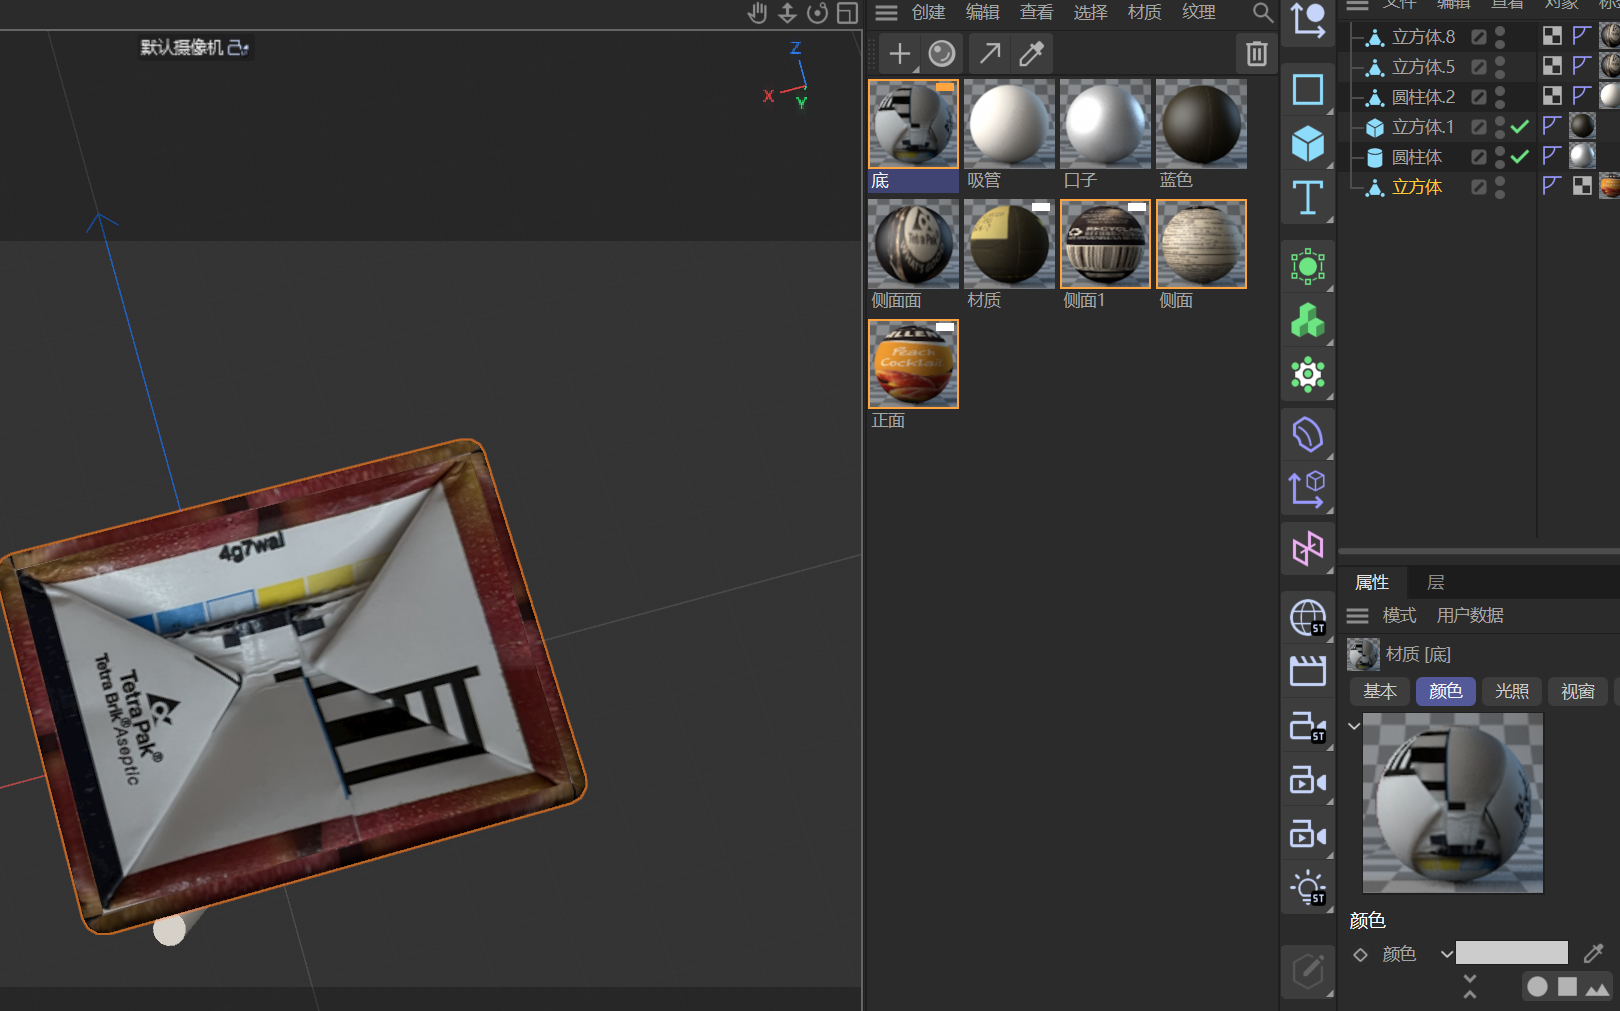
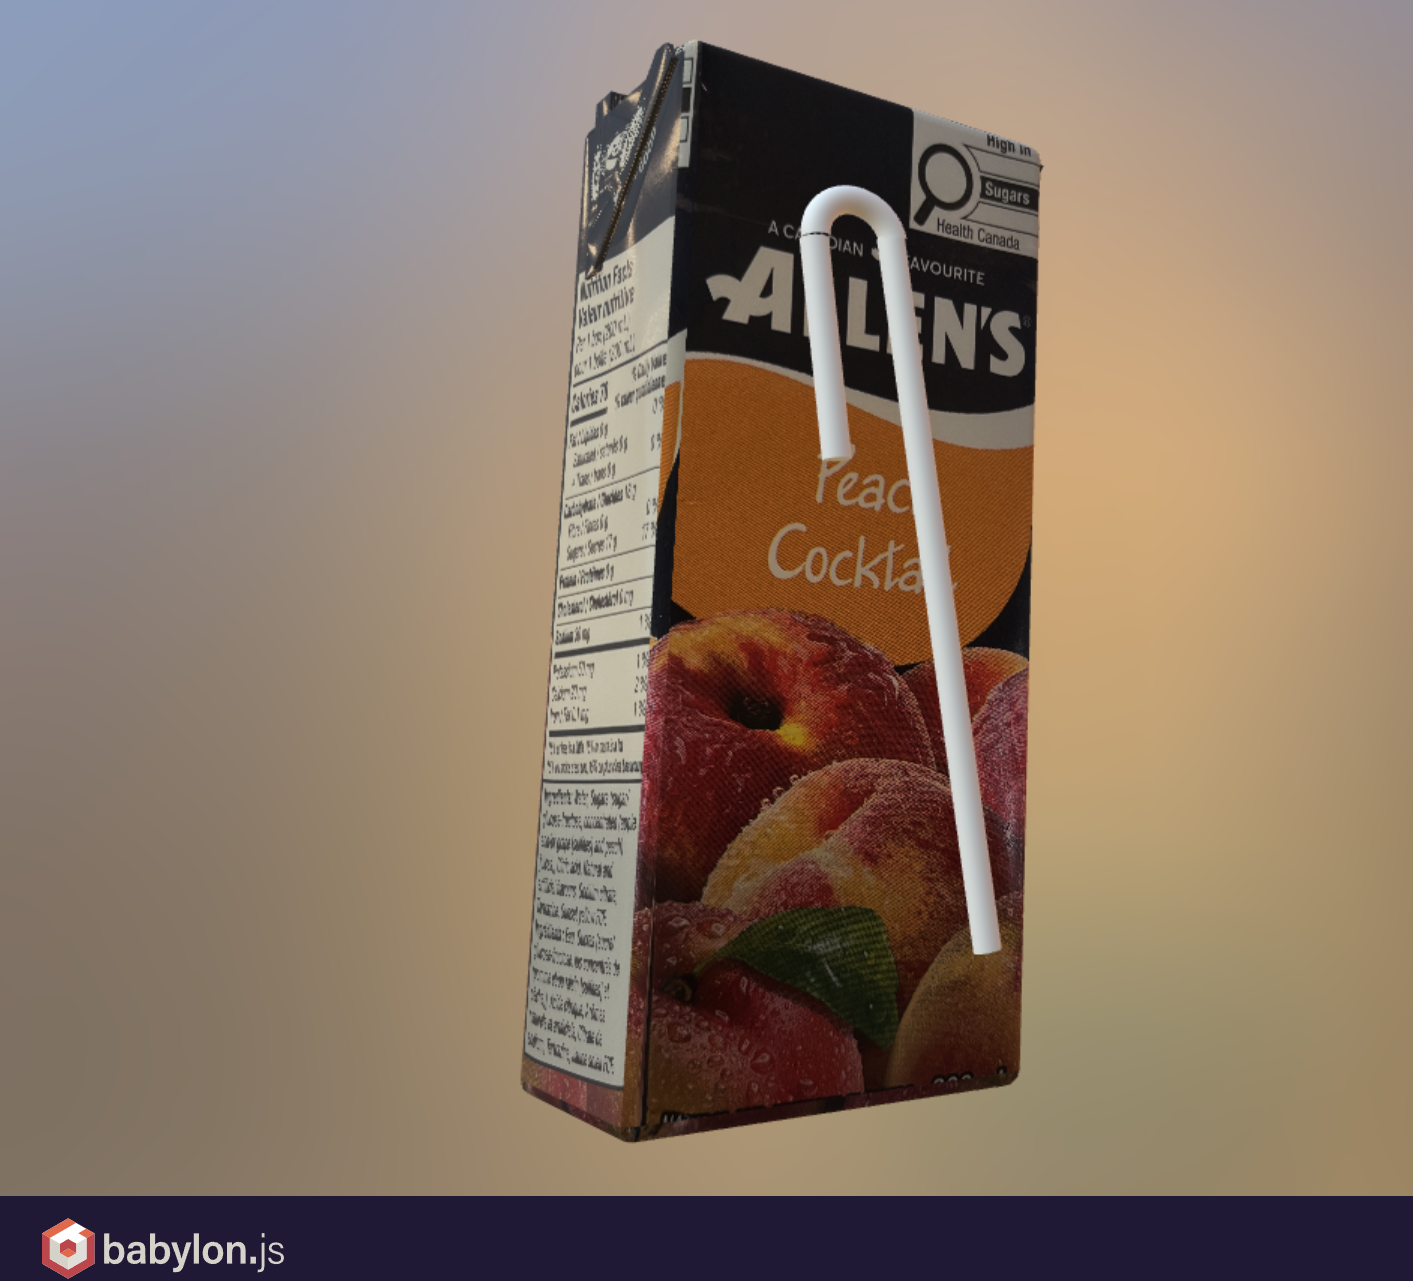
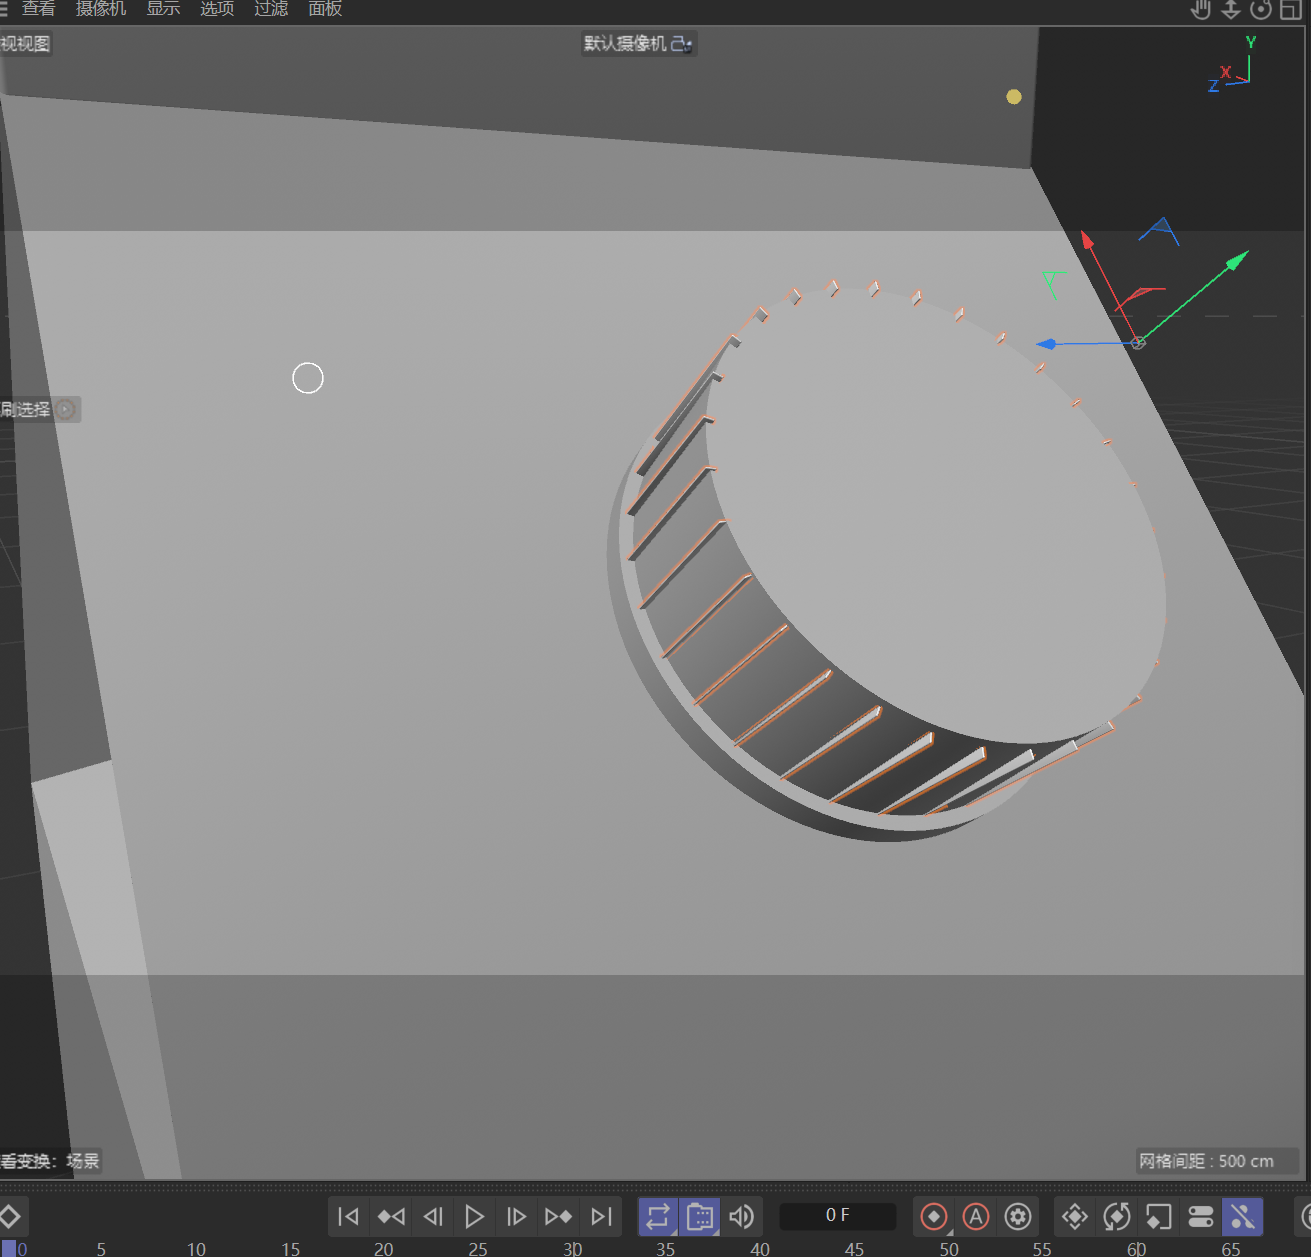
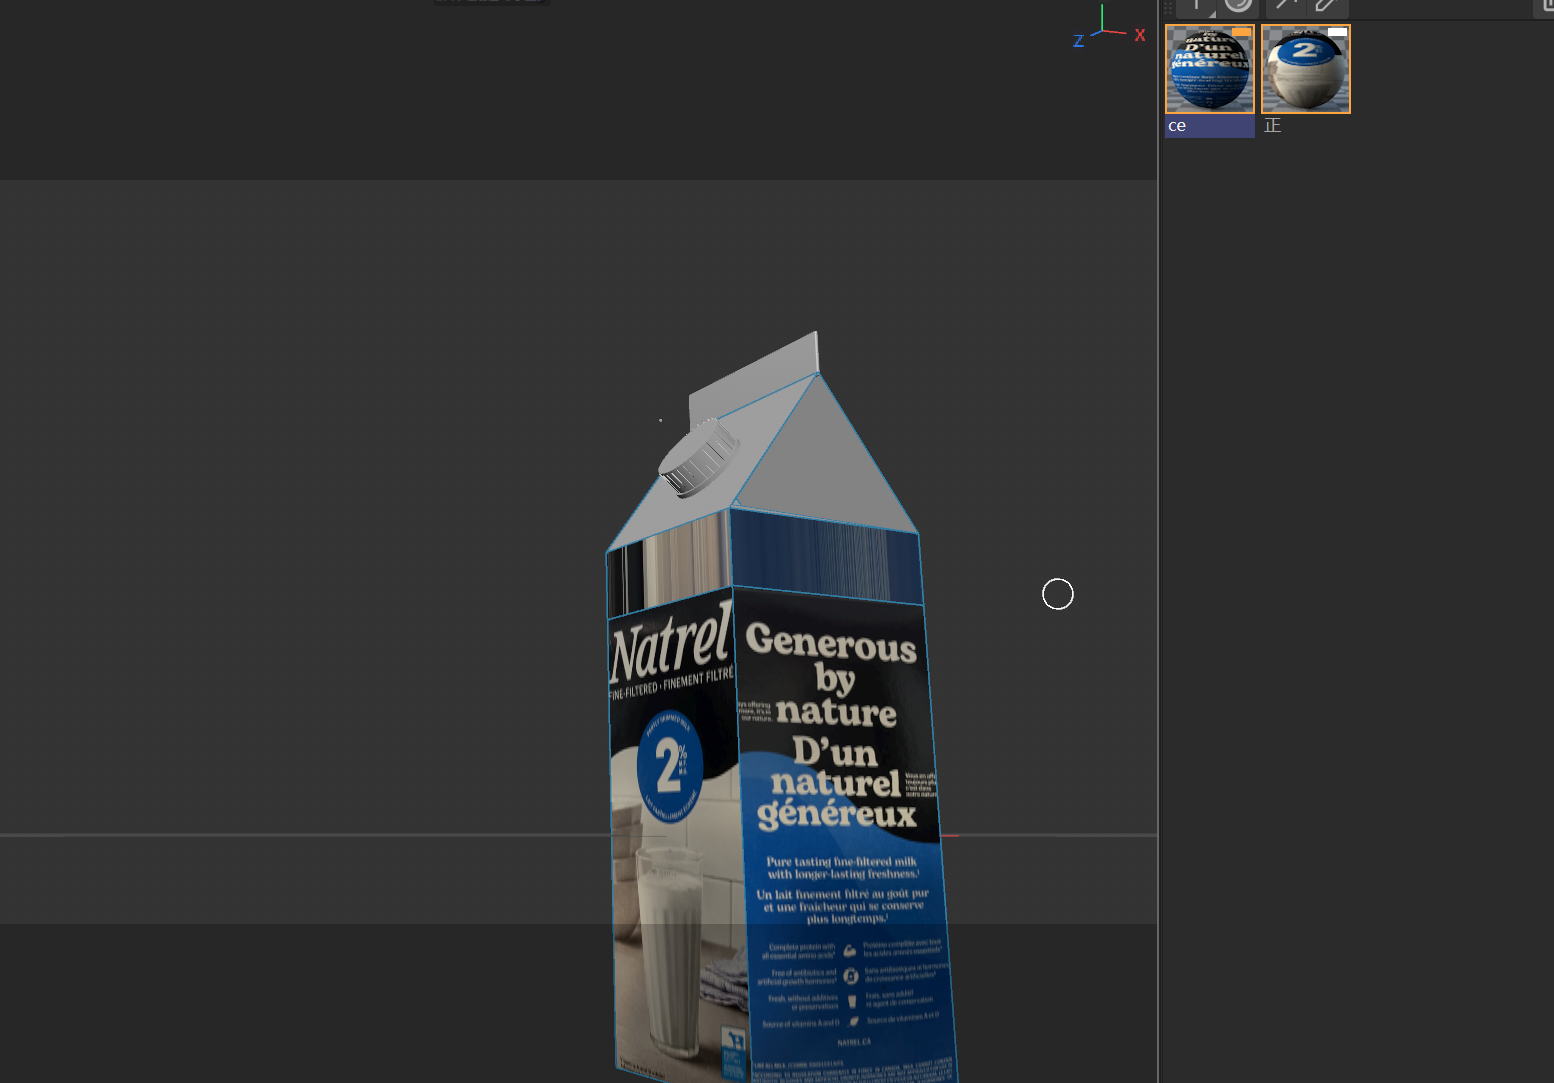
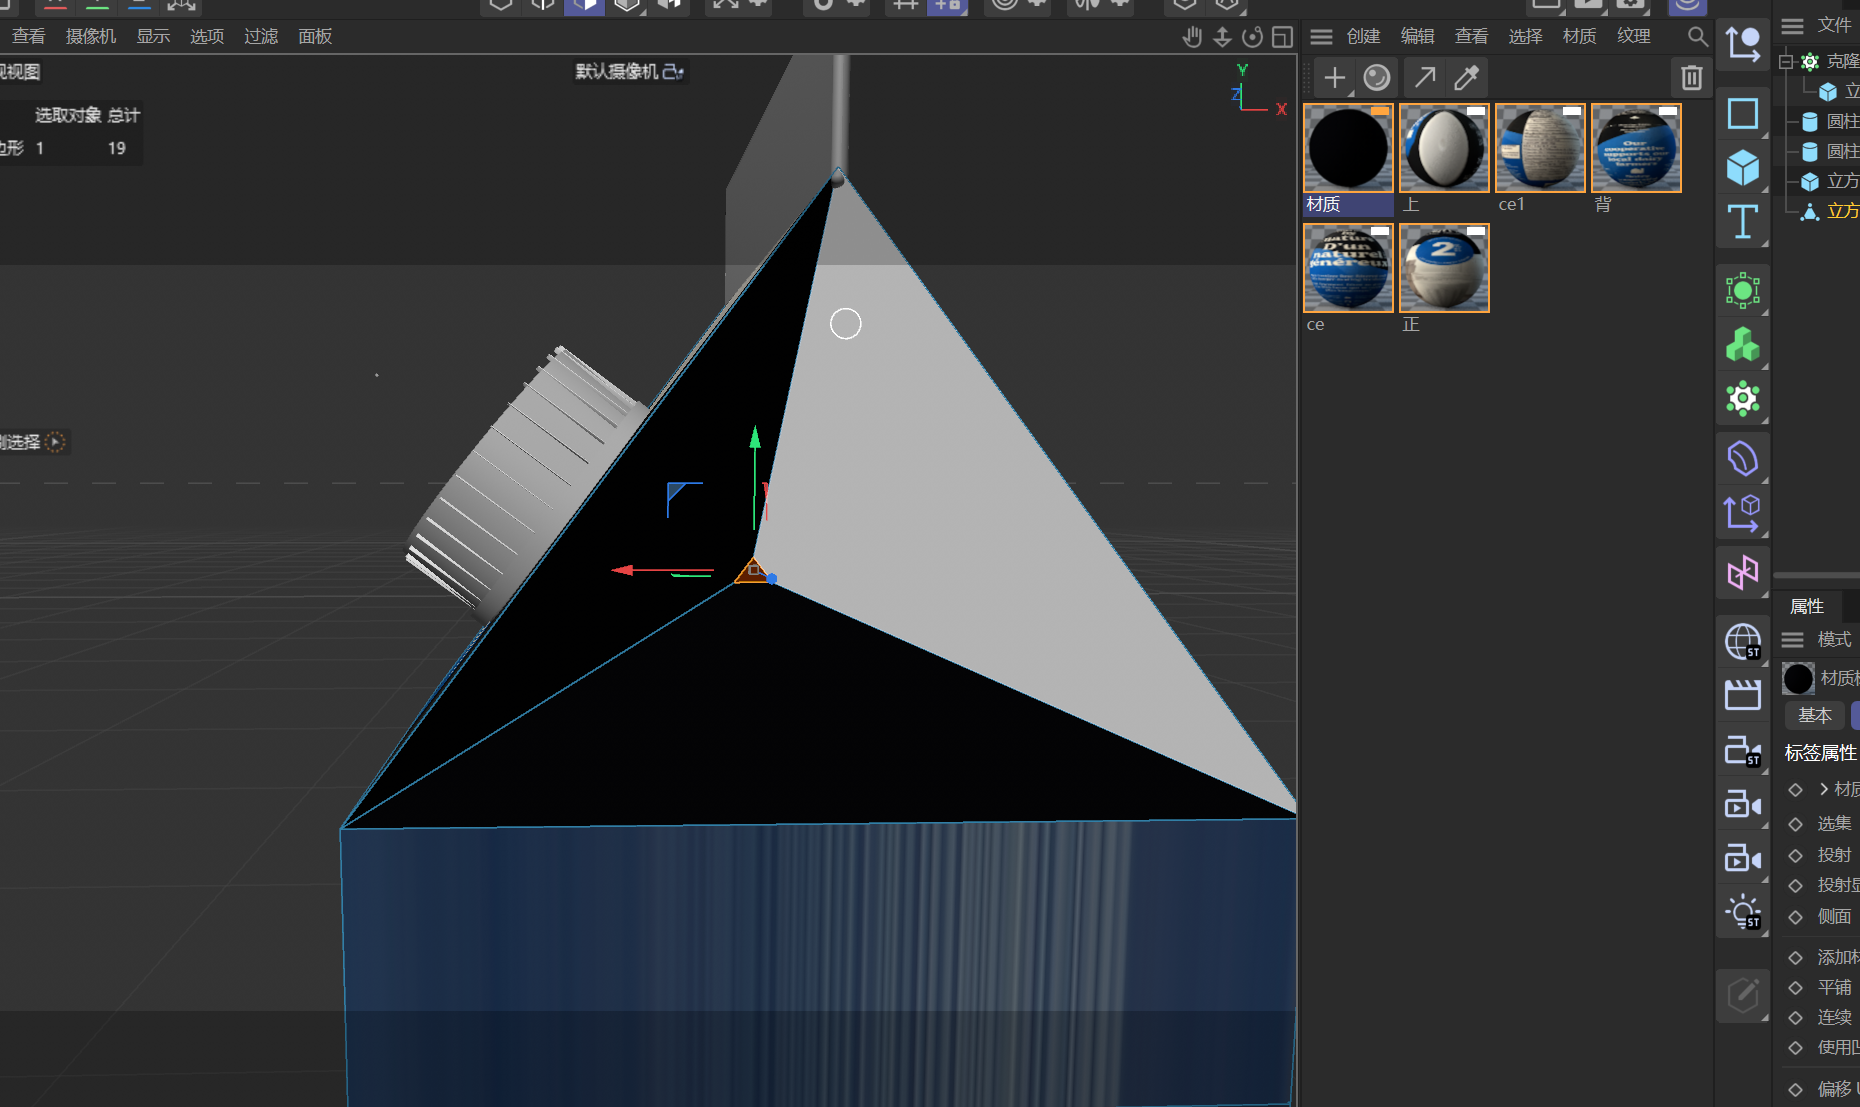
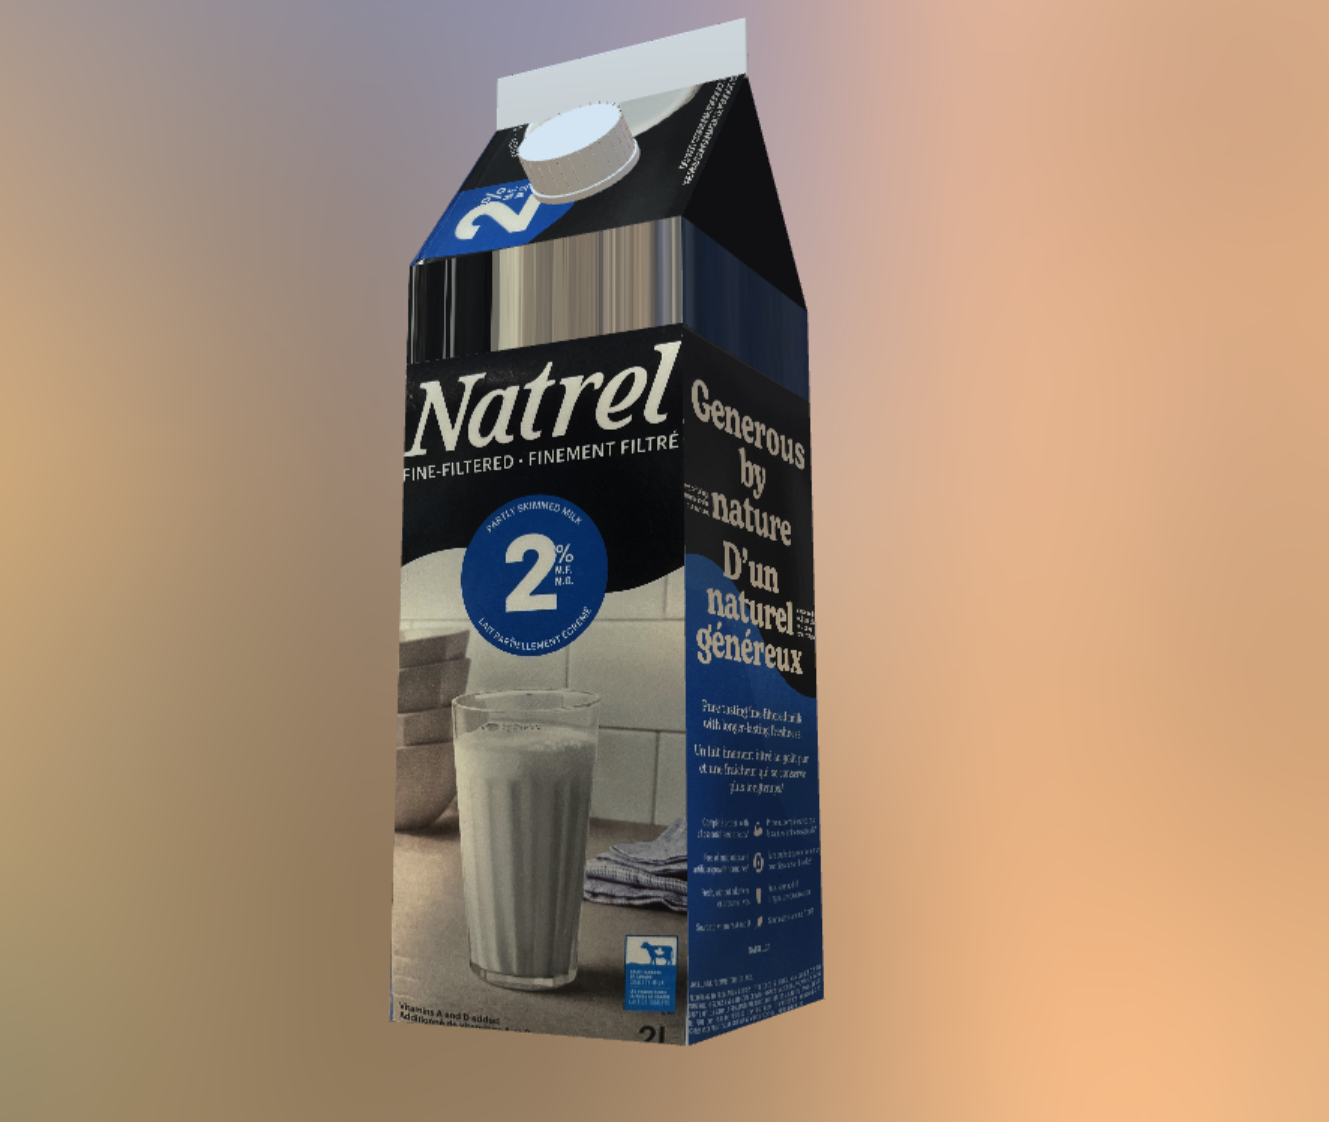
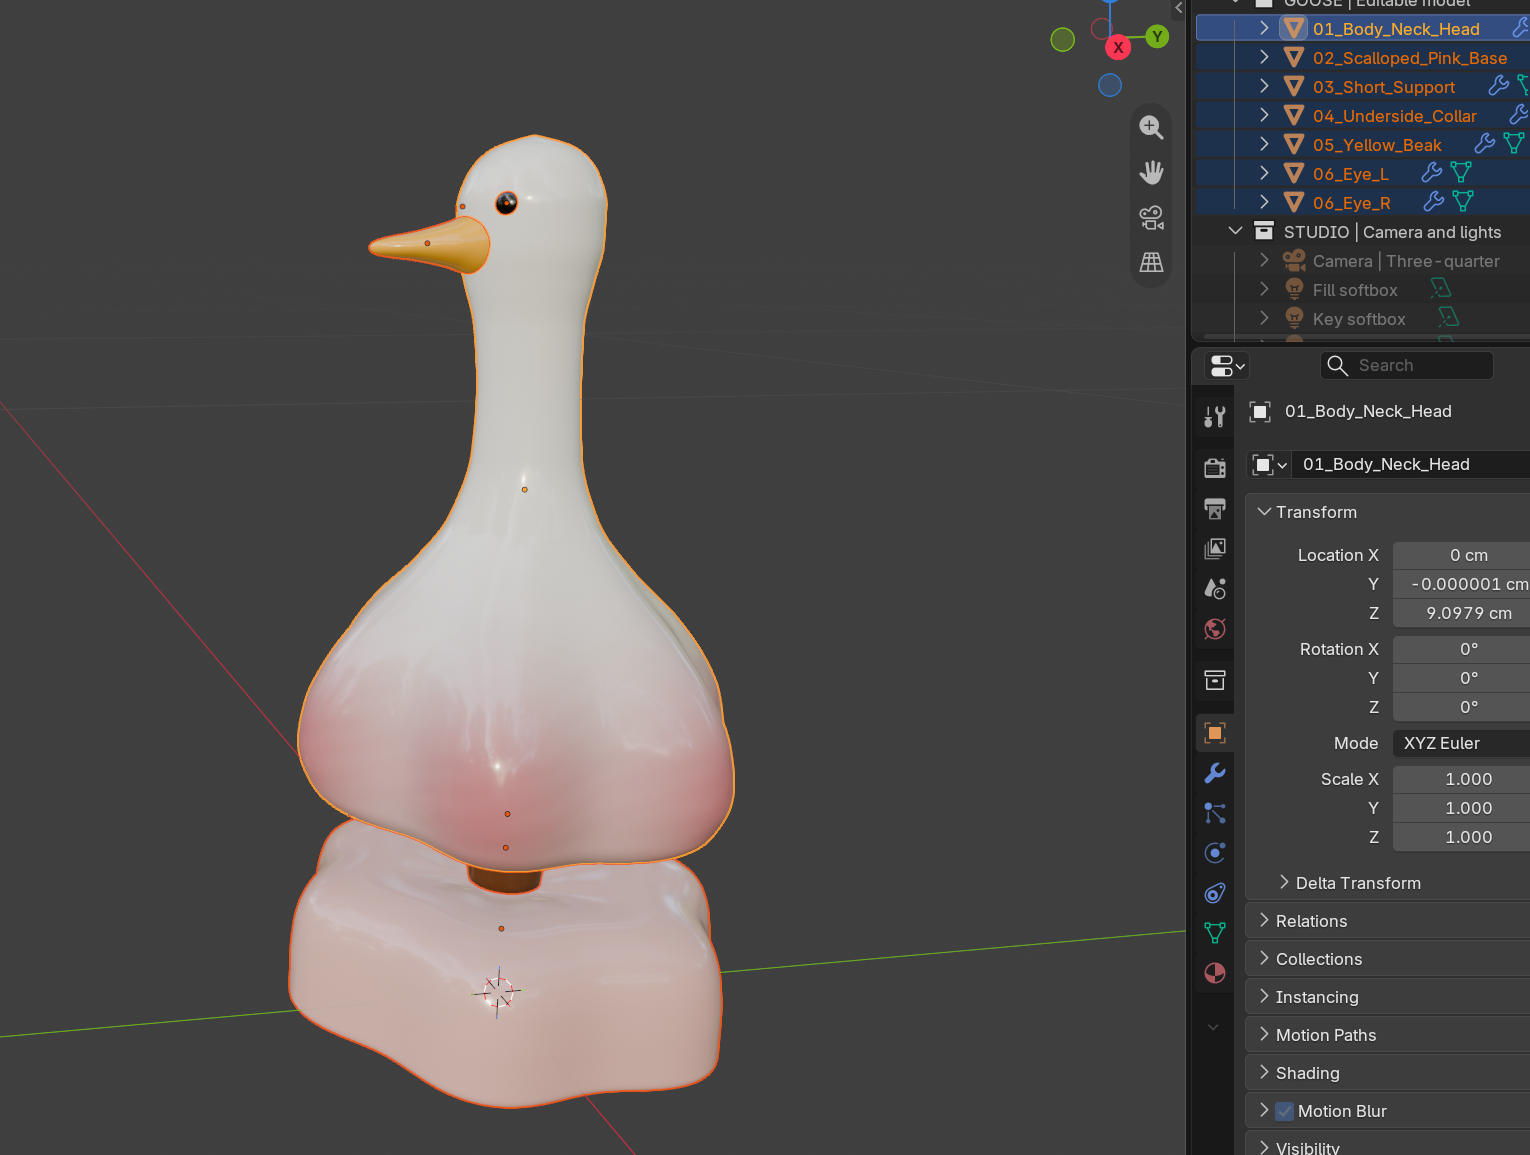
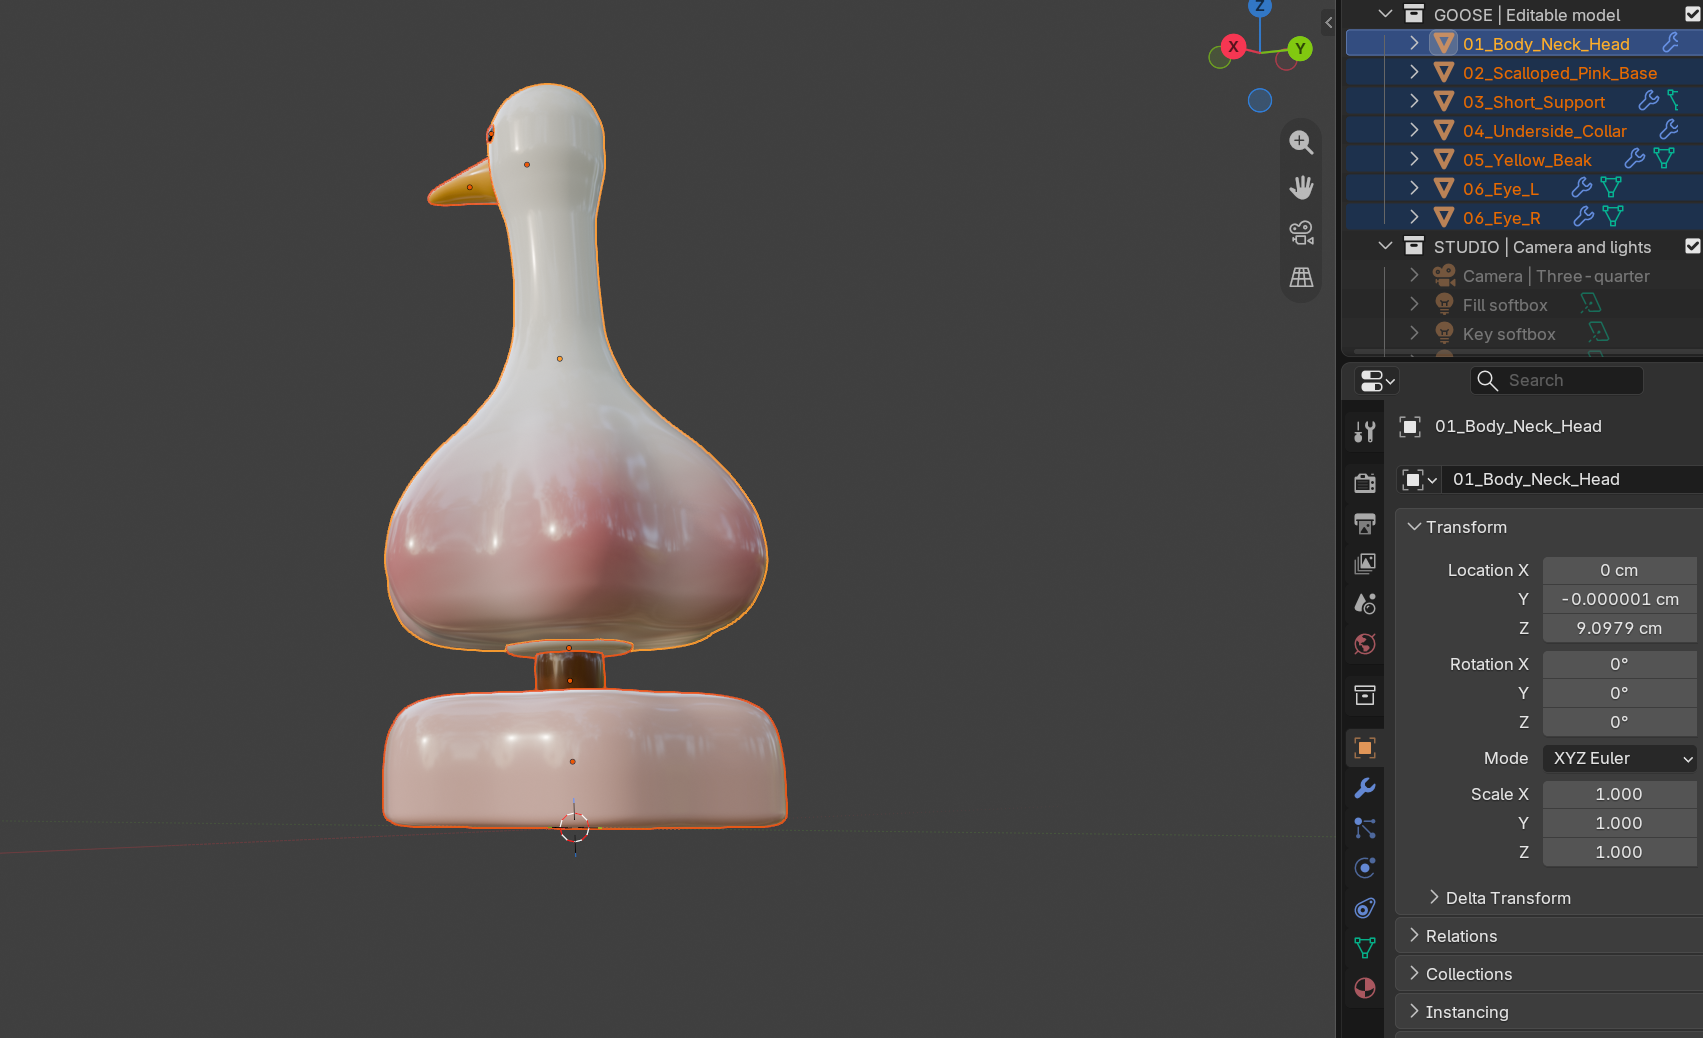
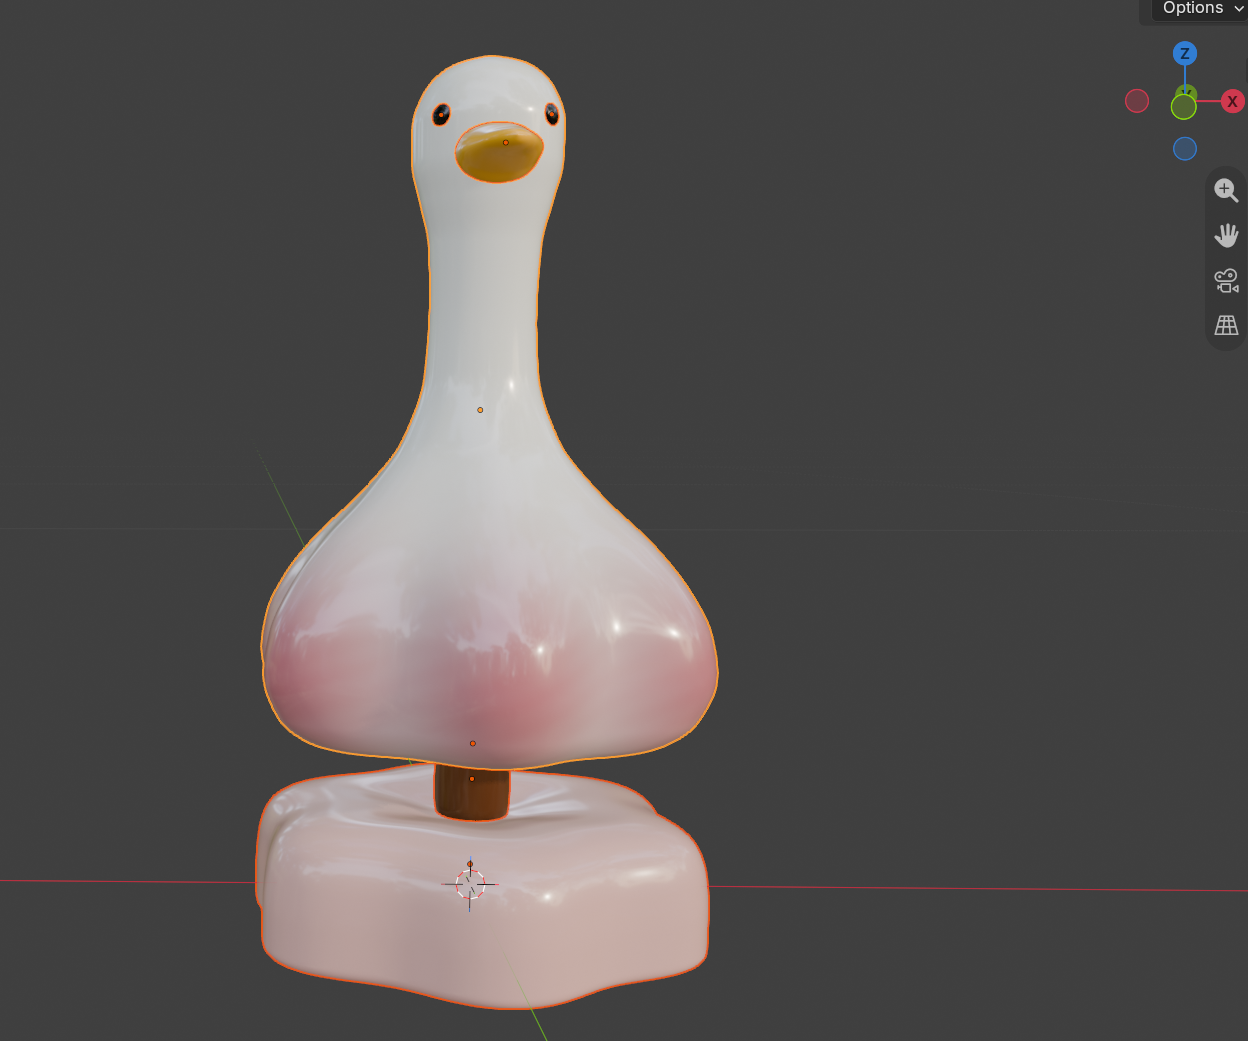
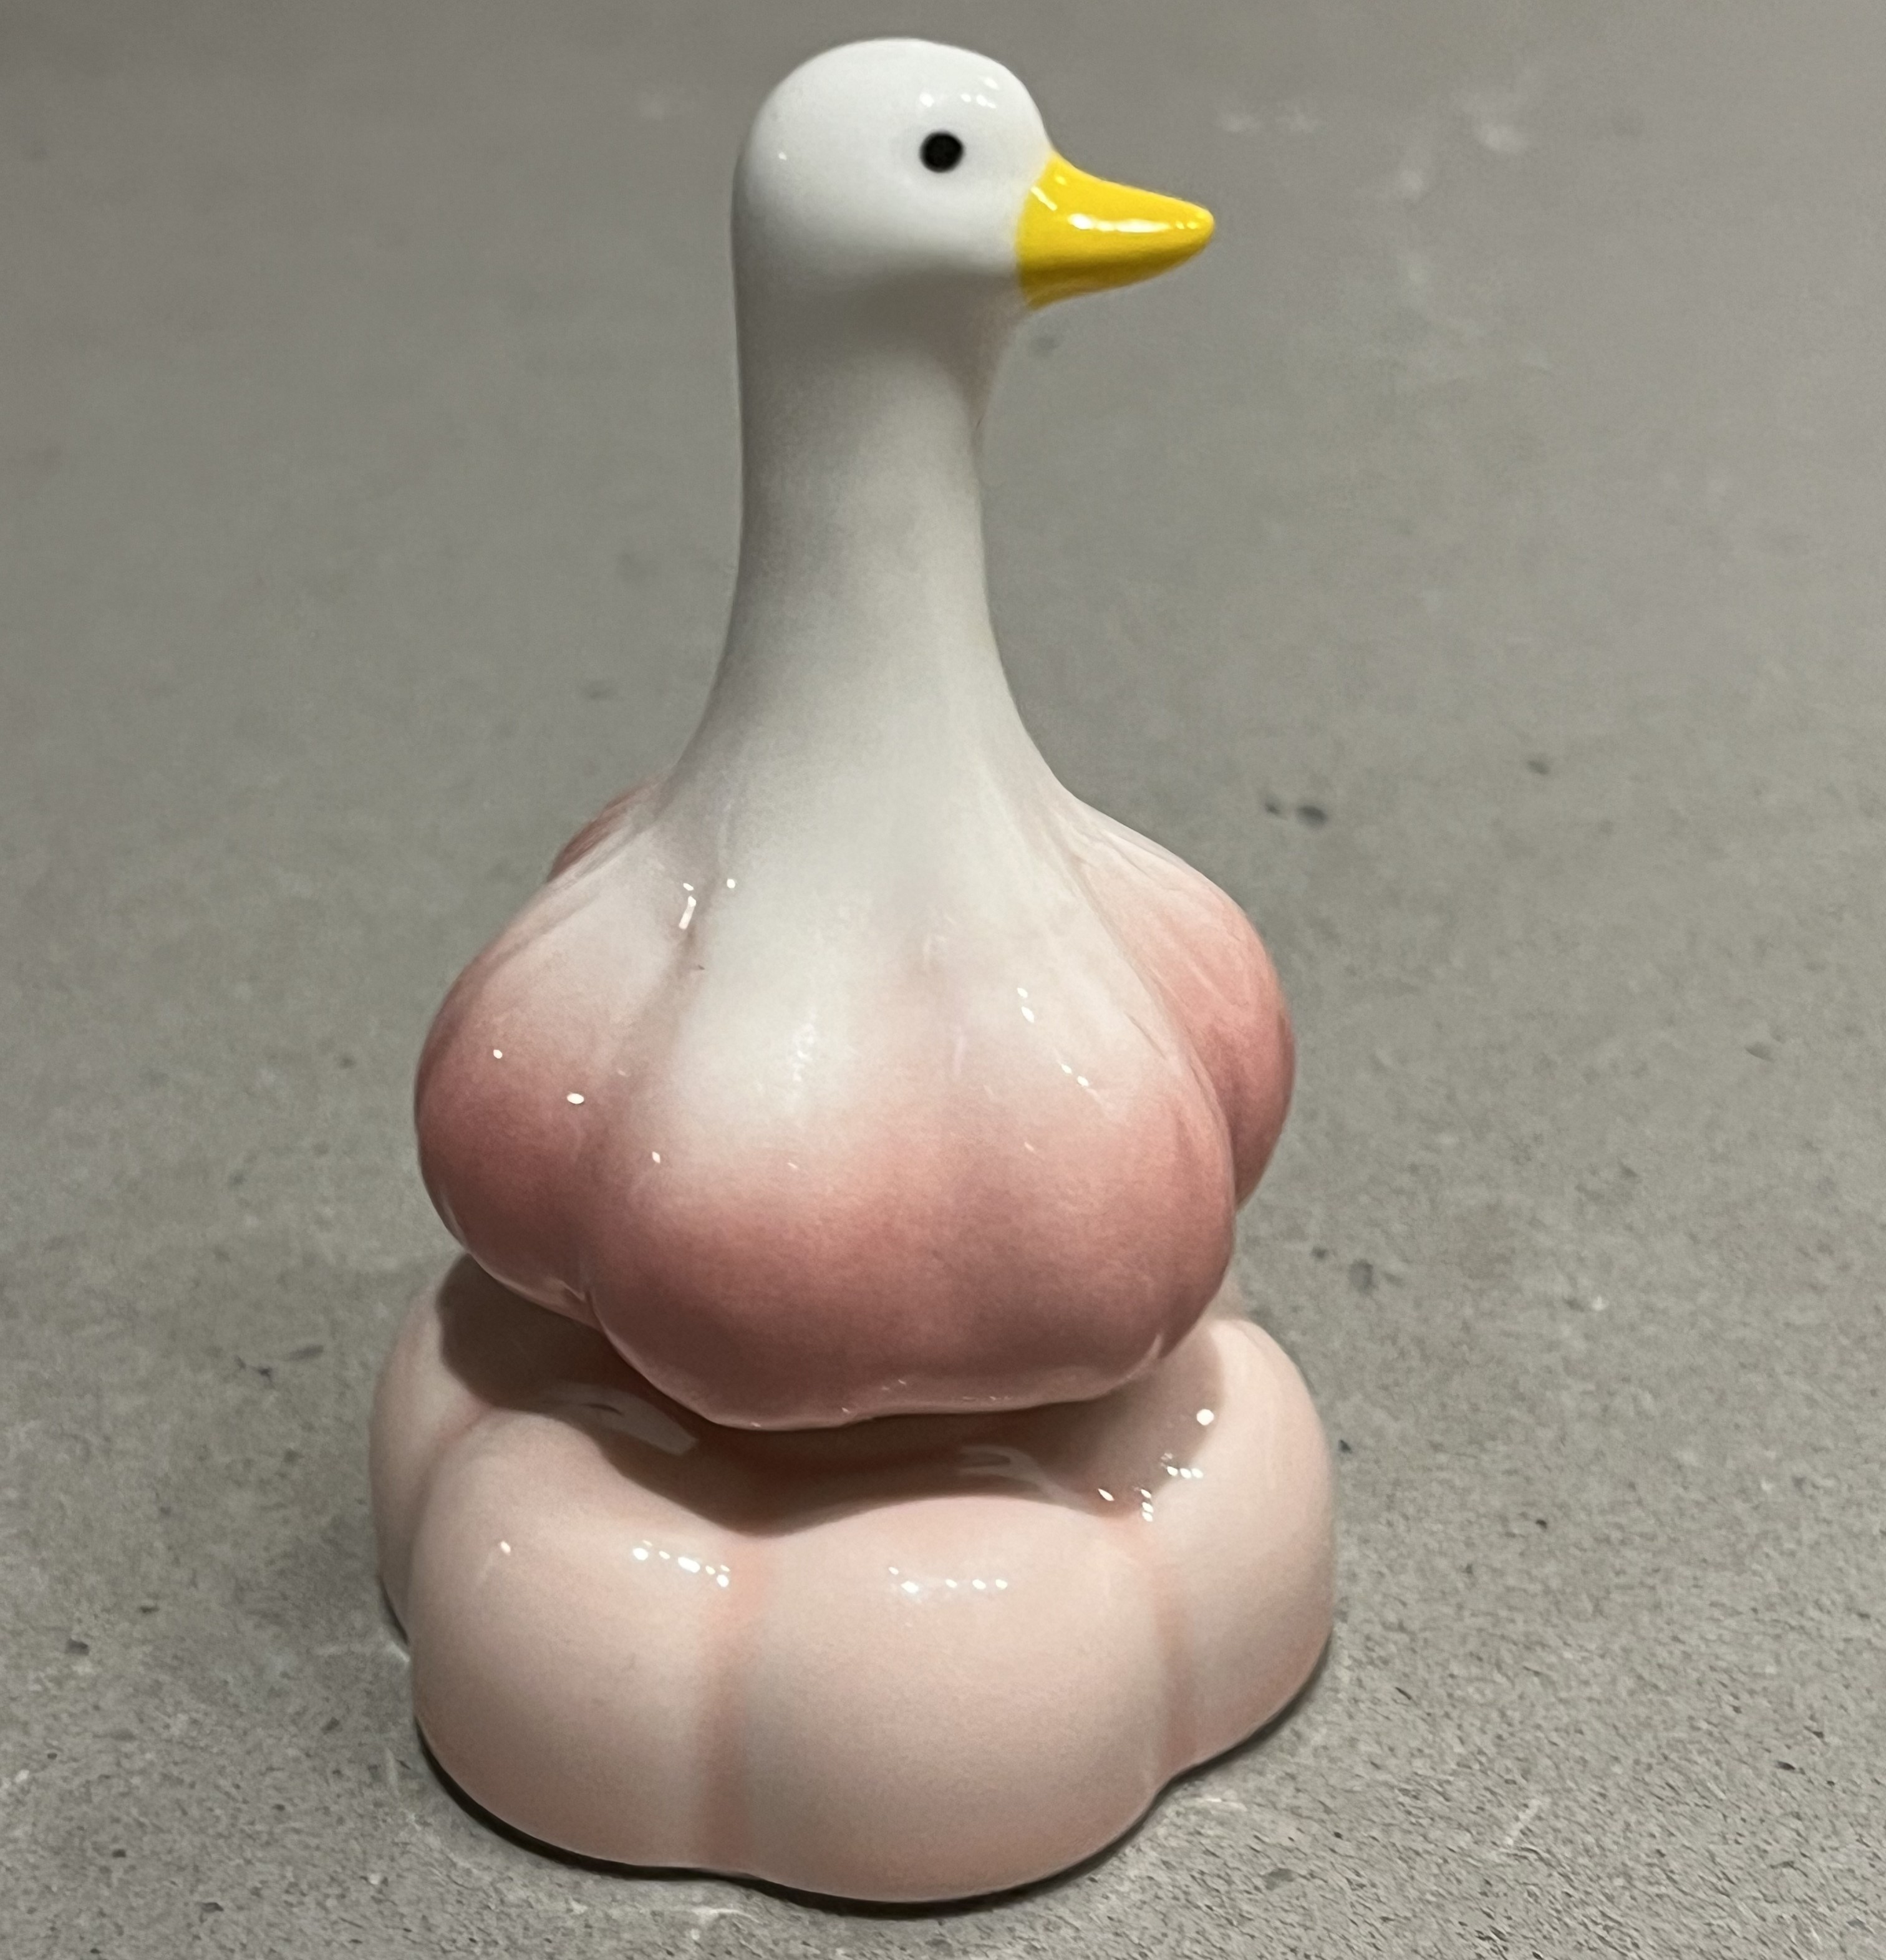
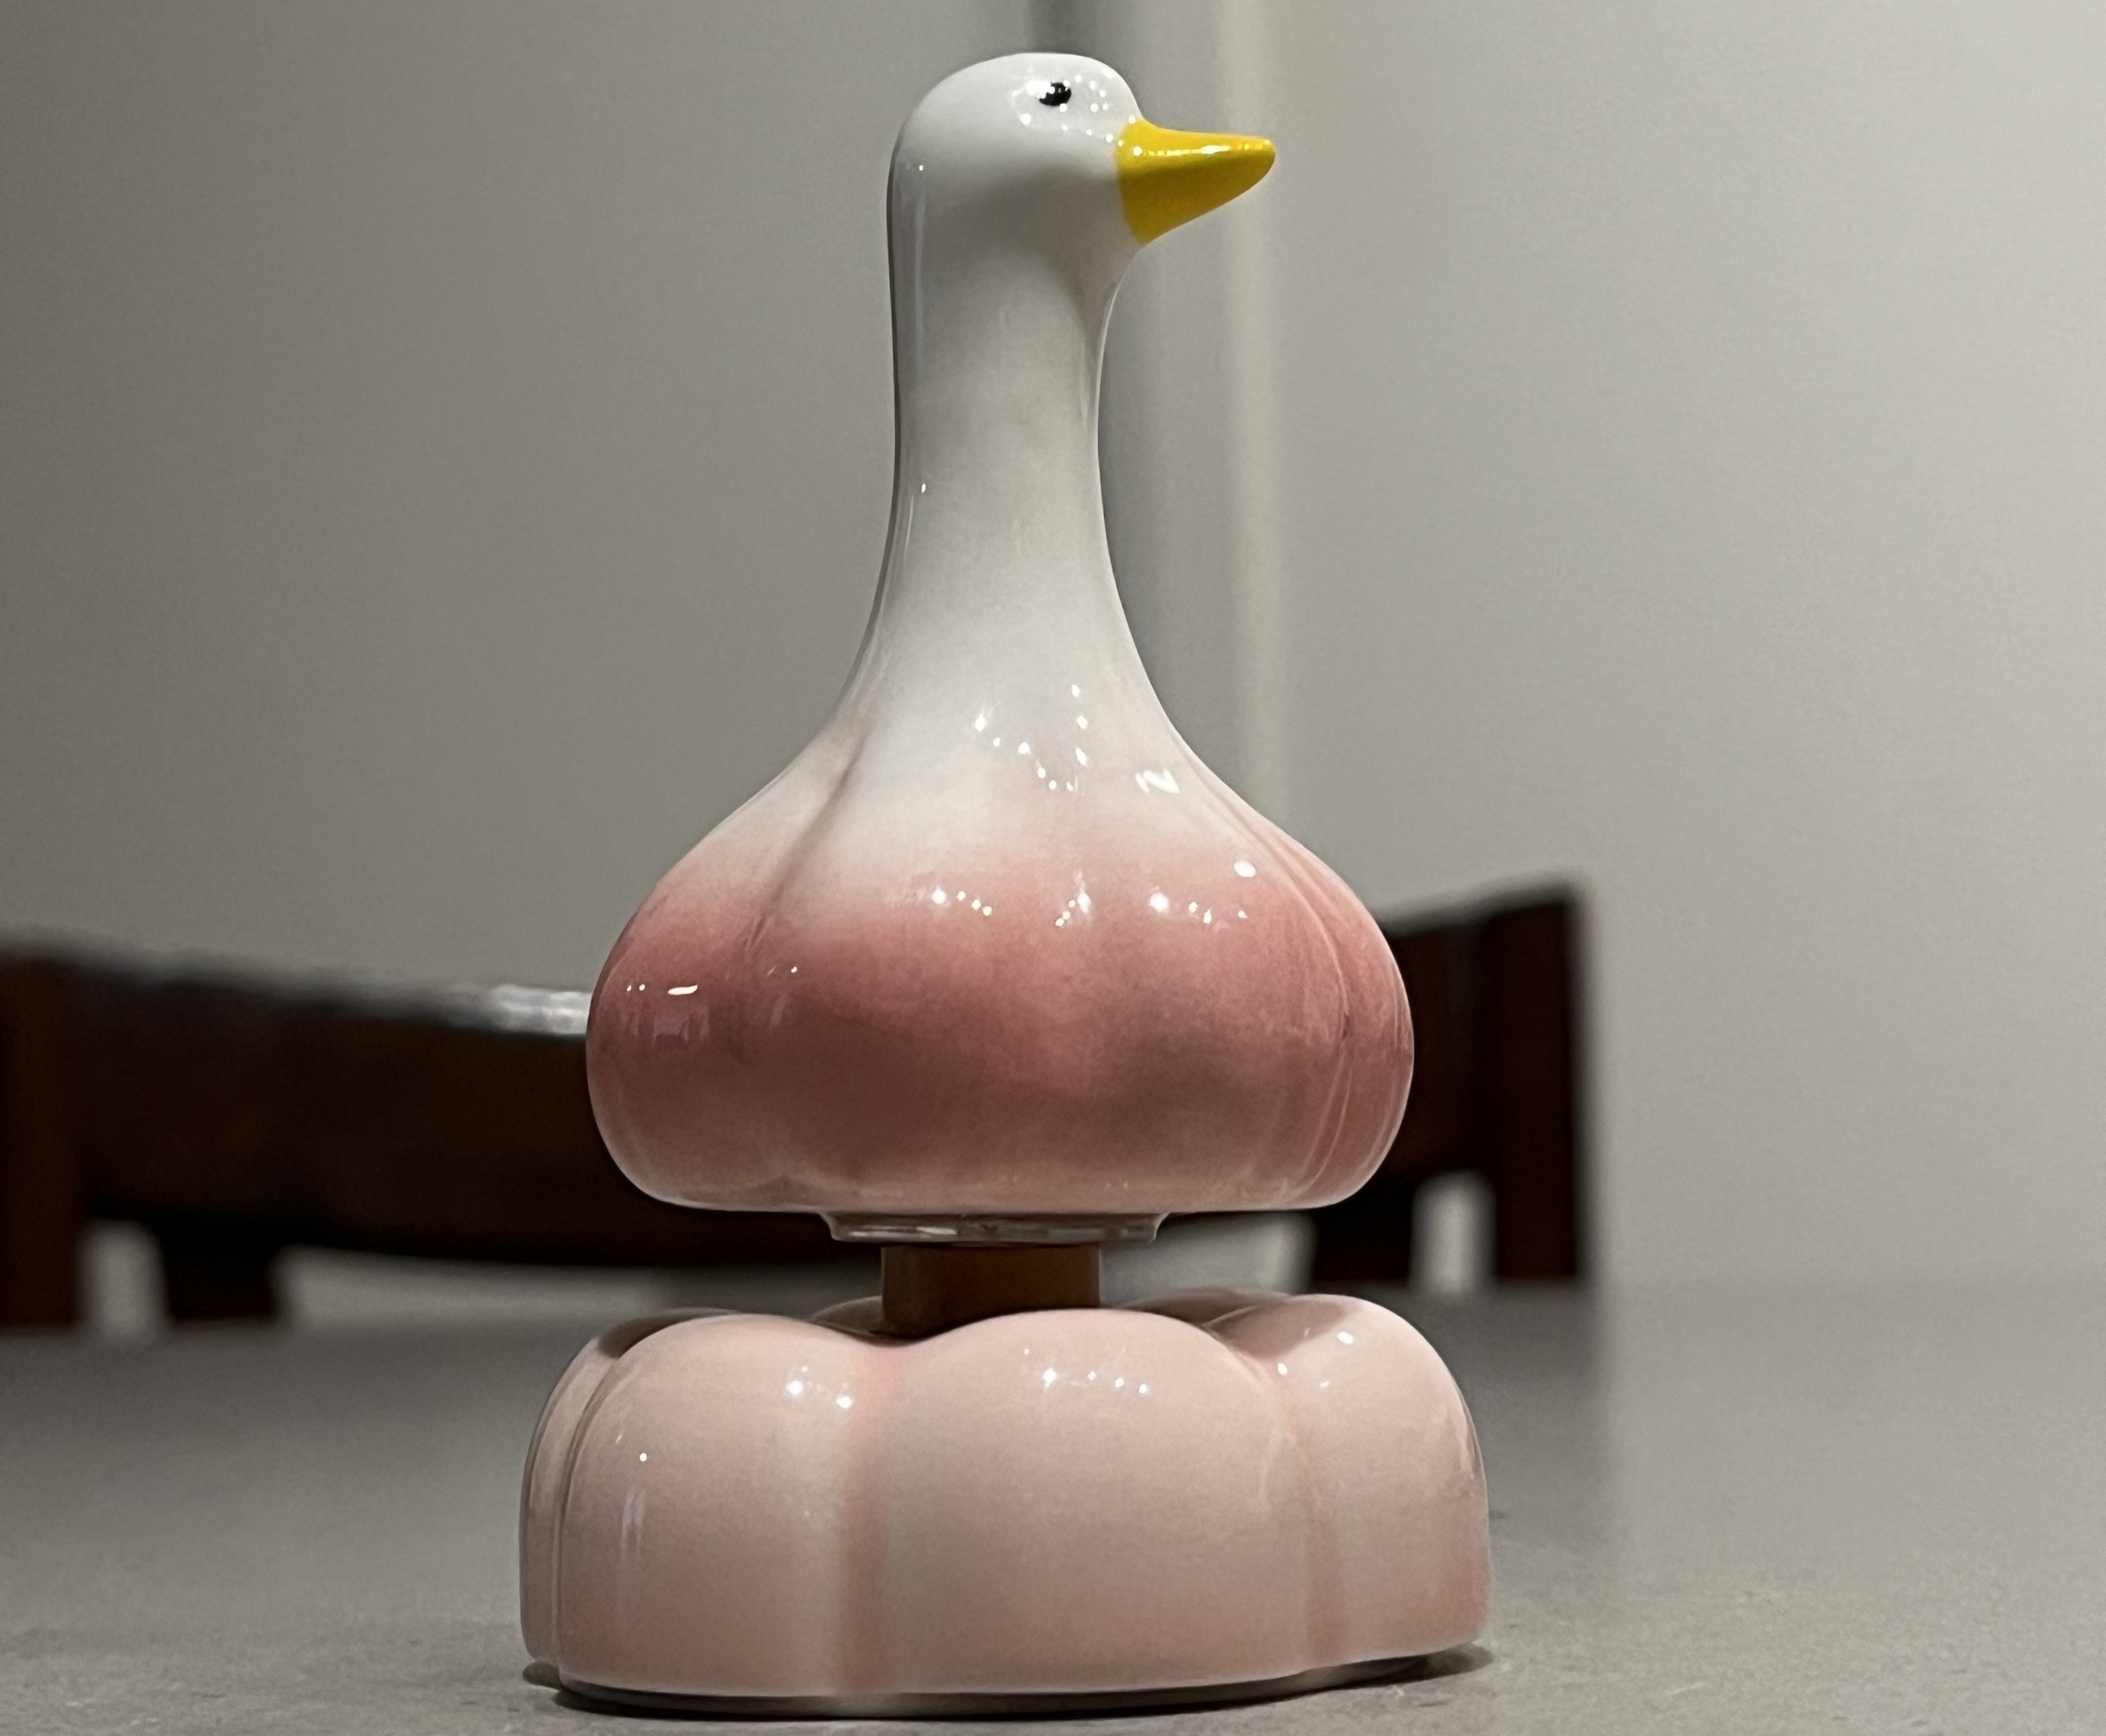
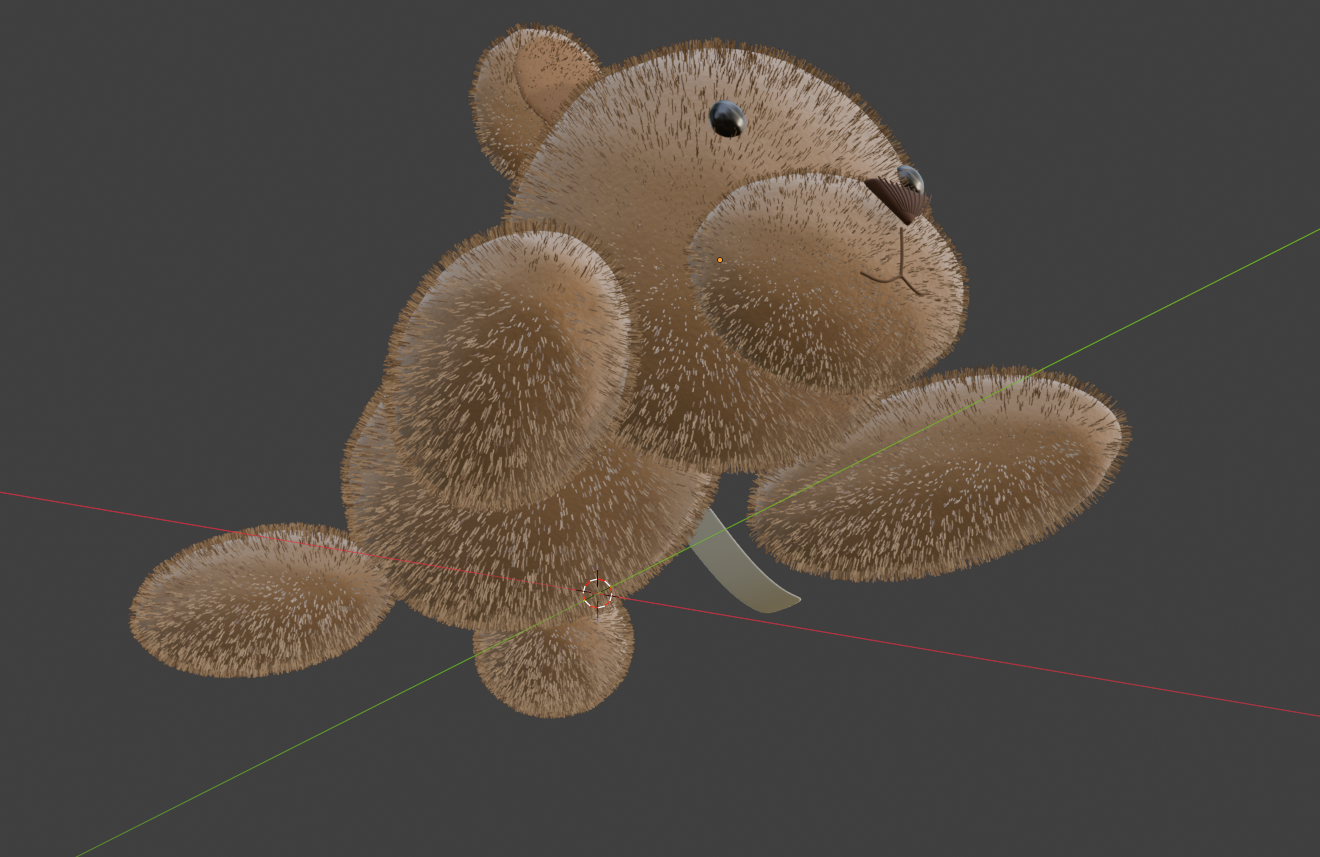
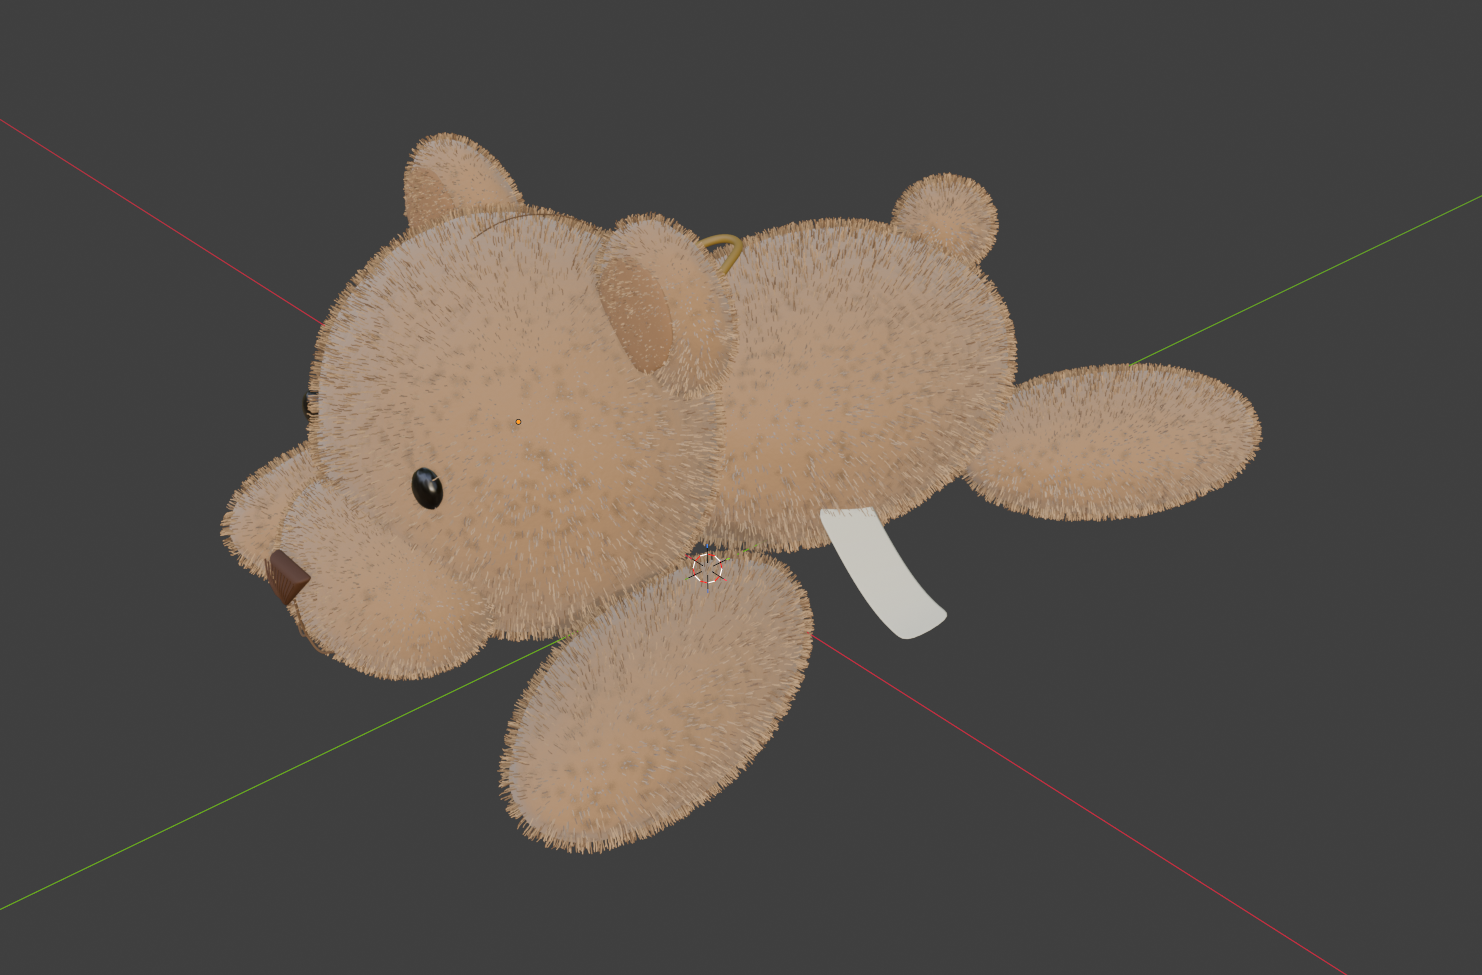
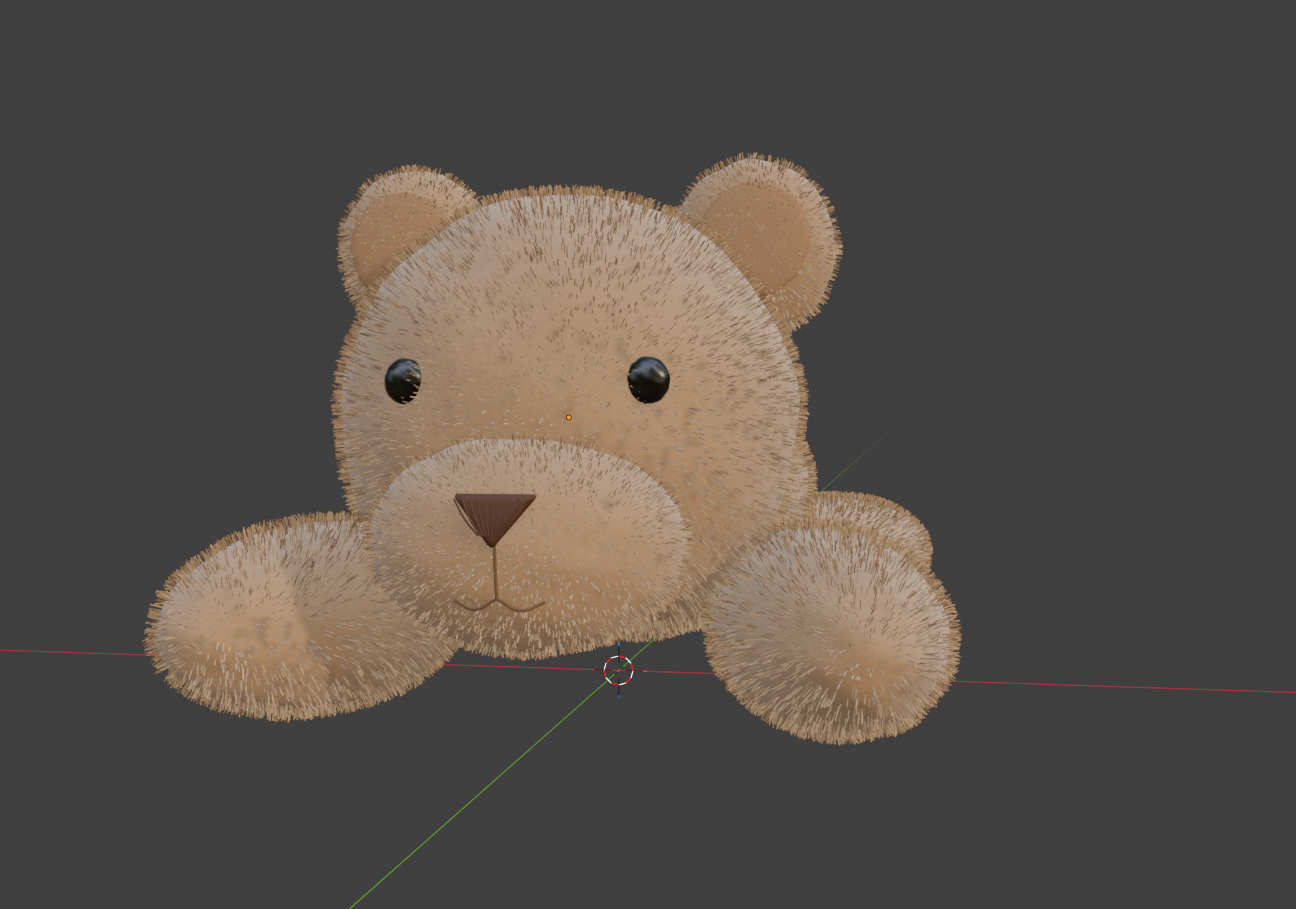
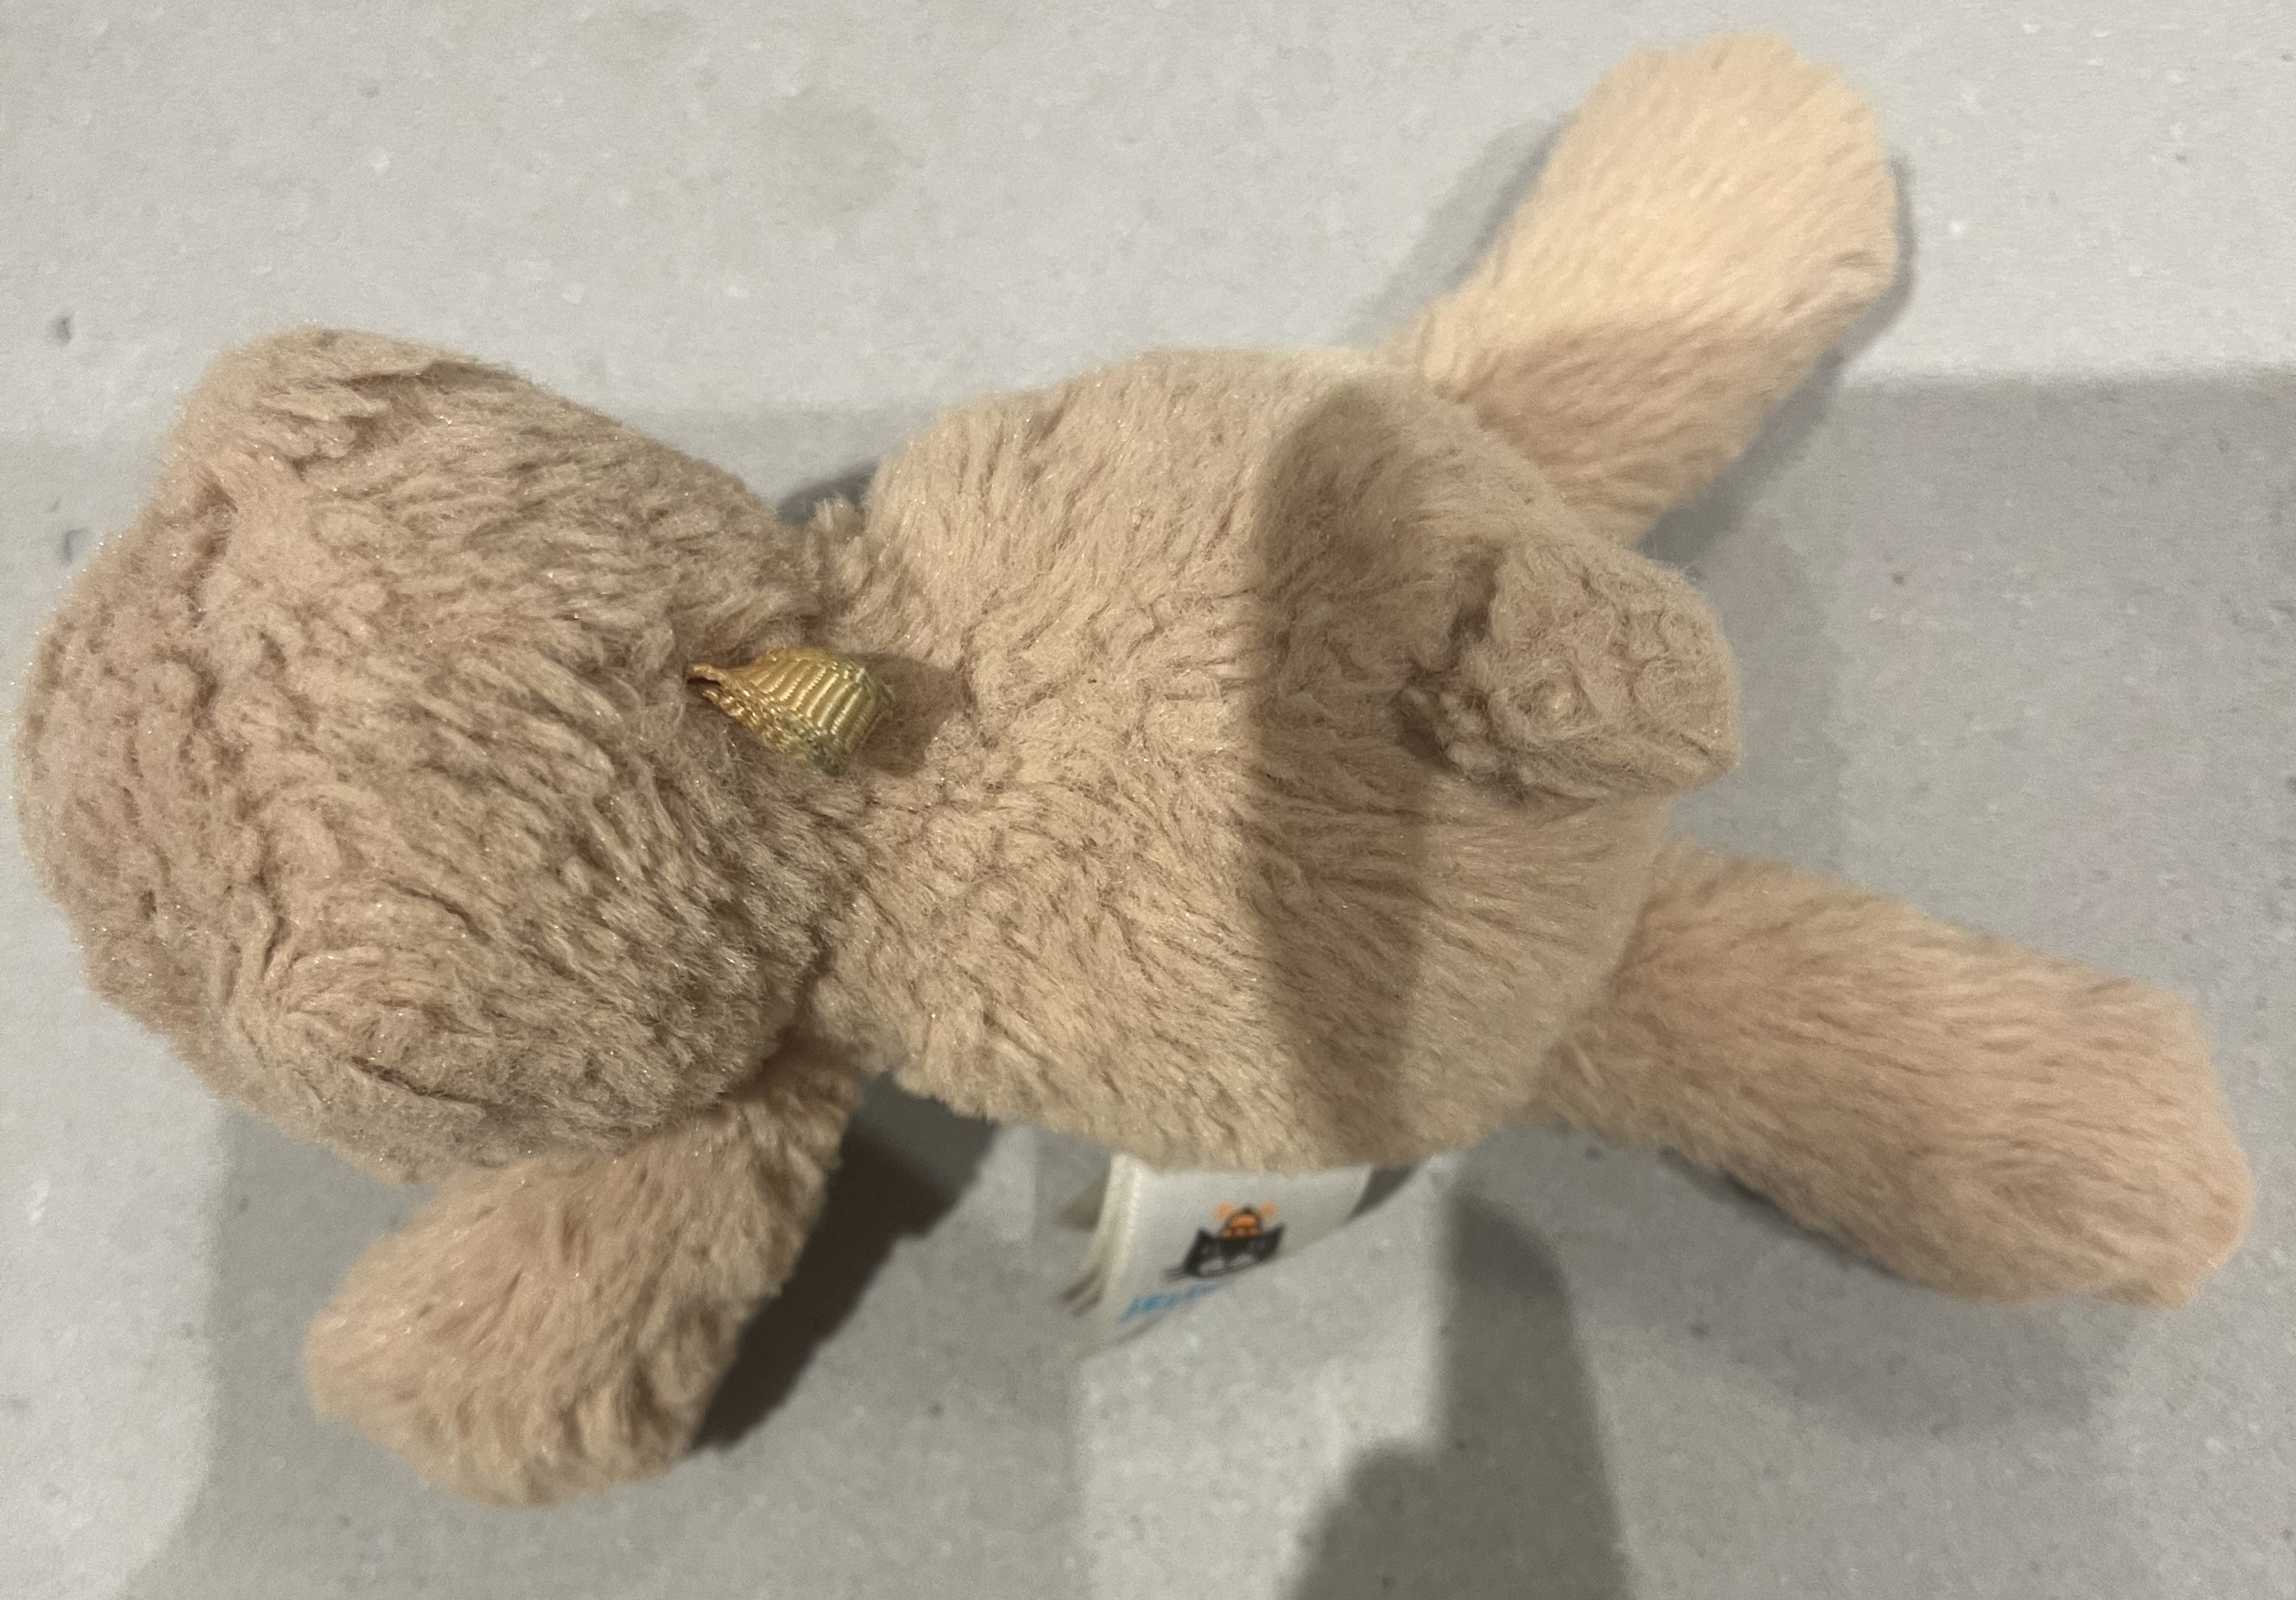
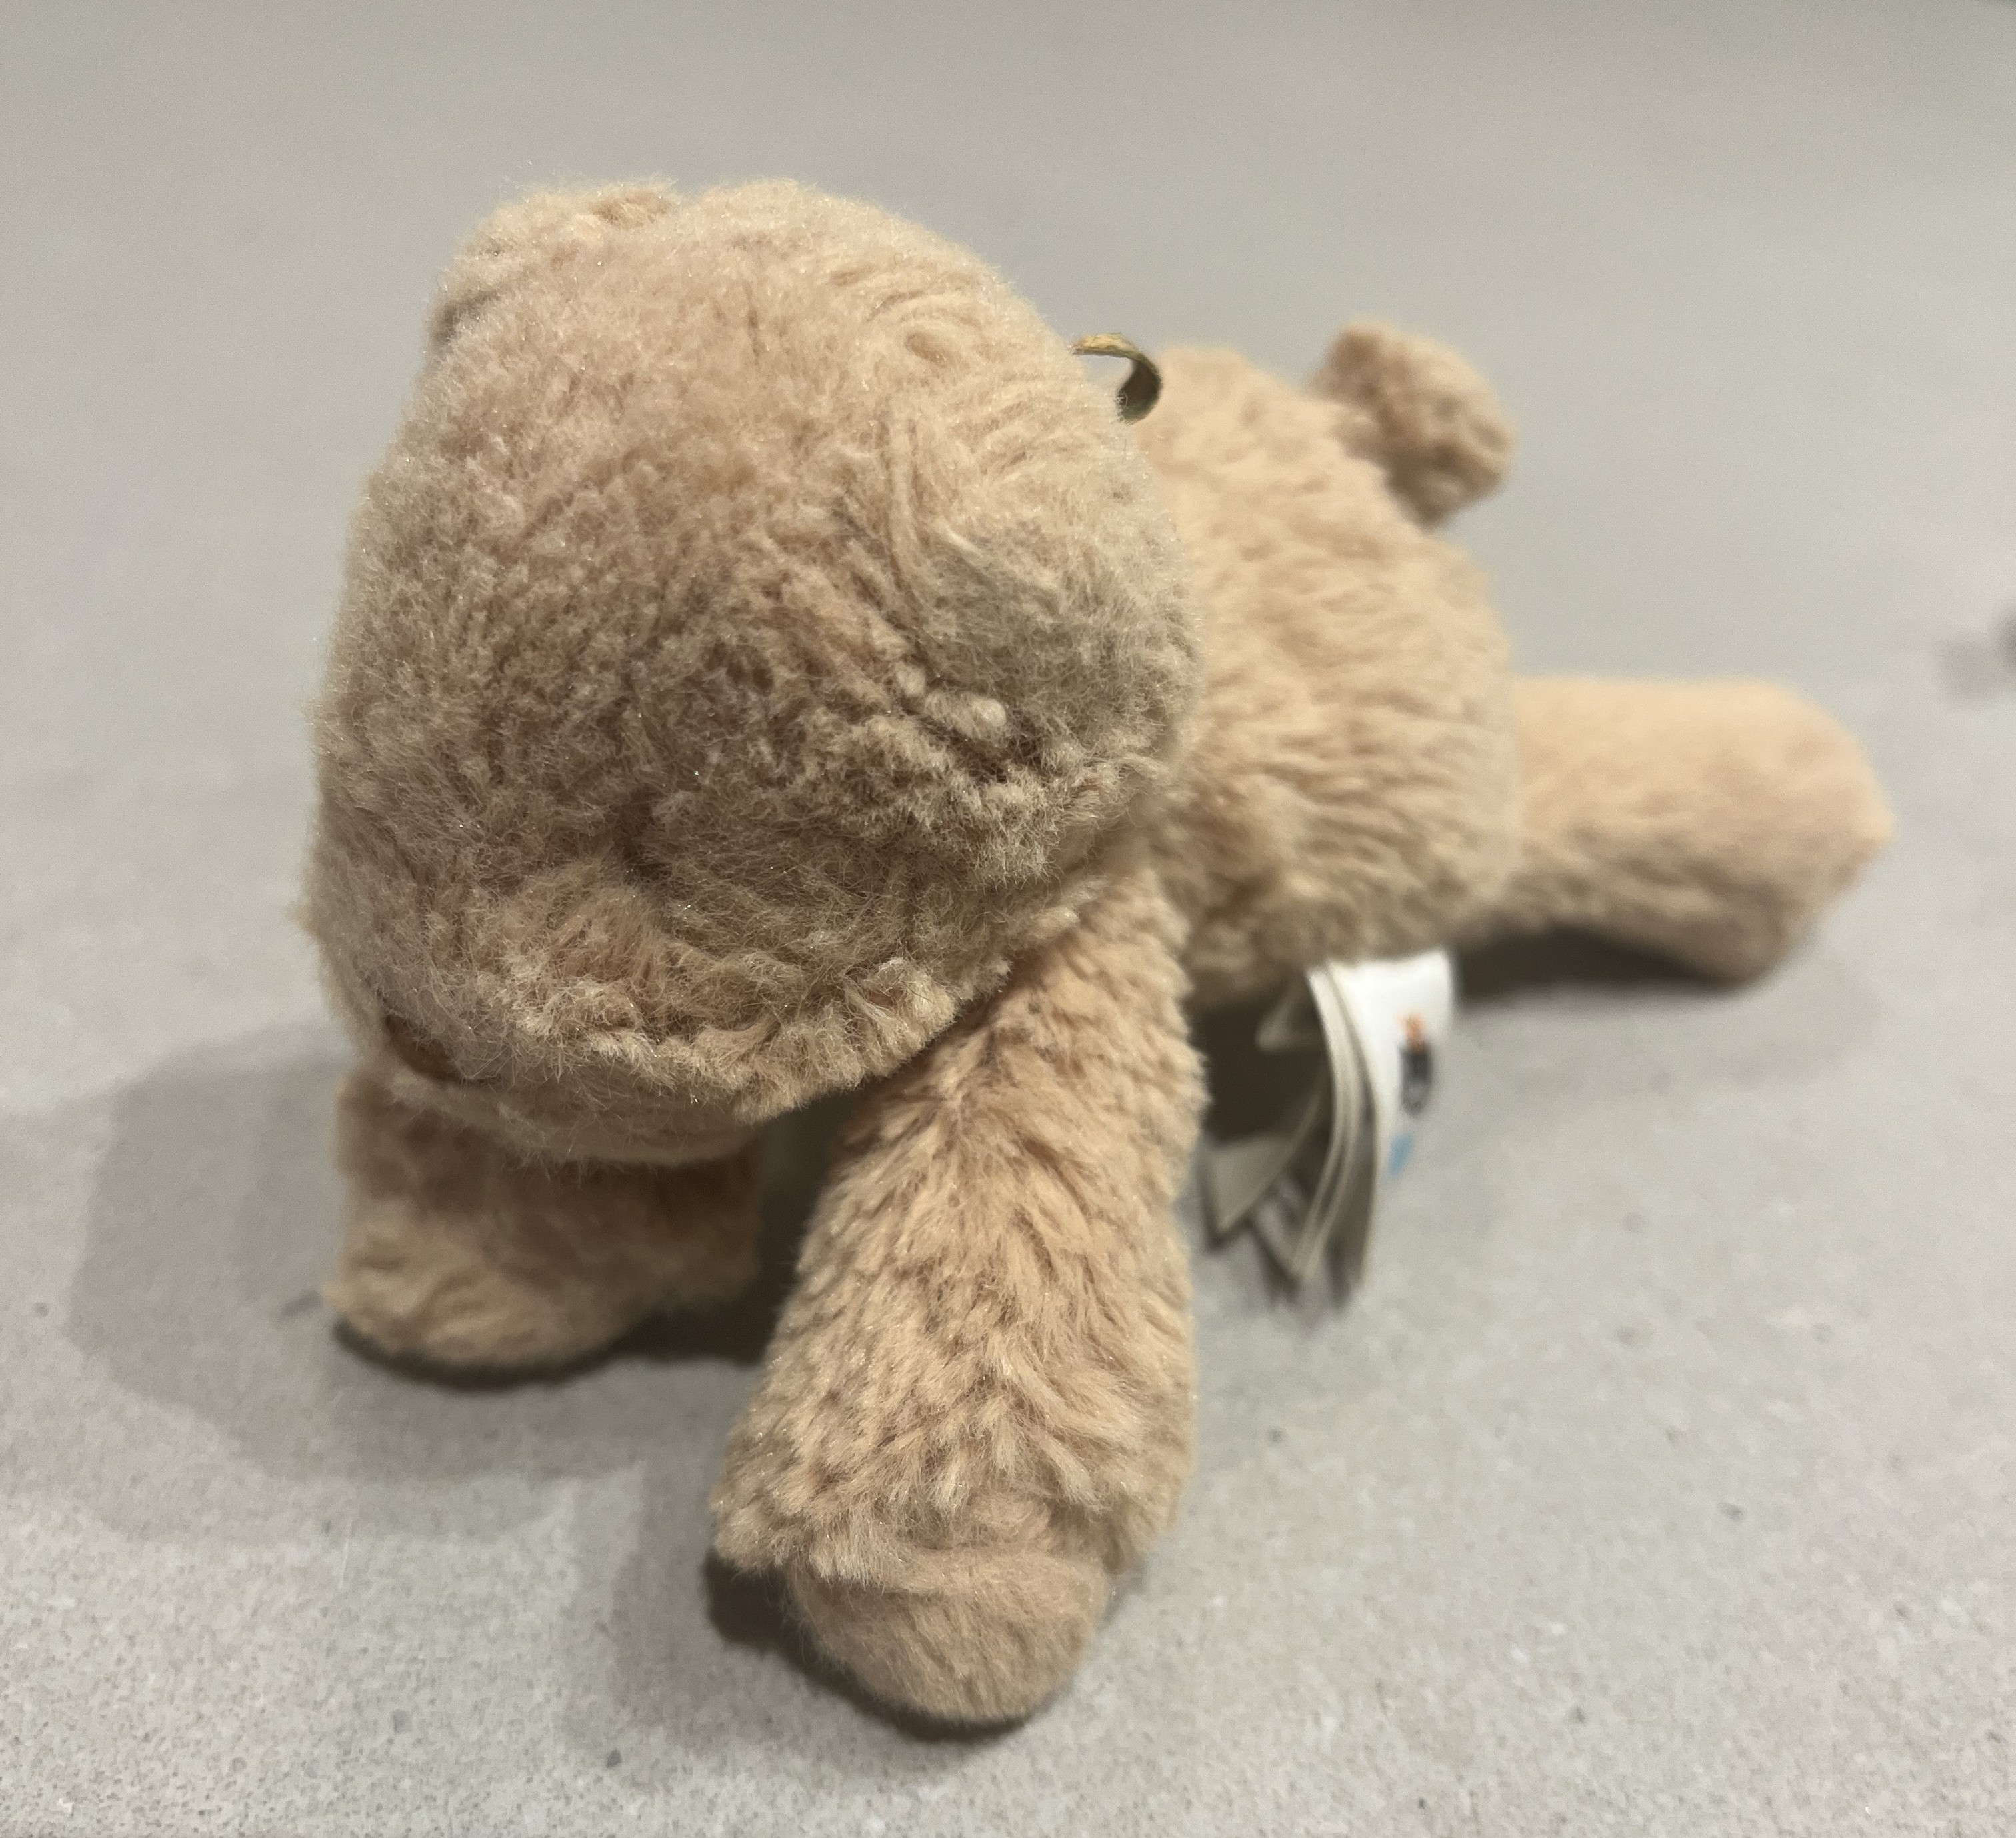
Front view of the water bottle Curved strapof the water bottle 3D model of the water bottle Close up of the bottle lid Final model saved and checked in Babylon.js Sandbox Front view of the juice box Side view showing the box Bottom of the juice box Bottom of the juice box Final model saved and checked in a 3D model viewer Front view of the milk carton Side view of the milk carton Close up of the milk carton cap 3D model of the milk carton Final model saved and checked in a 3D model viewer AI model of the bird Back view of the AI bird model Front view of the AI bird model Reference photo of the bird Side view of the bird reference AI model of the teddy bear Top view of the AI teddy bear model Front view of the AI teddy bear model Reference photo of the teddy bear Side view of the teddy bear reference

Material Workshop 1
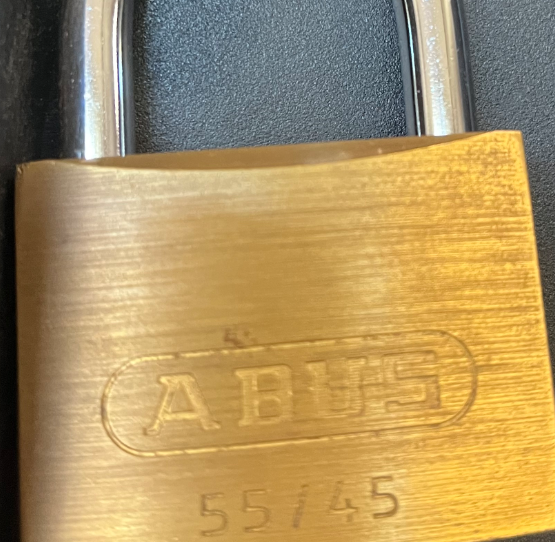
I used carton paper as a reference because the milk box also has a smooth paper surface with a little shine.<a href='https://www.youtube.com/embed/tgbNymZ7vqY' target='_blank'><p>Project Video Link</p></a> I used the metal lock as a reference for the shiny metal part on the water bottle. <div class='container'><iframe class='responsive-iframe' src='https://www.youtube.com/embed/tgbNymZ7vqY'></iframe></div> I looked at the cardboard box to help me understand the paper texture of the juice box.

Material Workshop 2

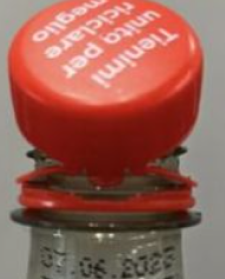
I looked at a plastic cap to help me make the milk box cap look more like real plastic. <a href='https://www.youtube.com/embed/tgbNymZ7vqY' target='_blank'><p>Project Video Link</p></a> I used the white wall as a reference for the bottle body because it has a matte and slightly rough surface. <div class='container'><iframe class='responsive-iframe' src='https://www.youtube.com/embed/tgbNymZ7vqY'></iframe></div> I used the paper straw as a reference so the straw on my model would look more like paper instead of plastic.

Project 1


Project 1 Models

Published 3D Model 1

This is my final waterbottle model.
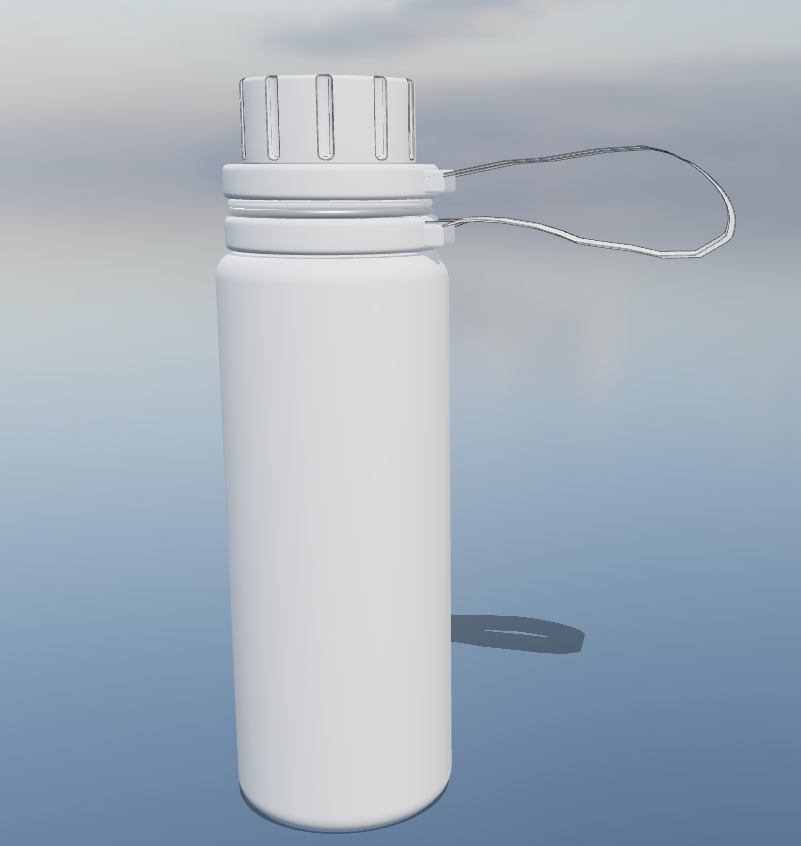
This is my final waterbottle model. <div class='container'><iframe class='responsive-iframe' src='https://wenglex.phoenix.sheridanc.on.ca/waterbottle11.html'></iframe></div>

Published 3D Model 2

This is my final juice box model.
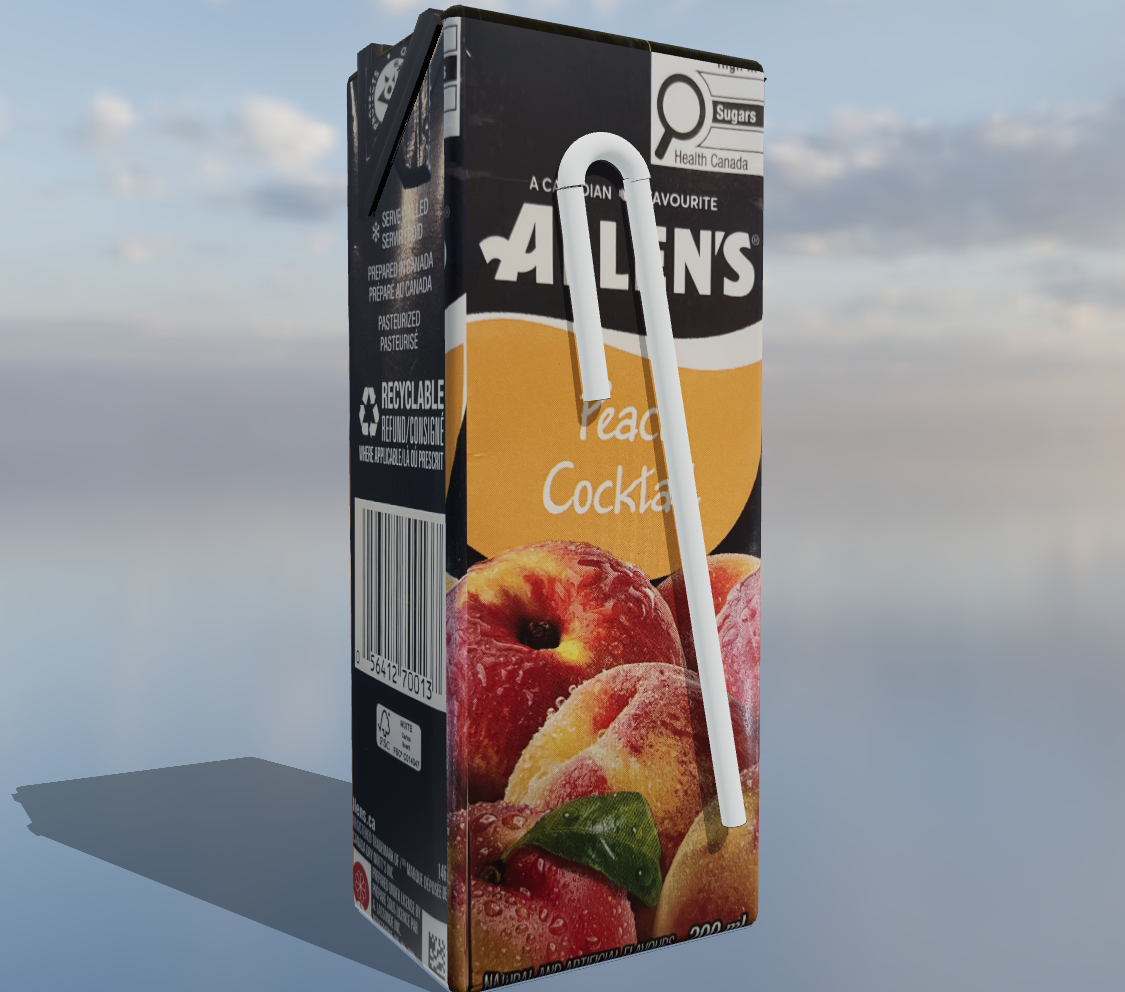
This is my final apple juice box model. <div class='container'><iframe class='responsive-iframe' src='https://wenglex.phoenix.sheridanc.on.ca/applejuice11.html'></iframe></div>

Published 3D Model 3

This is my final milk box model.
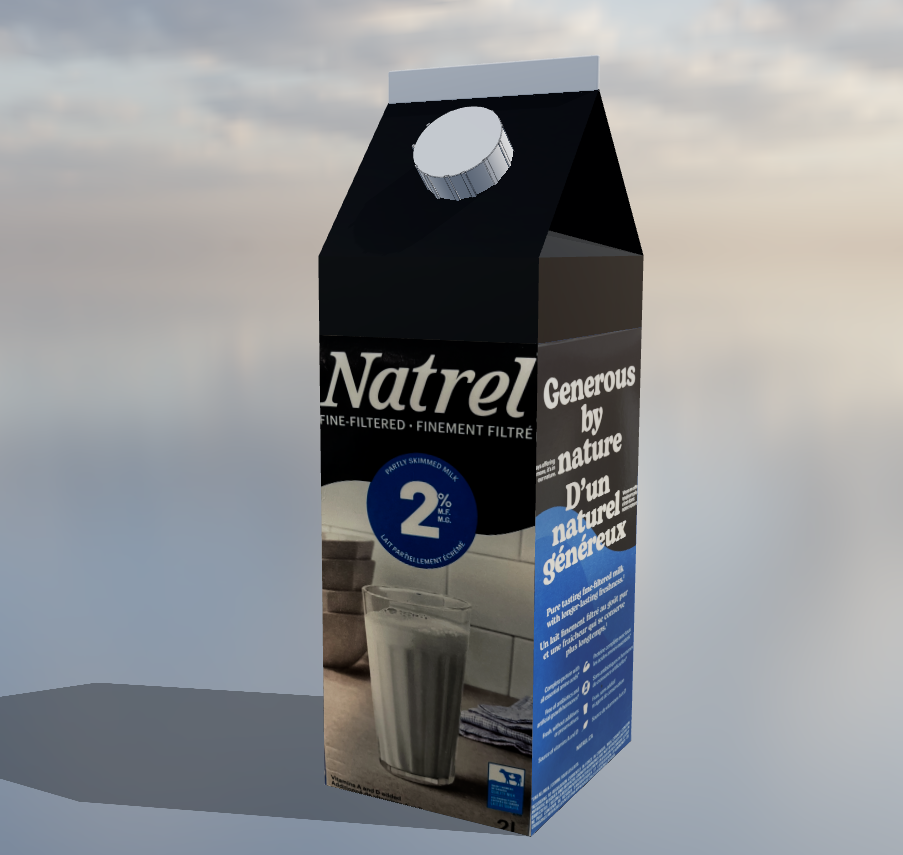
This is my final milk box model. <div class='container'><iframe class='responsive-iframe' src='https://wenglex.phoenix.sheridanc.on.ca/milkbox11.html'></iframe></div>
×

Powered by w3.css